|
|
Back to introduction Forward to chassis suspension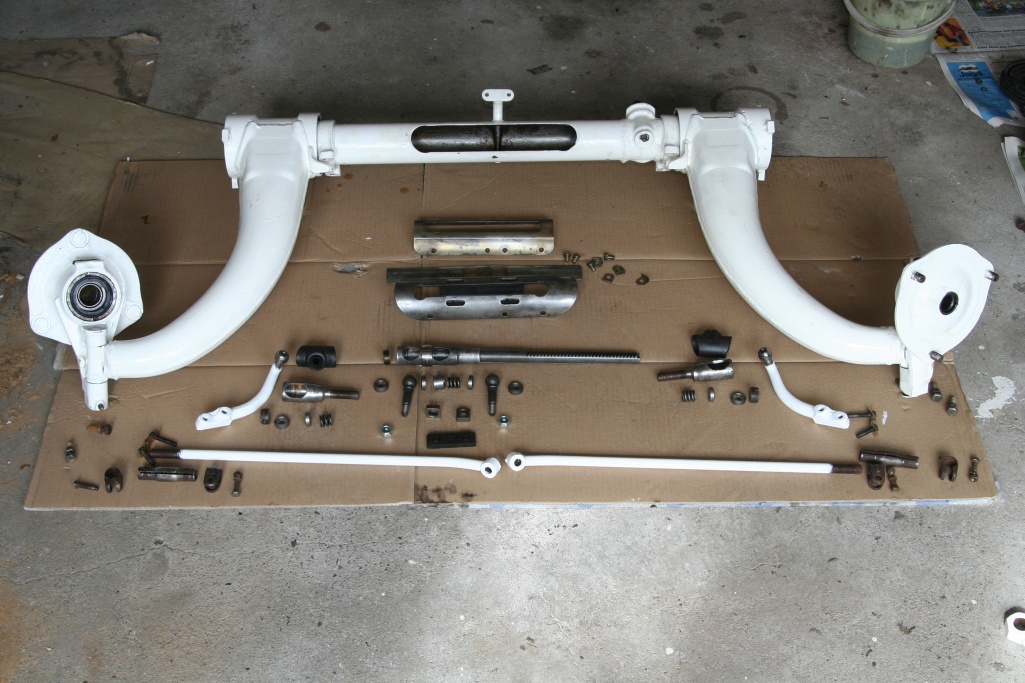 The parts of the steering. 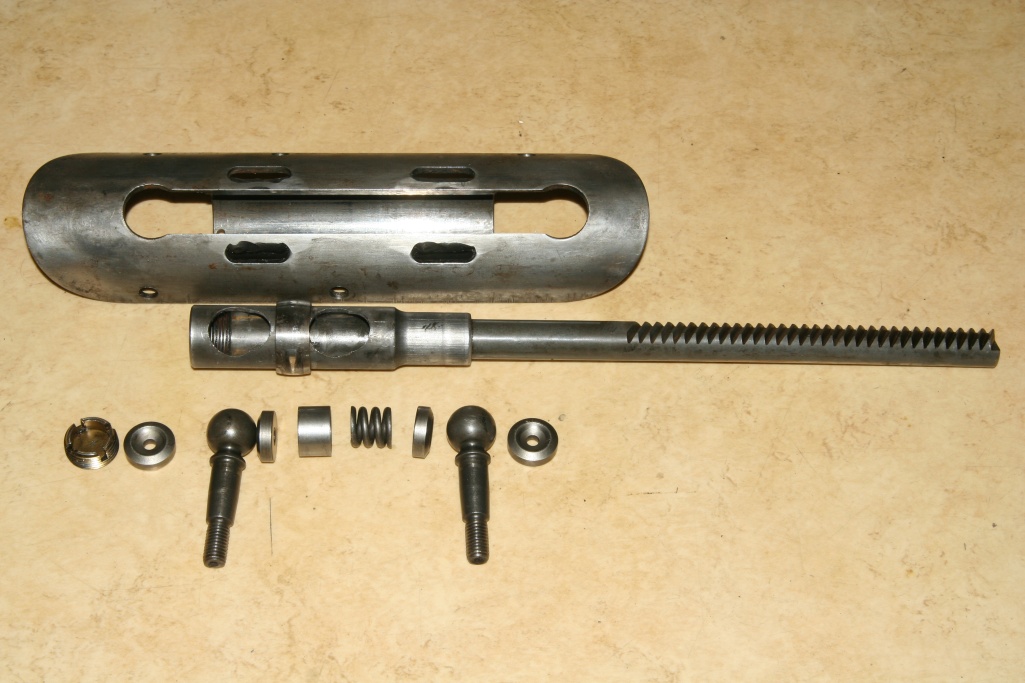 Interior with rack steering. The ball pins should still be exactly round and the counter bearing without grooves. The rack should glide in the guide pipe without clearance. It's normal that the ball pins look polished. At the guide tube above two more closely lying holes can be seen at the photo. The teeth of the rack show - as at the photo - into these drillings opposite direction. 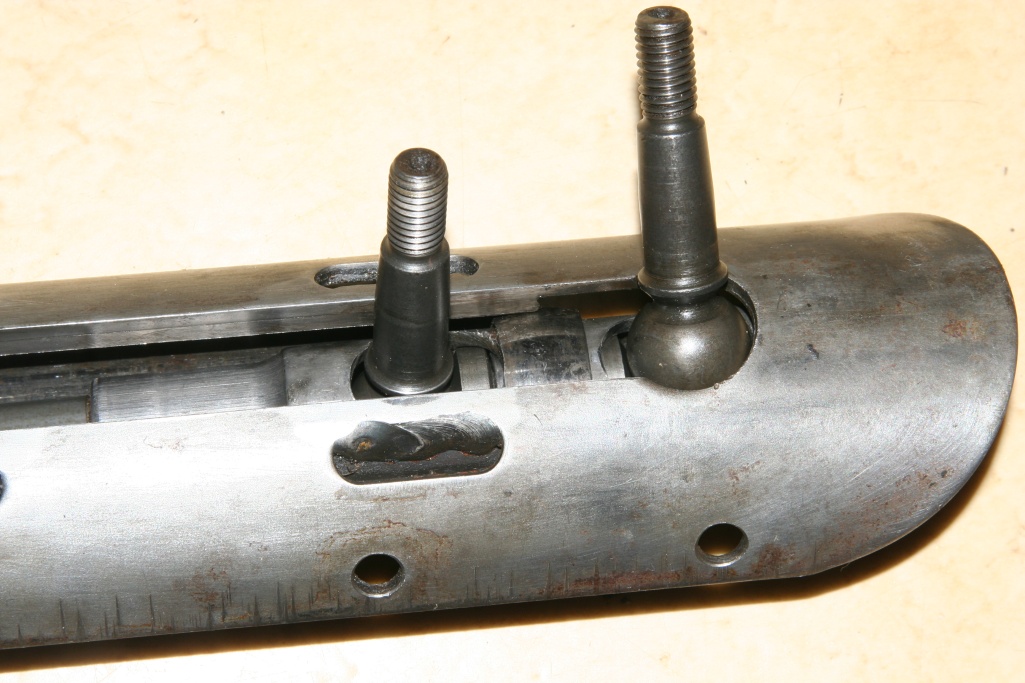 When assembling the rack will be inserted into the guide tube and then the ball cups, spring and the ball pins are inserted into the rack. These parts are to be coated well with universal grease before that, so also the interior of the spring. At the photo it is just demonstrated and there's no grease at the parts yet. 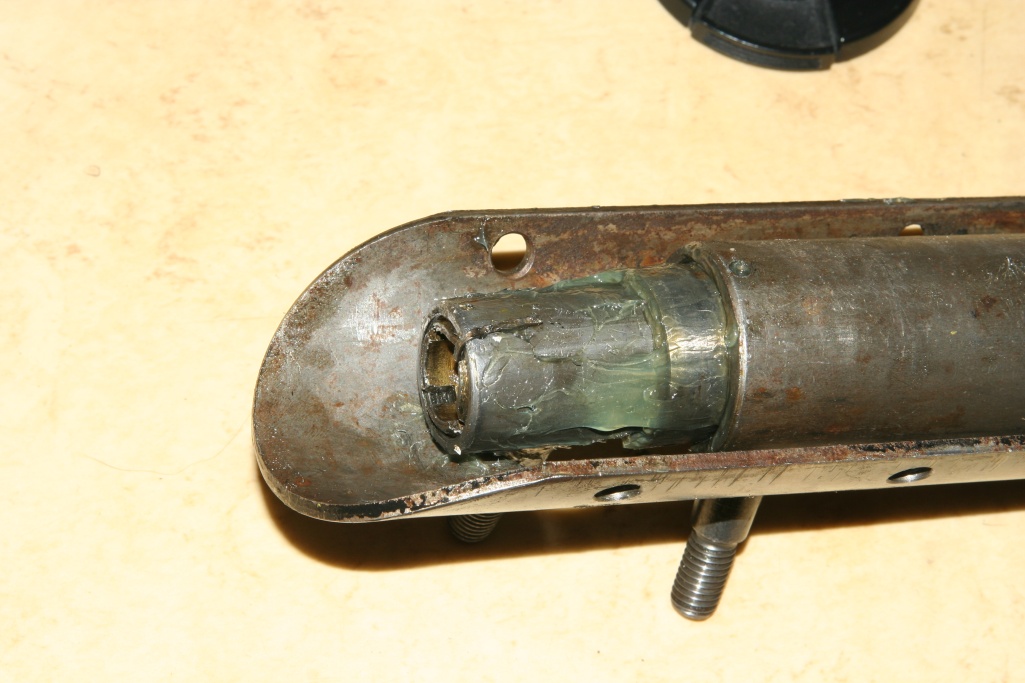 Subsequently, the nut at the end of the rack is to be completely screwed in and loosened 1/6 rotation again. Afterwards the ball pins should easily move without any clearance. For safety reasons the cotter pin must be attached and bent, so that it does not touch the guide tube. The head of the cotter pin is thereby on the inside of the nut. 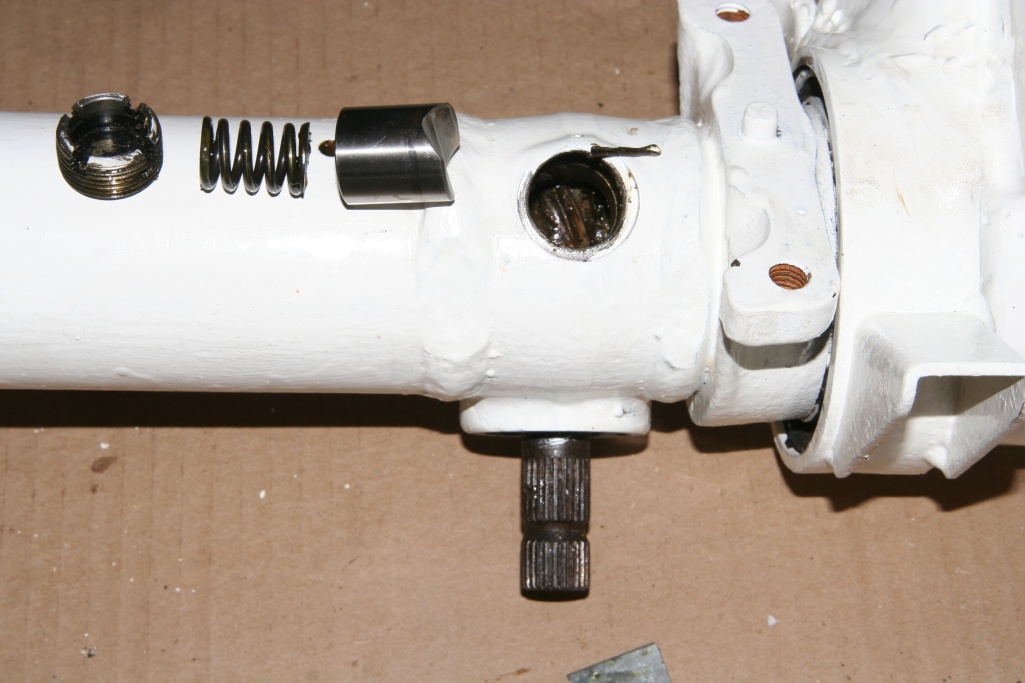 At the opposite side of the guidance pinion is a counter bearing, which presses the rack with the help of a spring to the pinion. For the installation of the rack it has to be disassembled first. Neither the counter bearing nor the pinion should detect abrasion. in 1976 this pinion was changed from a 7 cleat type to 8 cleat type. The teeth rack was changed, too. So the transmission ratio became smaller and a smaller steering-wheel could be mounted. This counterbearing can only be removed when the front axle is developed. Threfore you can't re-install the stearing gear while the front axle ist mounted. 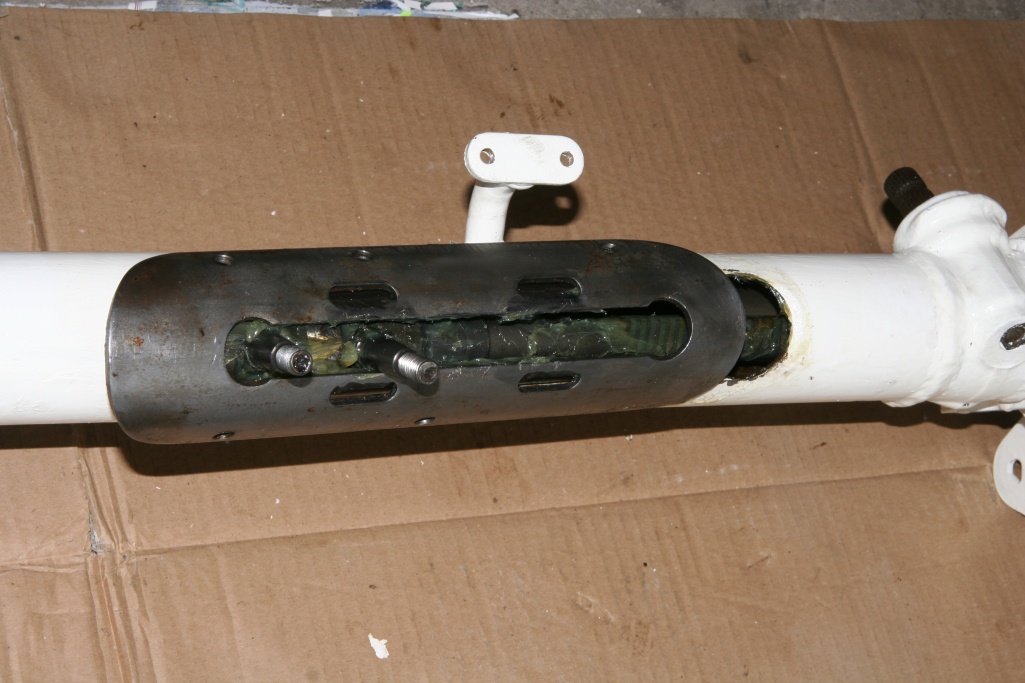 Now the steering bar can be pushed in. Also here plentifully grease should be laid on before. 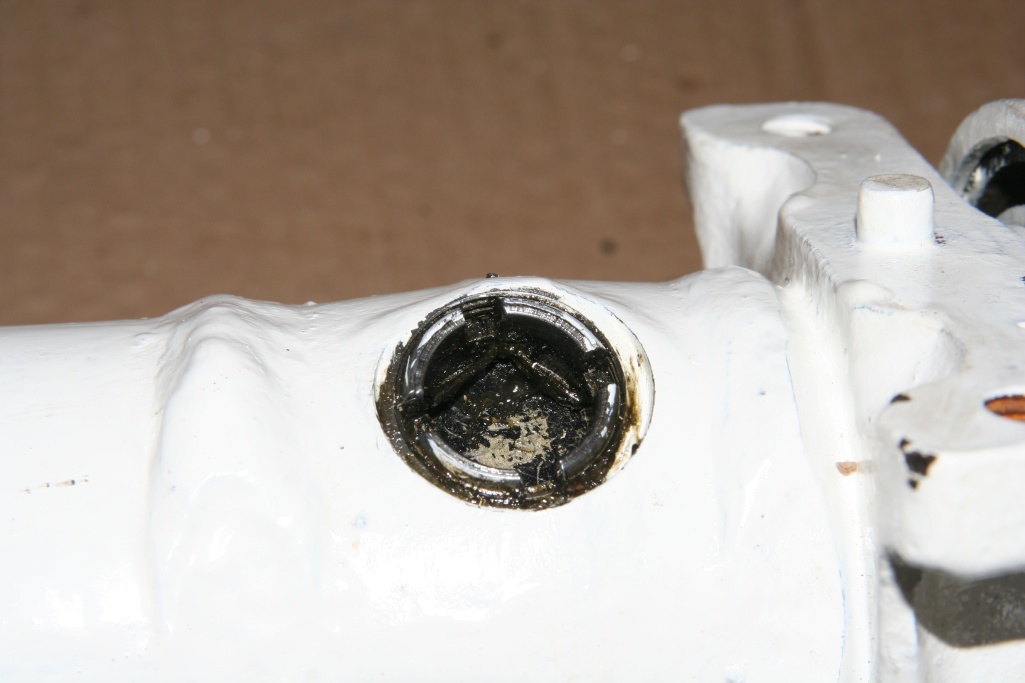 Grease and insert the counter bearing after installation of the steering rack. Screw the nut until the cotter pin fits into the appropriate drilling of the nut. The cotter pin should not fit into a groove of the nut. Under normal conditions you can't screw the nut so deeply. 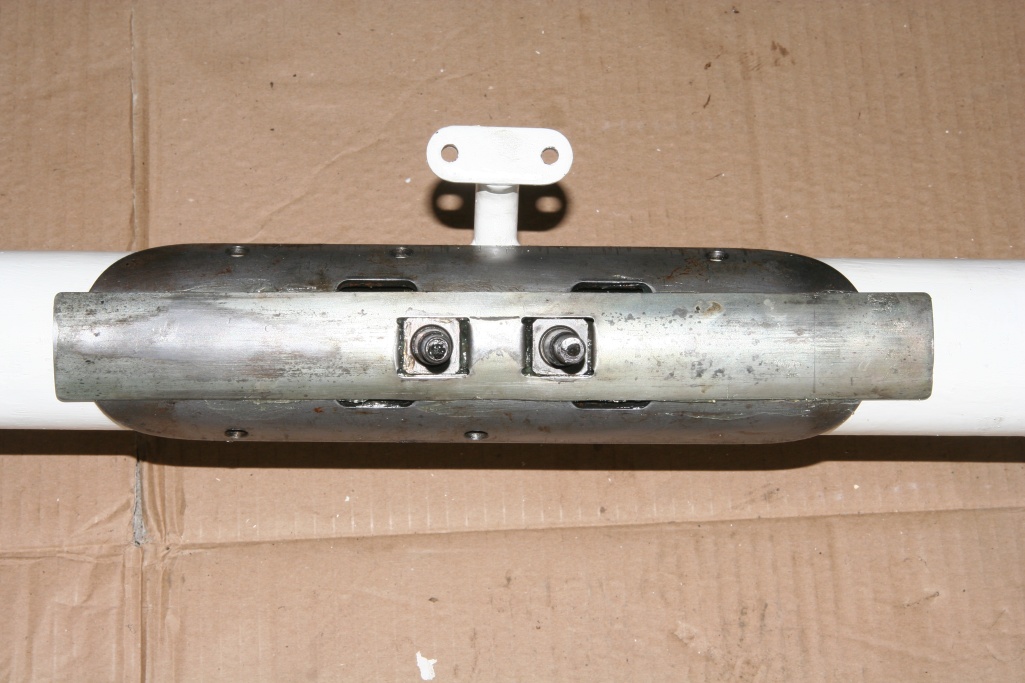 Put the sliding plate and the two square guiding pieces on the ball pins. 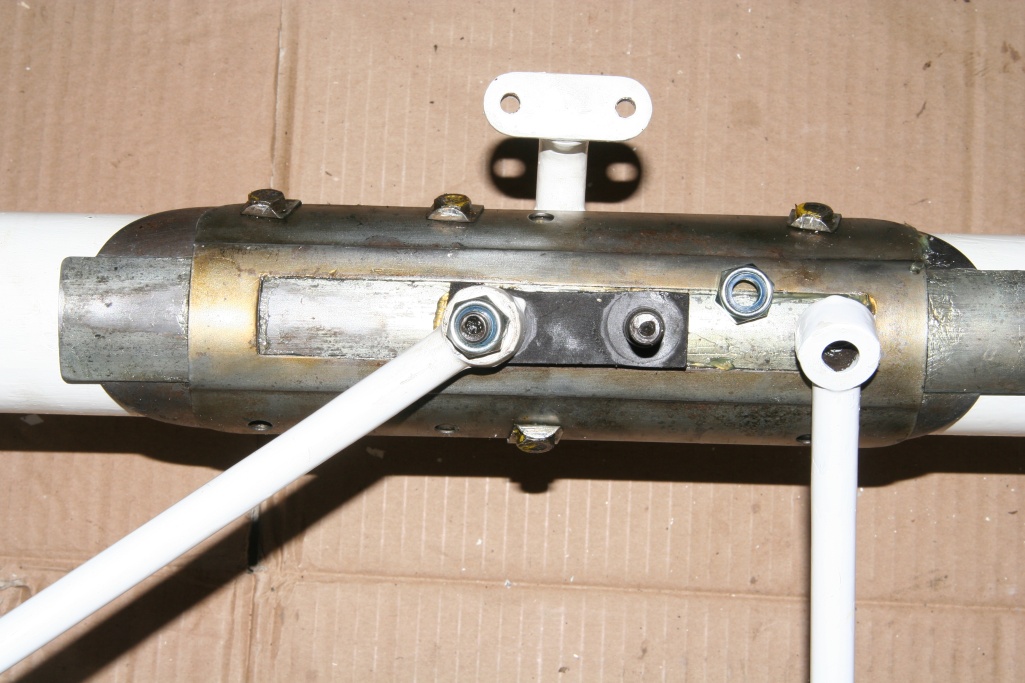 Now put the cover plate on and fix it with the four screws and the small lock plates. The lock plates afterwards turn over. Put the small rubber plate on the ball pins and then steering bars can be fastened al the ball pins by M10 stop nuts. These nuts have an insert of nylon, which prevents loosening and must be replaced after the disassembly. Since when tightening the stop nuts they carry along the ball pins, you should use normal nuts first. Afterwards that remove the normal nuts and now you can tighten the stop nuts problem-free, since the steering bars are already blocked. 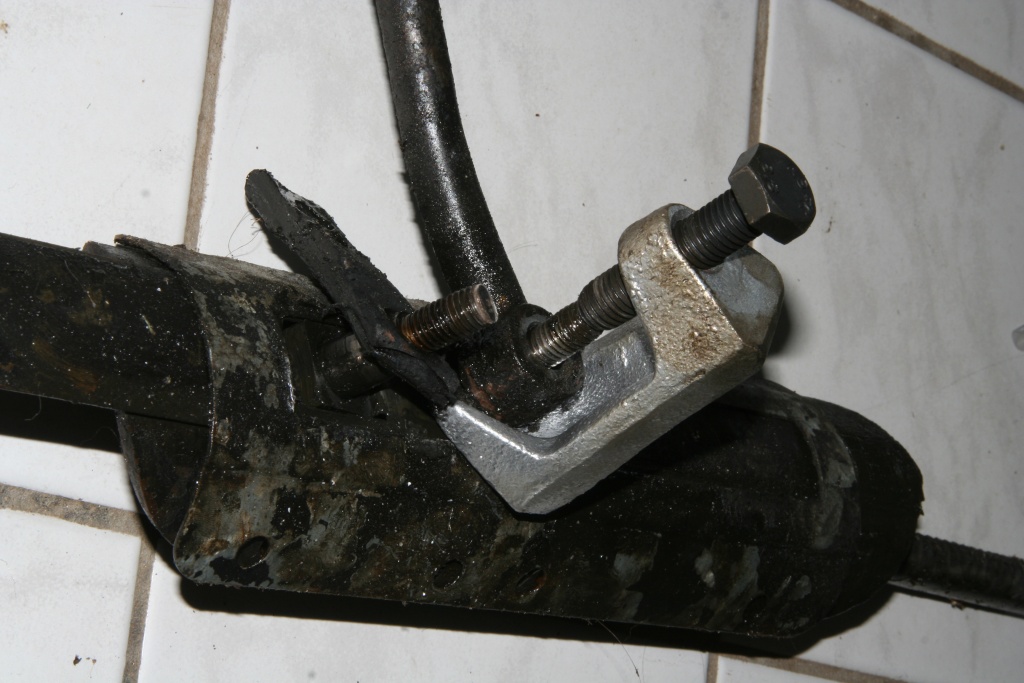 For the disassembly you need a extracting tool. Here the cheap version of such a tool for 11,90Euros can be seen. For amateurs like me it is good enough. The expensive variant deals more carefully with the rubber plate (it's not very expensive). 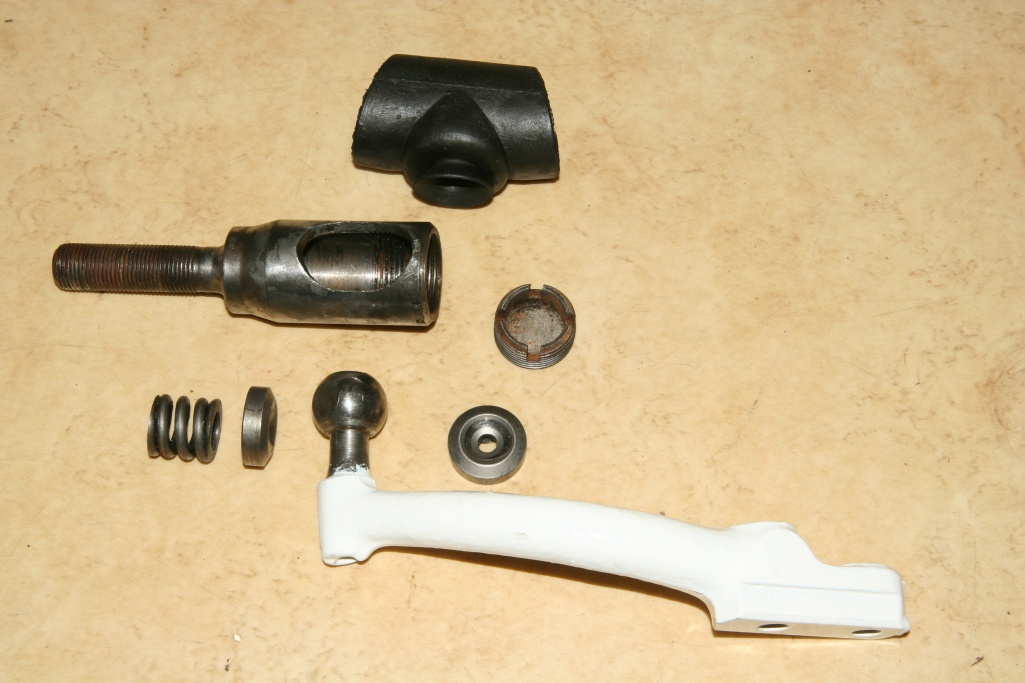 The individual parts of the tie rod end. 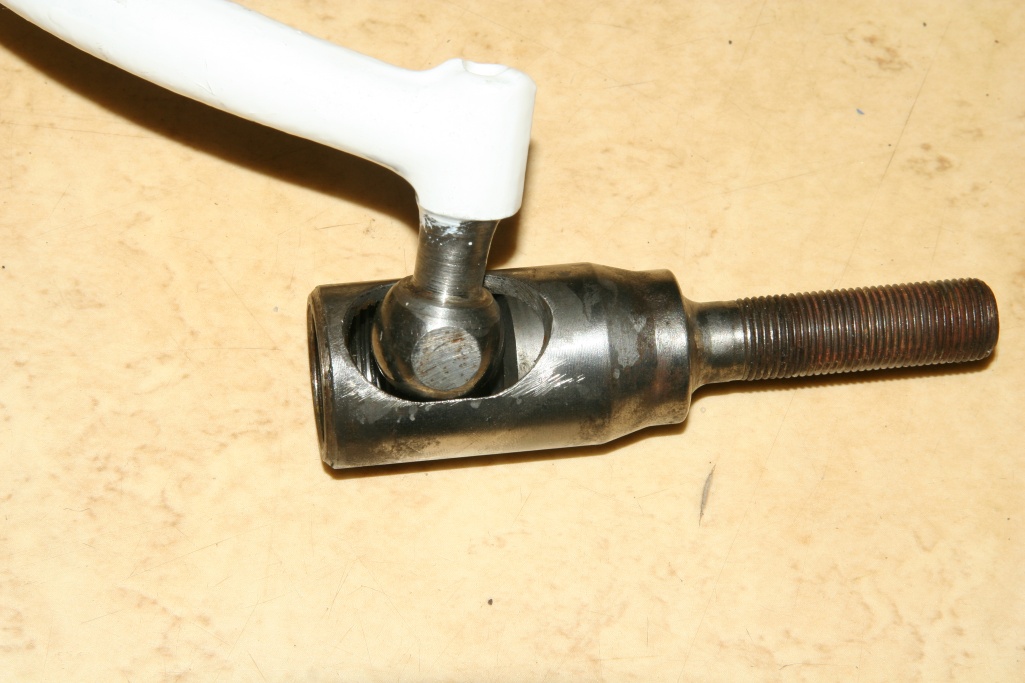 Turn them for the installation until the flattened sides are parallel to the oval apeture. Grease all parts before the installation well. Check whether the ball is still round. 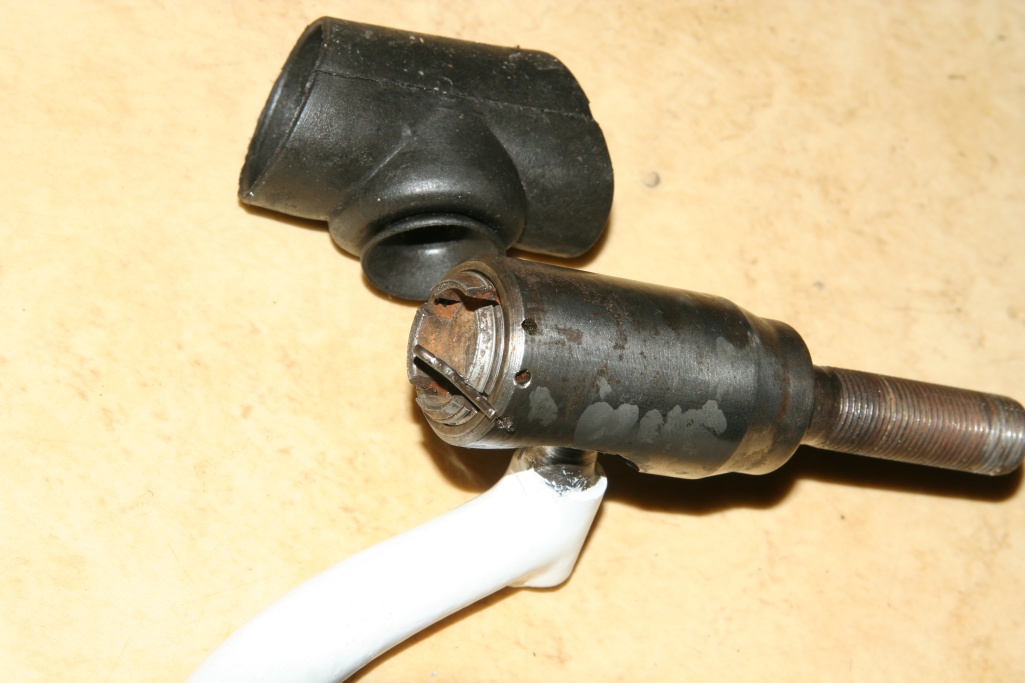 Put some grease at the inside of the rubber seal (keeps away dirt and water), then put it on the ball and now insert it to the rod end (don't forgett grease). Screw the nut completely in, then loosen 1/4 rotation and now attatch the cotter pin (head inward). At the photo the parts are assembled only for demonstration without grease. 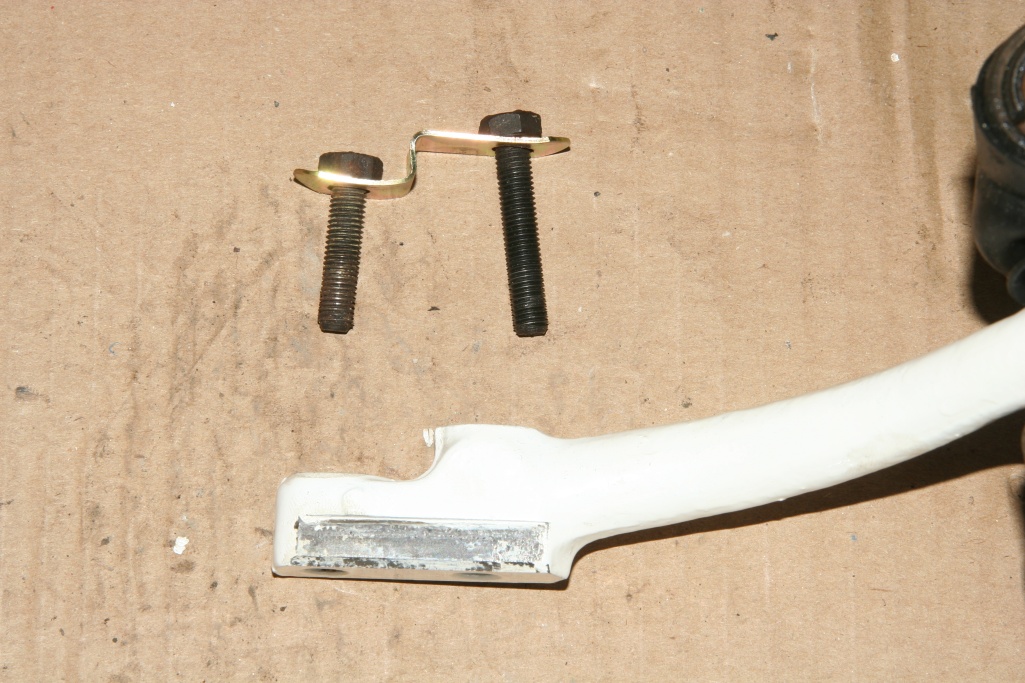 The tie rod end is fastened with 2 screws and a lock plate.  Don't forgett to bend the lock plate. 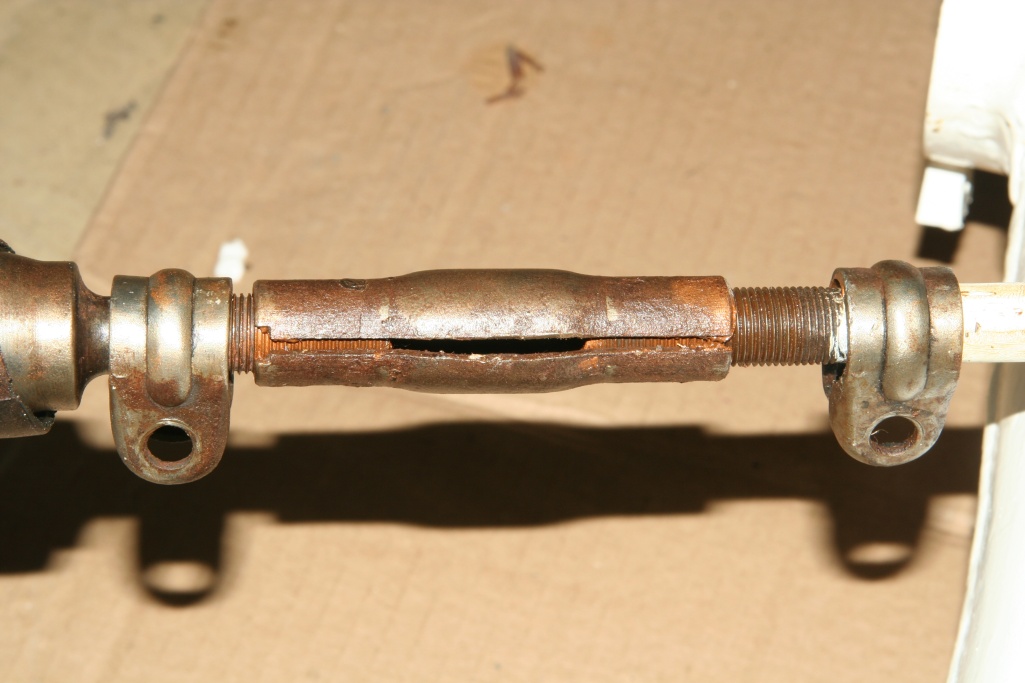 The adjusting mechanism at the tie rods. The slit pipe possesses a left and a right-hand thread. The notch (photo left) points in each case to the wheel. When assembled the same number of rotations has to be screwed at each end. The right adjustment can only be found at the completely assembled car. After adjusting put grease at the the whole mechanism, so that the rust does not receive a starting point. 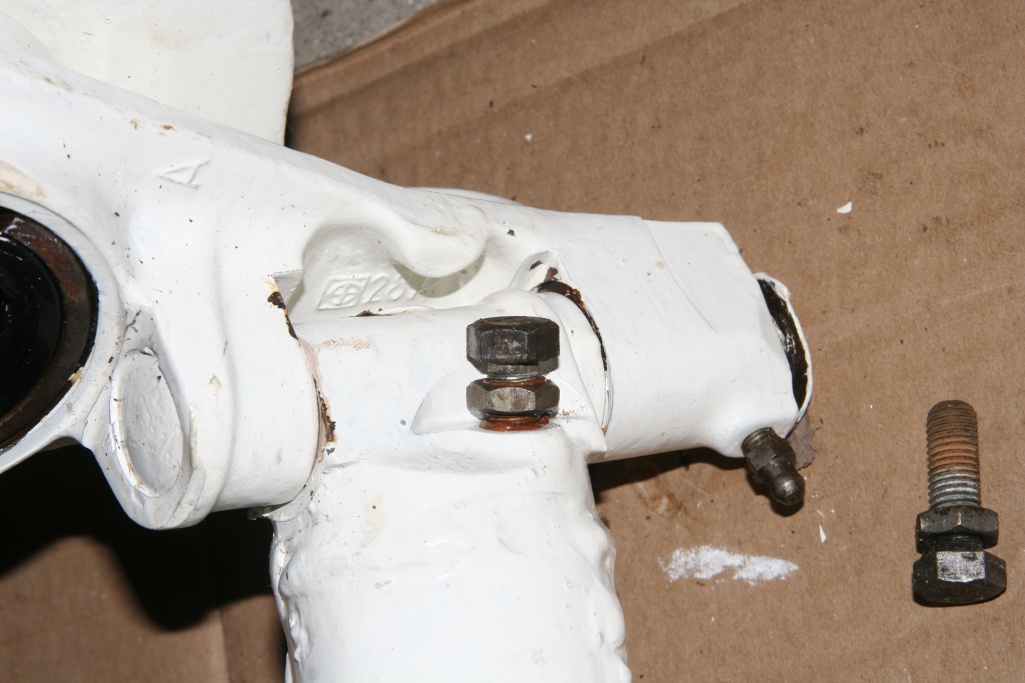 The lock of steering angle consists of two screws with locknut. Back to introduction Forward to chassis suspension |