|
|
Back to drive shaft Forward to engine parts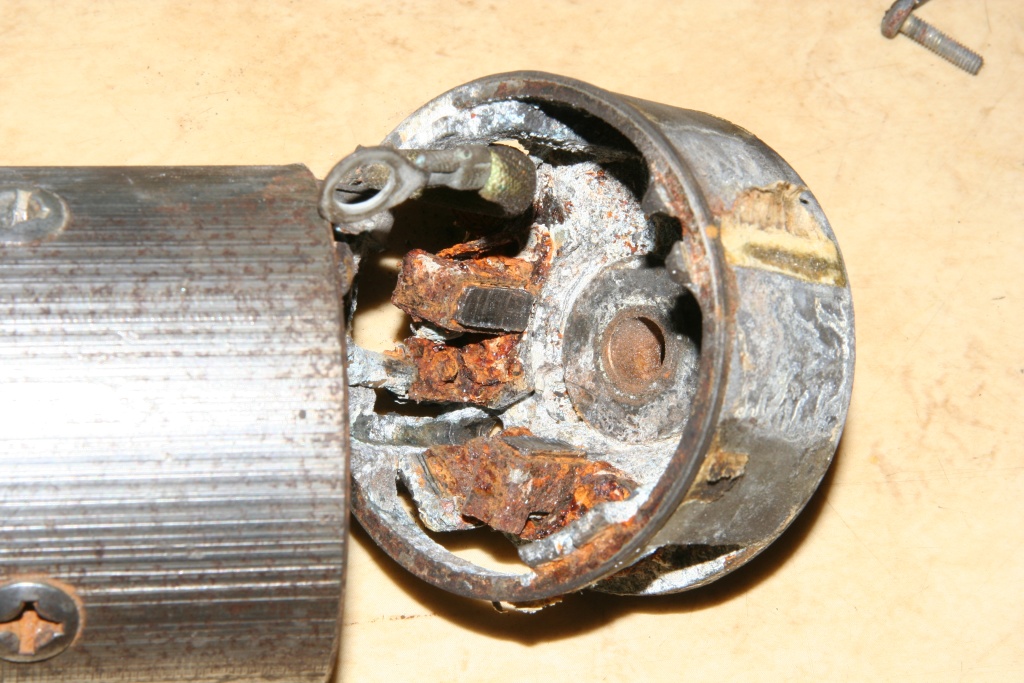 This starter doesn't work... 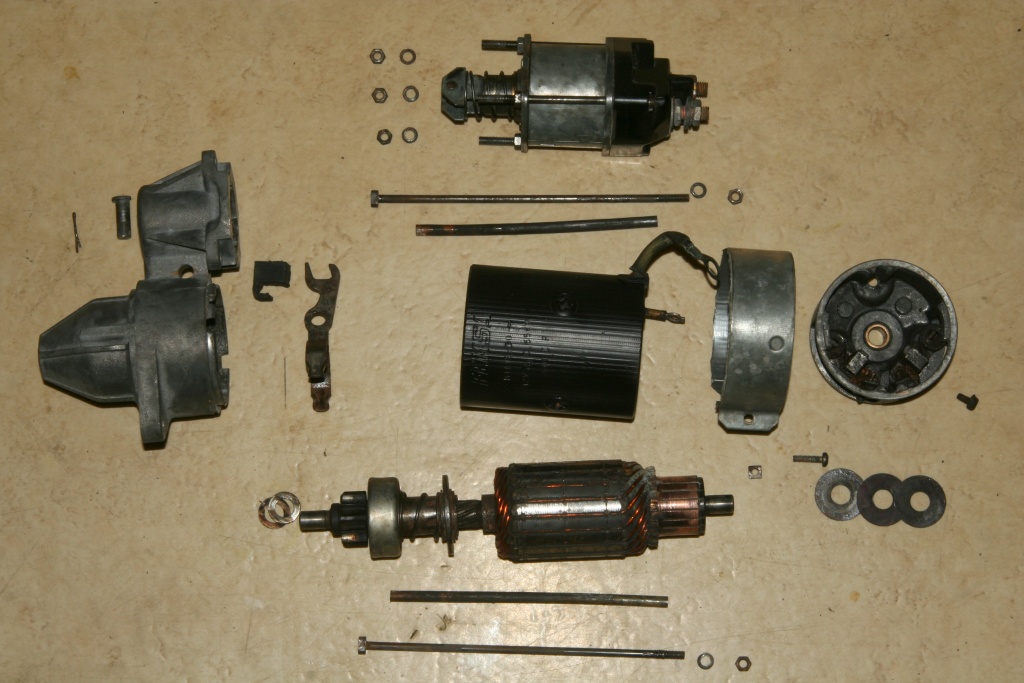 Divided and released from the rust, the construction units look much better. The magnetic switch (above at this photo) was still okay and not further divided. During the starting procedure it presses the pinion on the flywheel and the electric motor of the starter can now turn the engine. The pinion is withdrawn by a spring after starting.  The carbon contacts cleaned in large exposure. 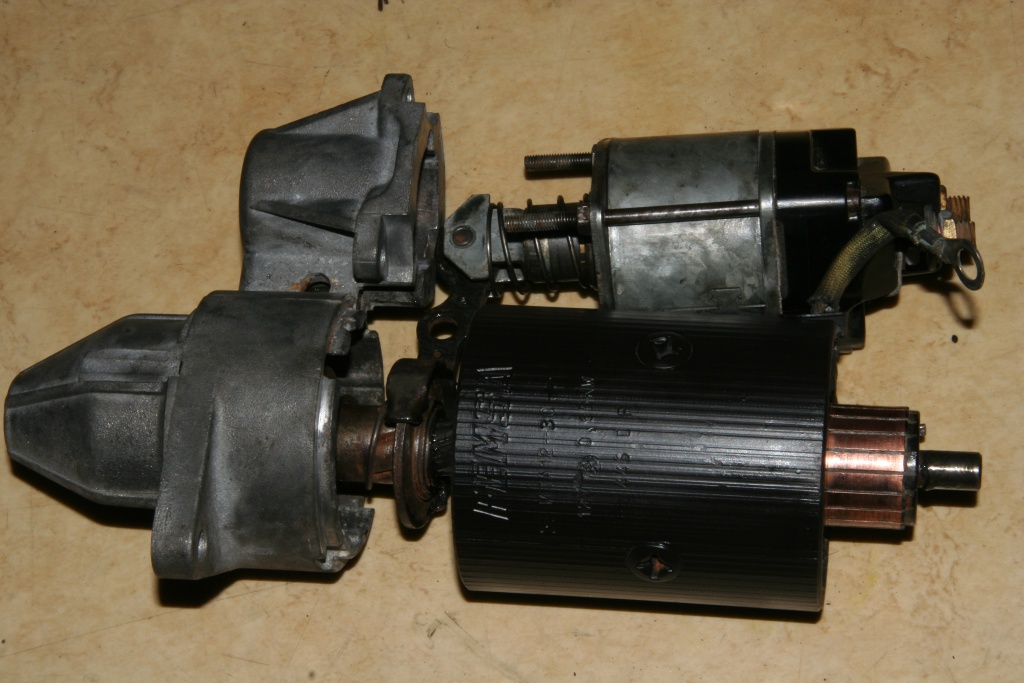 Intermediate step during assembling. 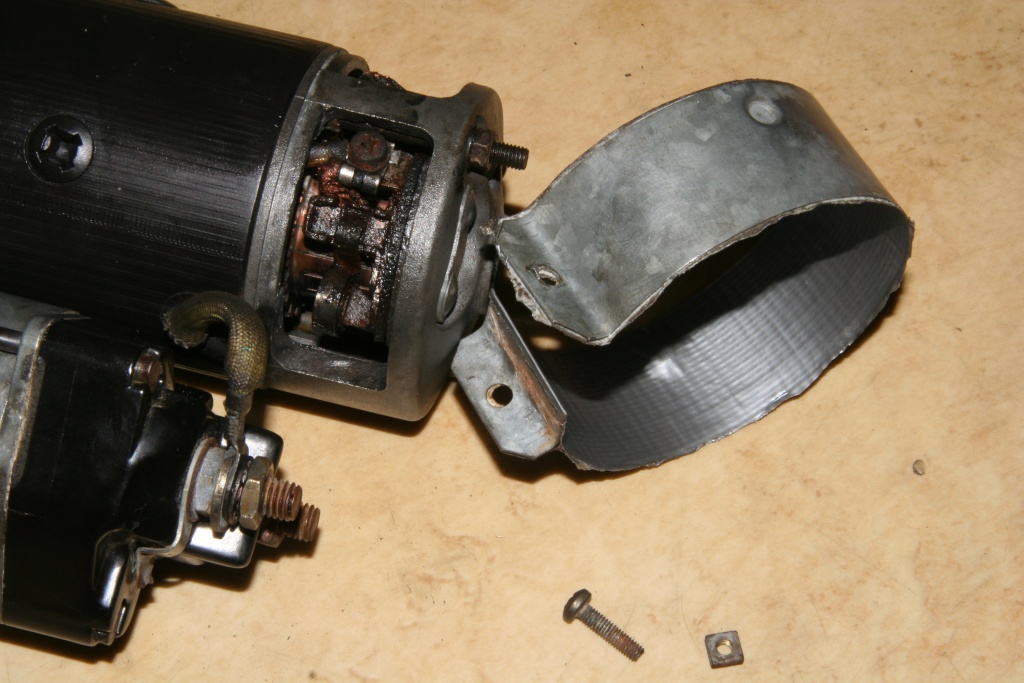 In order to be able to replace the carbon contacts if necessary, you don't have to disassemble the whole starter. It is sufficient to unscrew the rear metal ring. It is isolated original with paper. I used adhesive tape here. 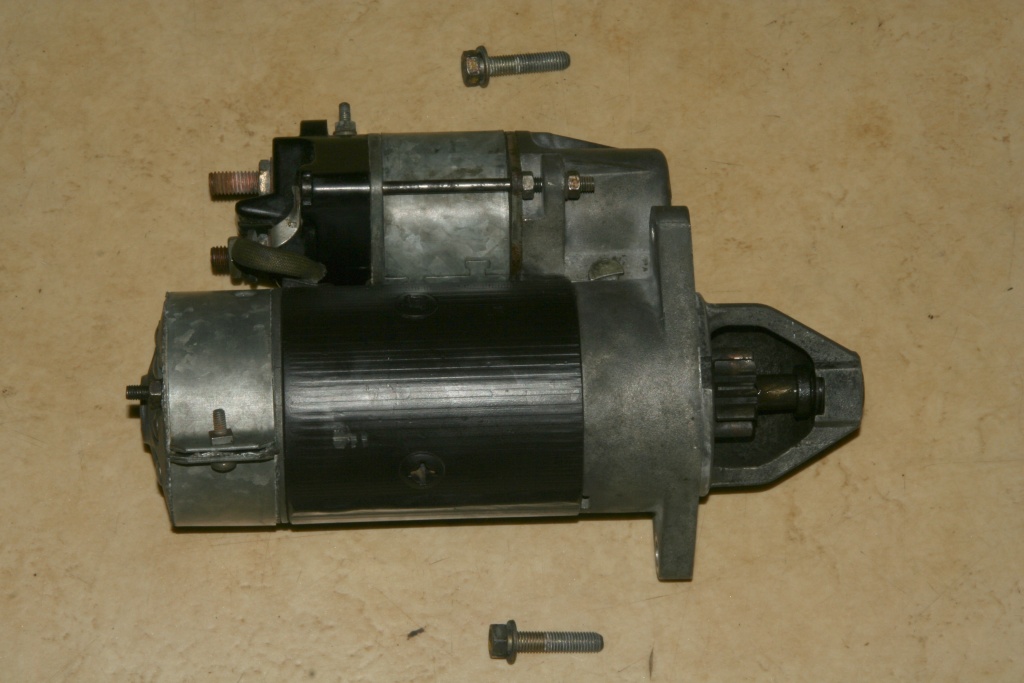 Assembled from downside... 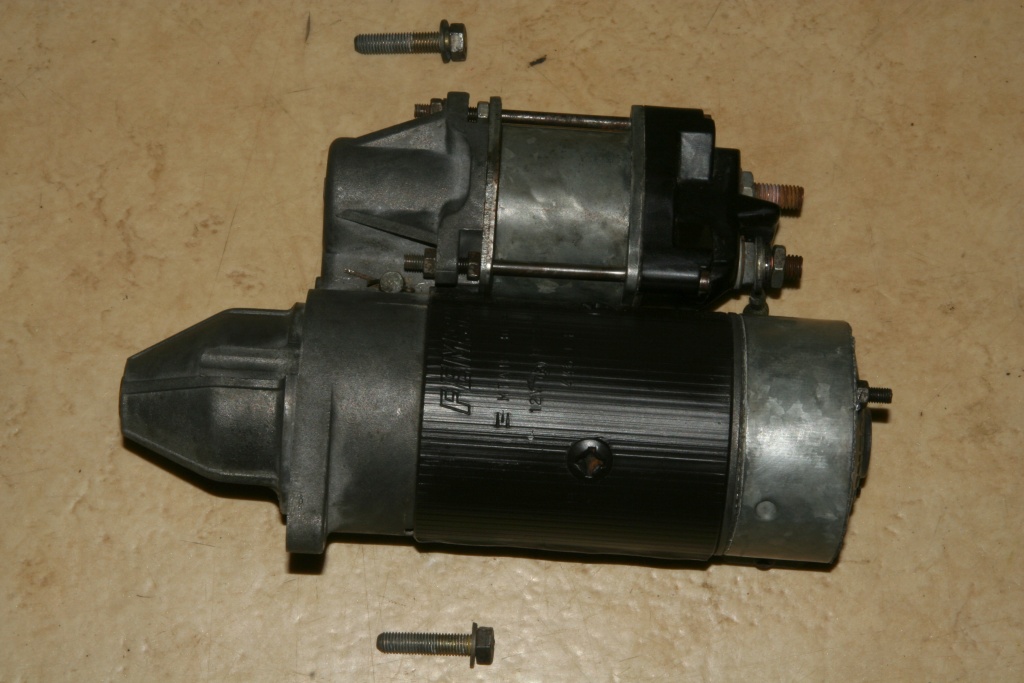 ...and from above. At the gearbox the attachment takes place with 2 screws. 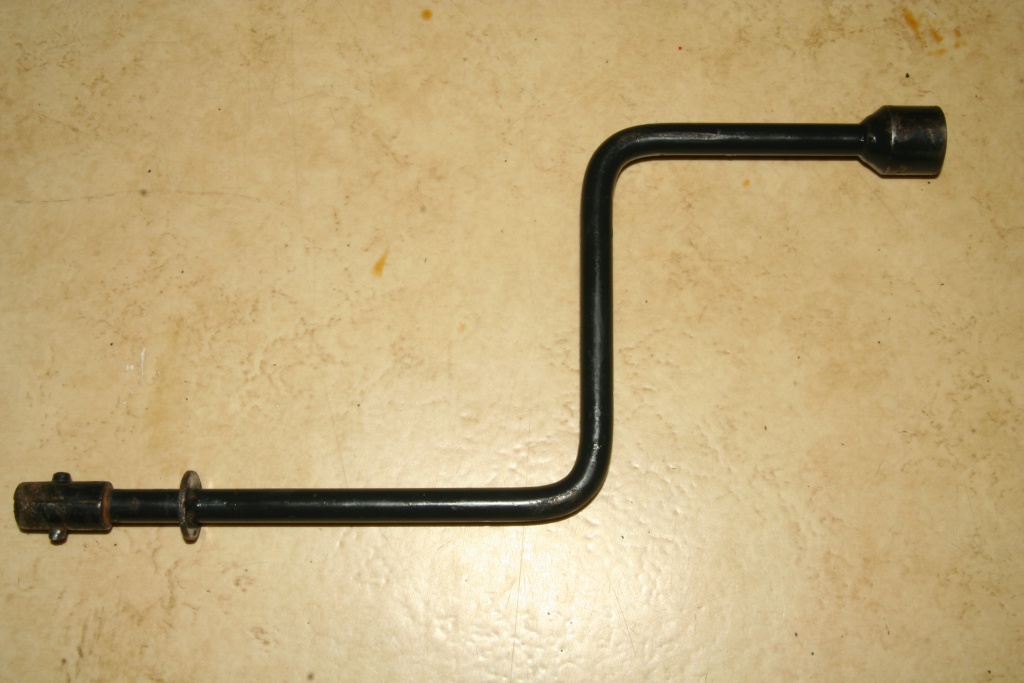 If the electric starter should fail, you can use the starter crank.  The crank is put with opened hood at the fan on the crankshaft. When using the crank consider that the thumb does NOT enclose the crank (as shown at this photo). 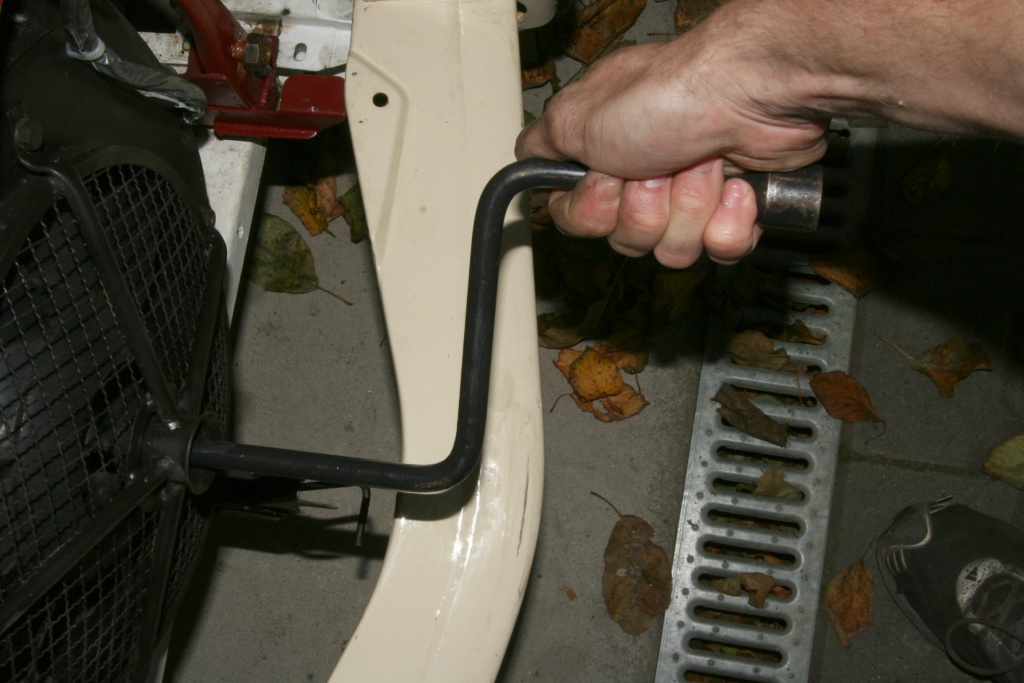 The thumb should instead placed like shown here. The reason is that the engine can 'strike back'. If the crank is then enclosed with the thumb, it might break in the most unfavorable case (your thumb - not the crank). If you place your thumb like shown at this photo, the crank will just slip out of your hand. So watch out! Turn on the ignition and with cold engine also pull the Choke. Turn the crank clockwise. As soon as the engine starts, the crank is pressed automatically away from the crankshaft (doesn't rotoate simultaniously). The engine cannot be started, if the battery is completely discharged, defective or not assembled. Some 'residual voltage' is needed. Back to drive shaft Forward to engine parts |