|
|
Back to starter Forward to topping-out-ceremony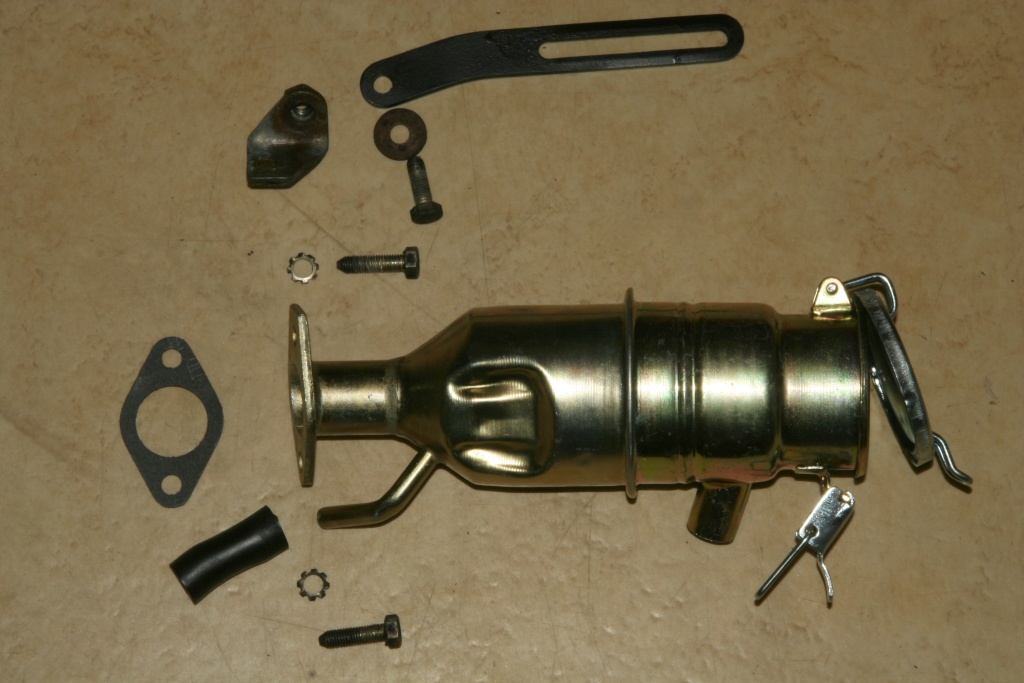 The oil filler neck. Here a flatter valve is inserted, which provides the running engine with negative pressure in the crankshaft housing. That prevents withdrawing of oil at the crankshaft. This flatter valve can't be exchanged individually. If it is defective, the entire filler neck must be replaced. Additionally with the oil filler neck the clamping arm for the attachment of the generator is fixed (top of the photo). 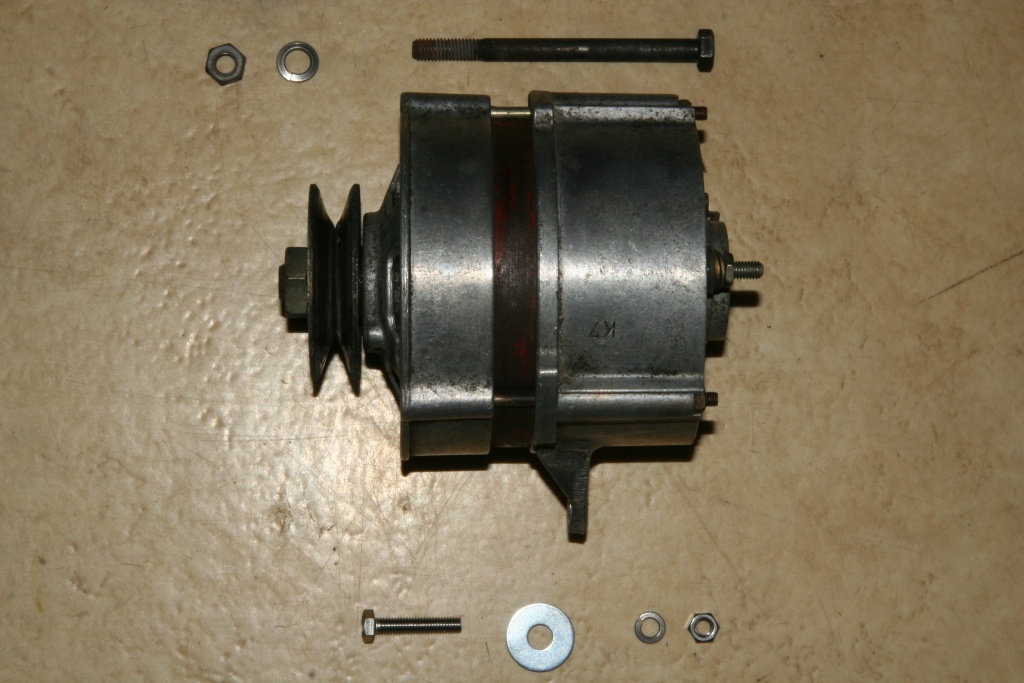 The generator is fastened with a long screw at the manifold and with a short screw at the clamping arm. 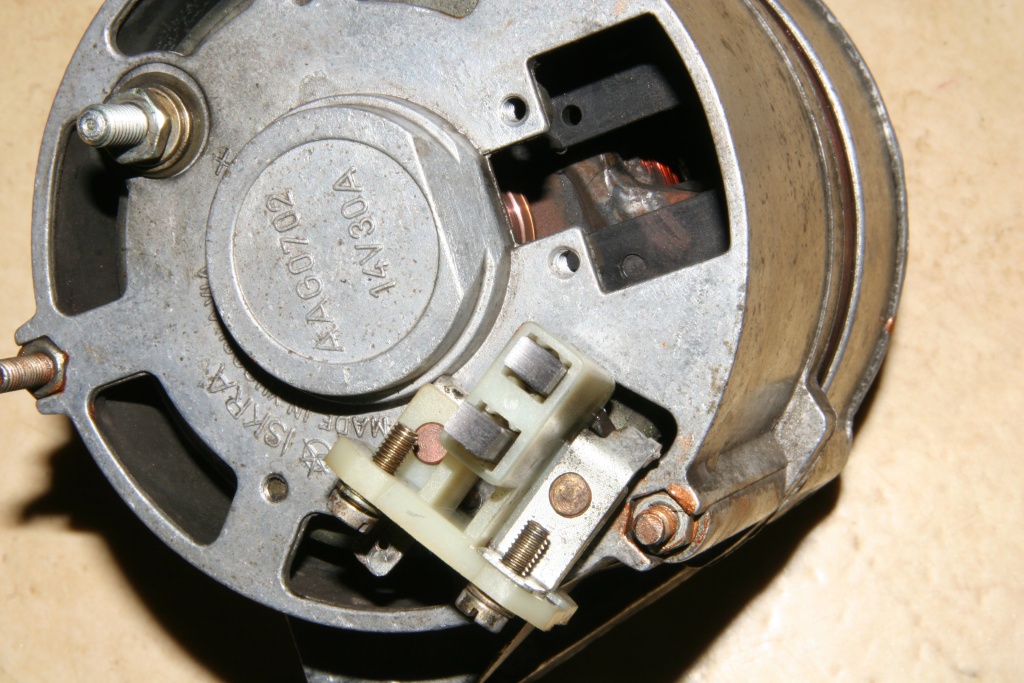 The carbon contacts can be removed after loosening two screws of the plastic mounting plate and exchanged if necessary. The connections can be seen here.  This cover belongs to the front of the generator. 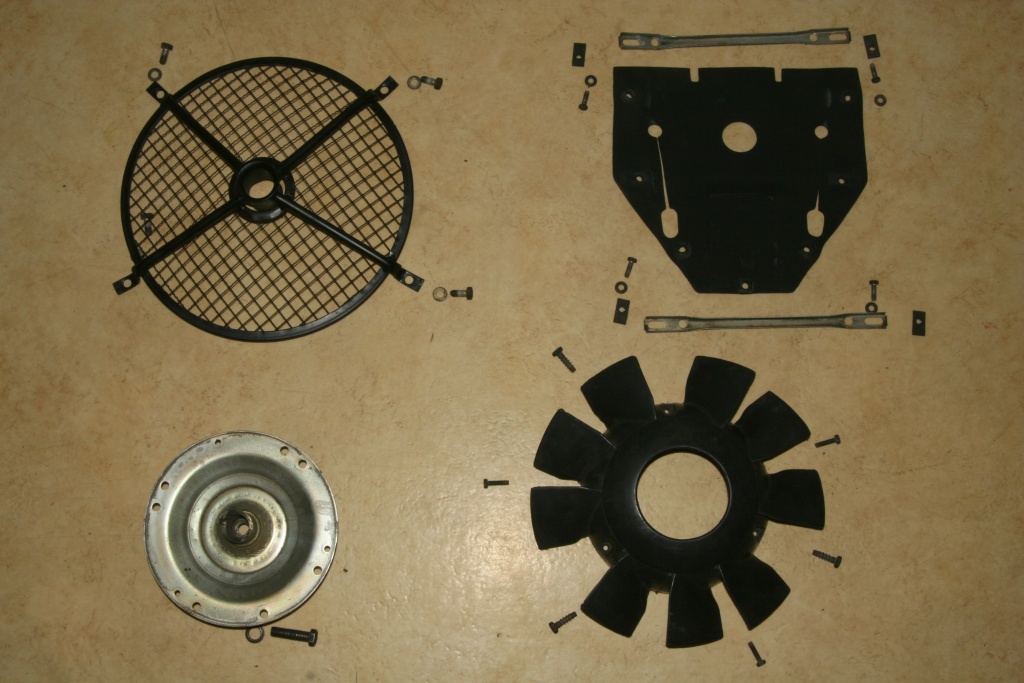 The fan is screwed directly on the crankshaft. The wheel propels the generator by the fan belt. 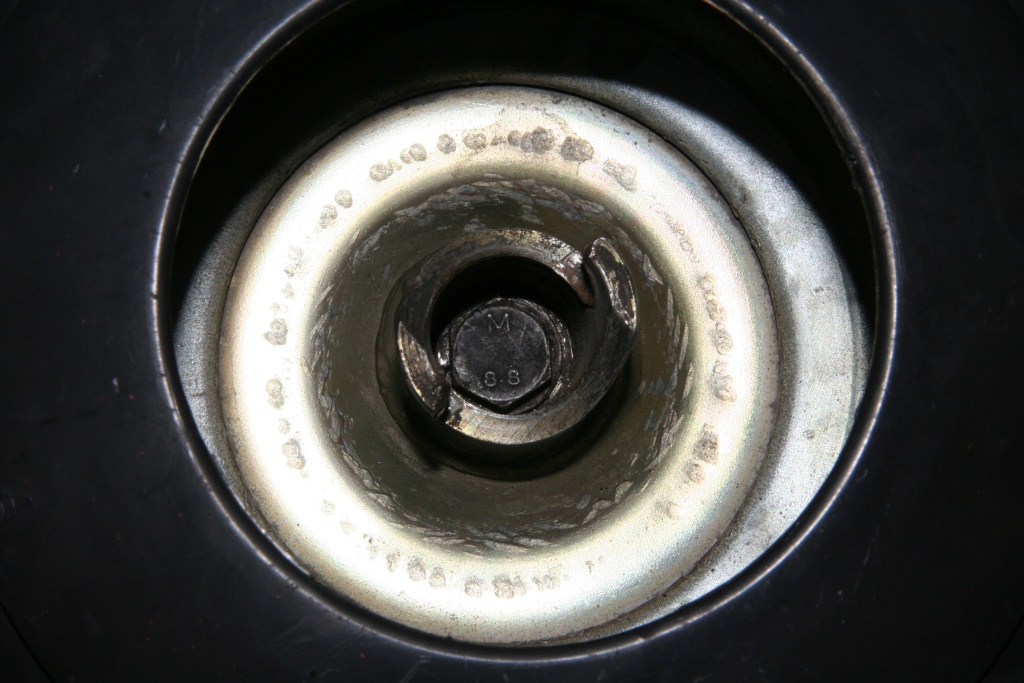 The screw is to be processed with a thin 14er nut or an appropriate tube wrench. 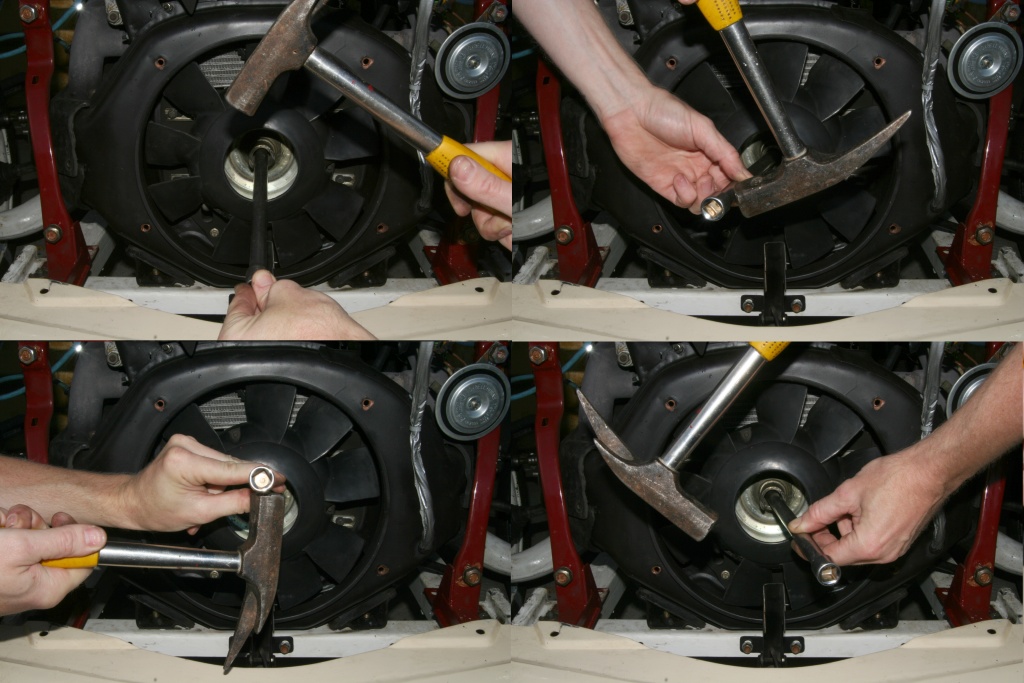 Proceed as follows to the disassembly: After loosening the screw of the fan it's usually still quite firmly on the crankshaft. If you don't have the suitable puller handy, proceed as follows. Put the extension of a 1/2-inch ratchet in the fan and knock SLIGHTLY on it with a small hammer from above, right, down and left. Don't hit hardly! The impacts will transfer directly to the crankshaft and we don't want to destroy it. Be careful with light impacts if necessary several times clockwise, until you achieved your goal  The air cleaner housing is fastened to the tie bolts of the engine and with a third point directly to the gearbox.  I exchanged the original oil filter after run-in period of the engine (1.000km) with a larger one. In order to be able to use the big one, you need an appropriate adapter. The advantage is a somewhat lower oil temperature because of the approx. 500ml larger volume. Back to starter Forward to topping-out-ceremony |