|
|
Back to carburetor Forward to breake tube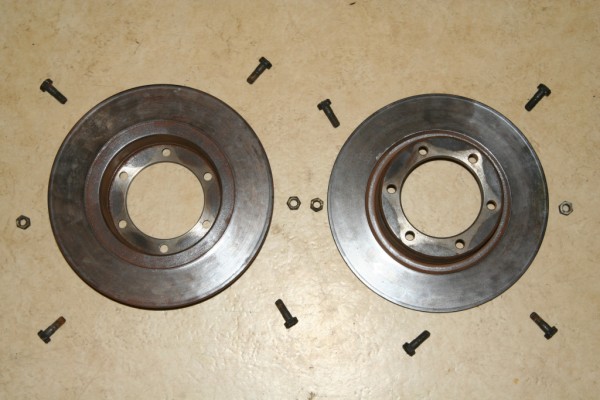 The brake disks are fastened with 4 screws and 2 pins each with screw thread on both ends. They are fastening the driveshaft at the transmission at the same time. The minimun thickness of the brake disks is 4mm at the weakest point, replace them elsewise. 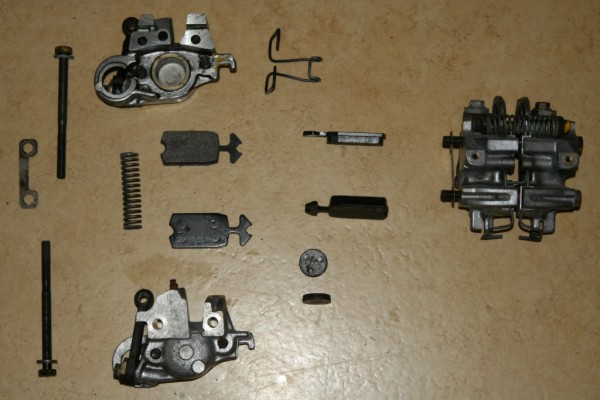 The brake calipers: The large brake linings are for the service brake and are pressed hydraulically to the brake disks. The small round linings are from the emergency brake and operate by means of push pull cables. Resetting is done by a steel spring. 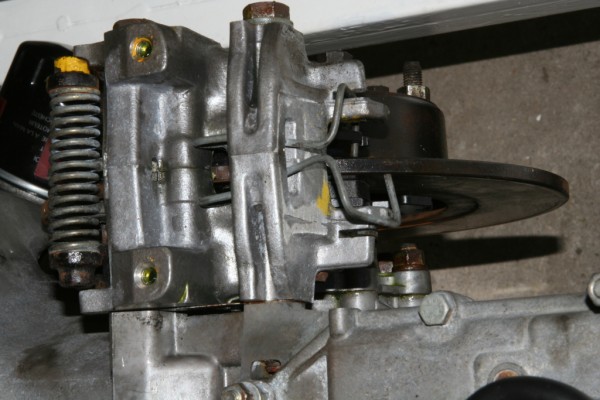 Here it's already installed at the gearbox. The lower brake lining at the photo is not completely installed for demonstration reasons. To change them, pull the spring out as you can see here with the help of a screwdriver and remove the old brake lining. The Plunger has to be pushed back now carefully, so that the new lining can be inserted. Lock the spring again and examine the correct position of the linings carefully! After the change of brake linings check for correct operation and have a look at the level of the brake fluid. It might be more than the highest mark, because the new linigs are wider than the old ones. 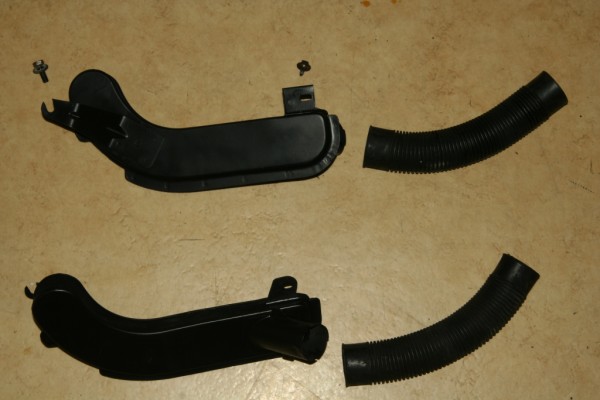 The air deflectors for the disc brakes. These lead the cooling air of the fan to the brake disks. 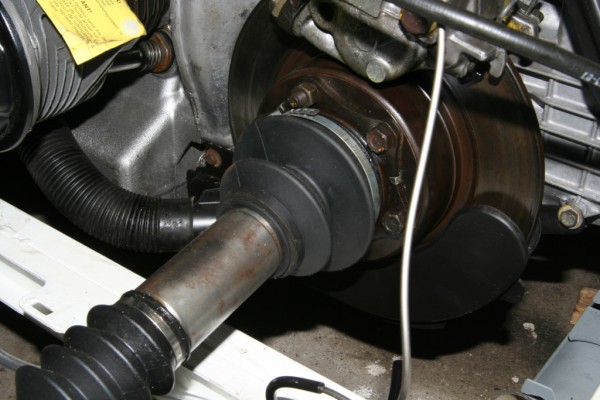 The rear attachment at the transmission holds at the same time the exhaust (not install yet). 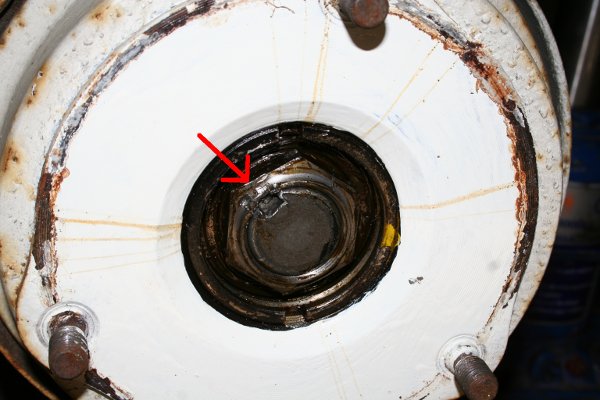 During the overhauling procedure I didn't inspect the rear drum brakes, because I did not have a 44mm nut in my ratchet box. After 20.000km of driving I realized some trouble with the brakes -something seemed to be uncircular while stepping on the brakes slightly. The front disc brakes were all right and so the problem came definitely from the rear brakes. Jack up the car accurately! The nut is tightened really strong. To loosen it, you have to bent back the locking punches (red arrow). Now you can loosen the nut using a long lever, but don't push the car from the jacking equipment! A good auxiliary tool is the rim with a big hole, with what the drive shaft can be loosened, too. 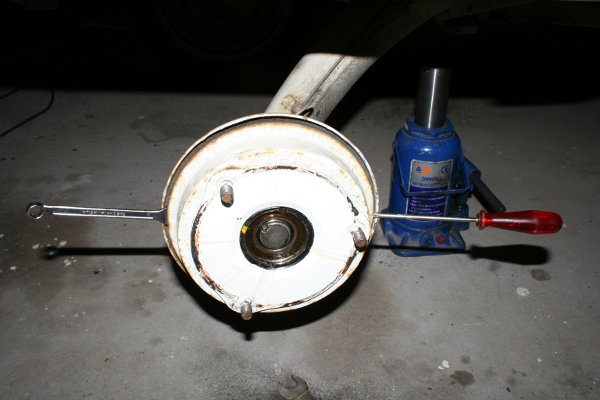 The drum can be levered off very slightly by using two screwdrivers (or something similar), one at the opposite side from the other - simultaneously. 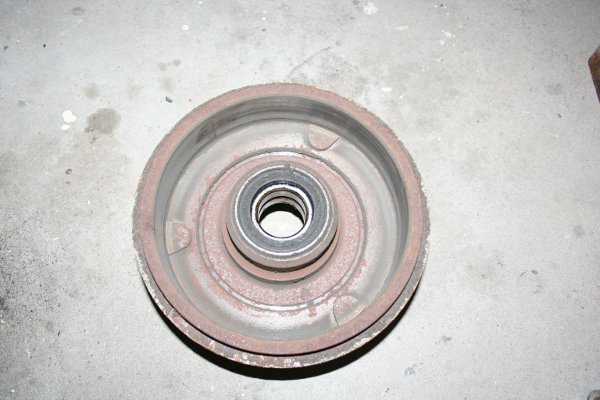 If the drum became uncircular, it can be milled out by a specialist. My problem was something else but the drum. 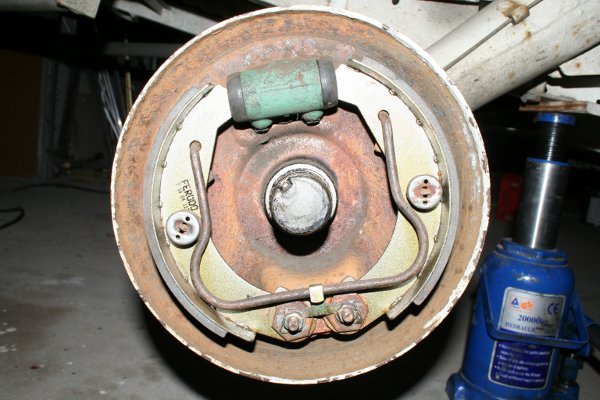 The new brake pads are allready assembled at this picture. The picture from the disassembling procedure wasn't really good. 1.) Bend back the securing plate at the two screw nuts (bottom) and unscrew them. 2.) Remove the clamp 3.) Remove the caps which lock the small springs with the help of a caliper by turning them around for 90 degrees. 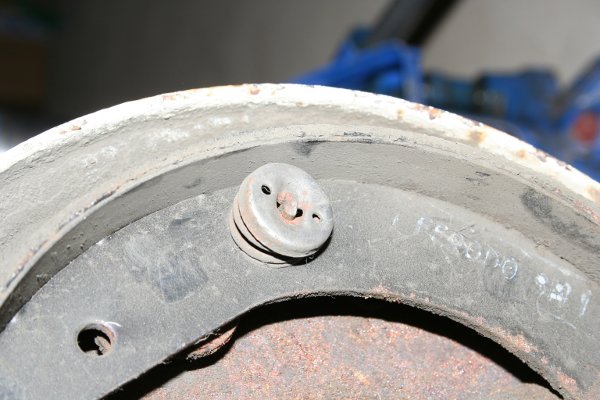 Spring + cap 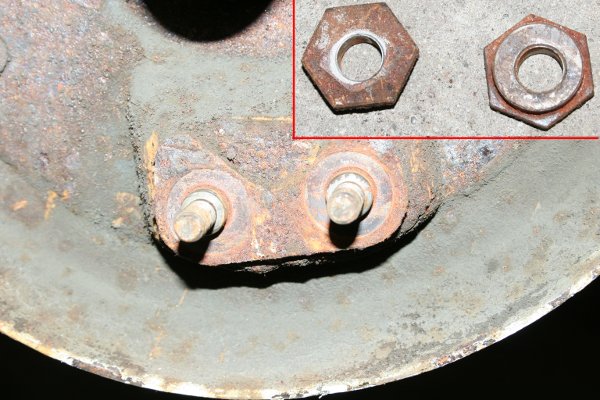 The braking pads at my car were completely rusted at the fulcrum so they could not turn ! I cleaned the screws and used copper paste to lubricate the area. 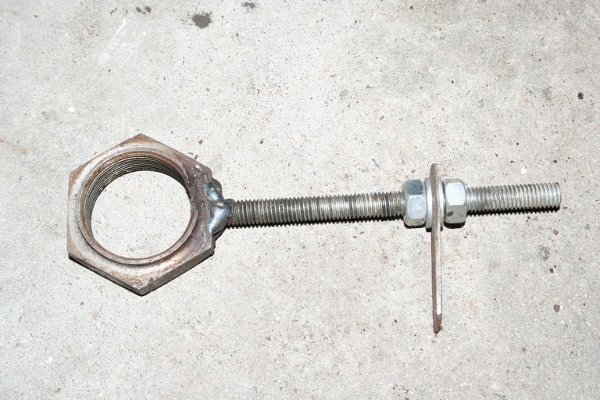 By now a very special tool is needed to center the braking pads correctly with the help of the excentric nuts. The old 44mm nut should be replaced by a new one, so you can use one of the old ones to build the tool. Or you borrow it from a mate - thanks Frank once again. 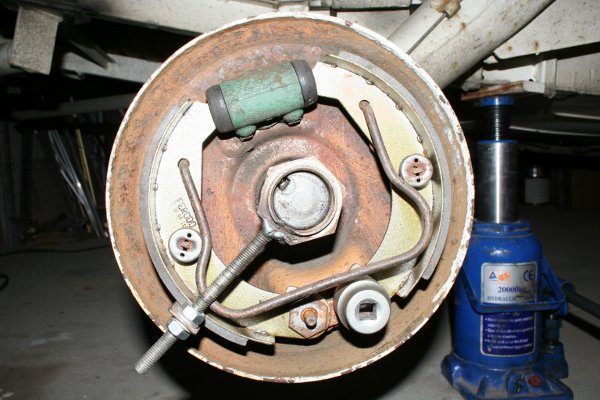 The pictures... 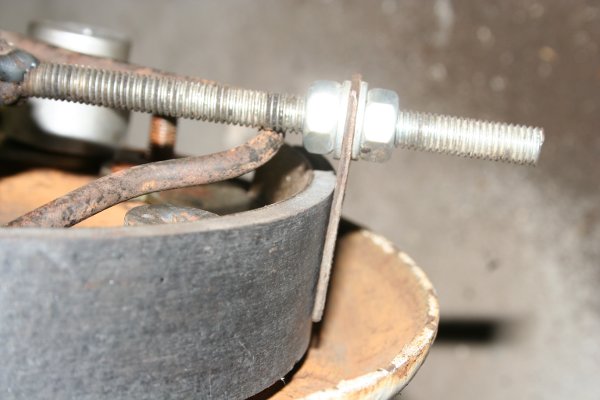 ...demonstrate the functionallity. 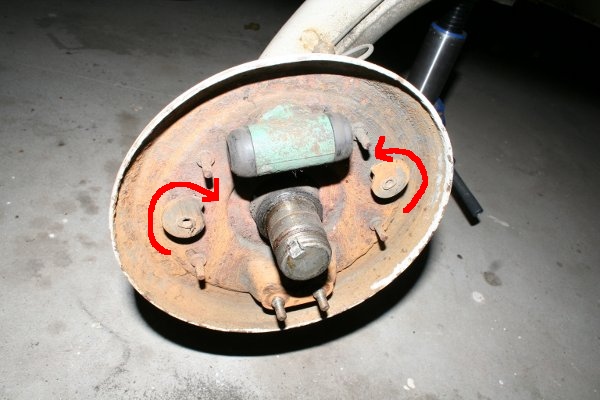 If you are not able to put the drum on the axis, this could be because of the fact that the new pads are thicker than the old ones. Hence the arresters have to be adjusted. They have to be actuated with the help of a 14mm wrench from the backside of the brake. Turn them as shown at the picture until the pads don't slide at the drum any longer. Assemble the whole stuff and the work is done. The brakes of my number 1 are working like they should by now. Back to carburetor Forward to breake tube |