|
|
Back to redesigning back of car (2) Continue with final assembly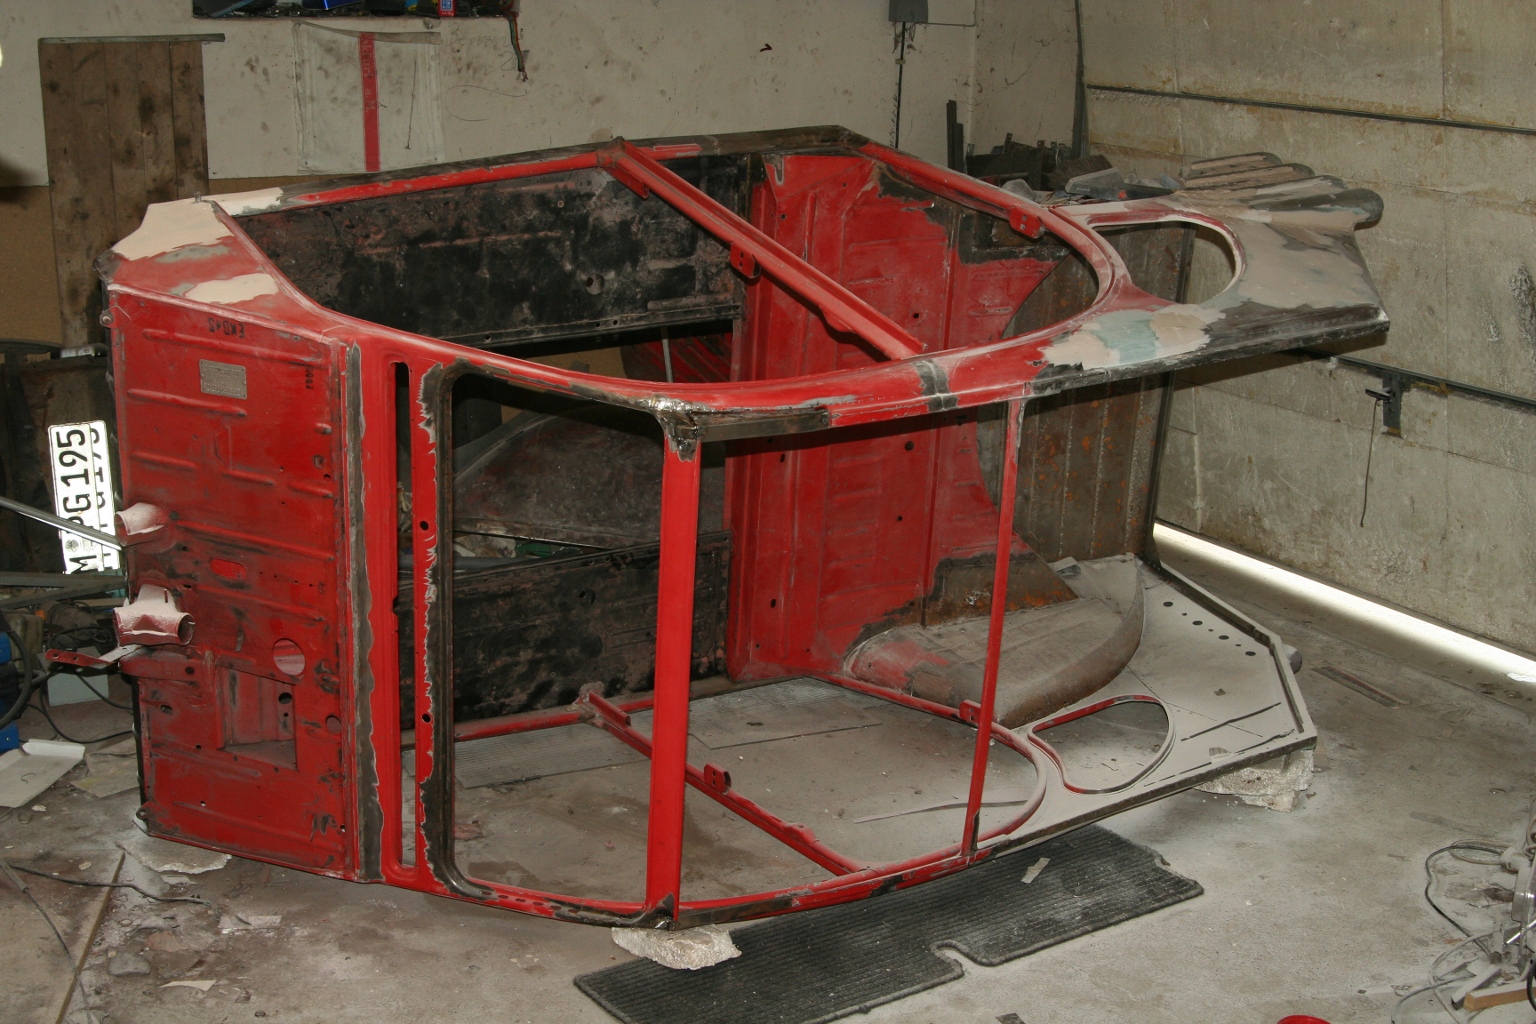 26st of May 2010 - my garage The actual job is filling, grinding, filling, grinding... 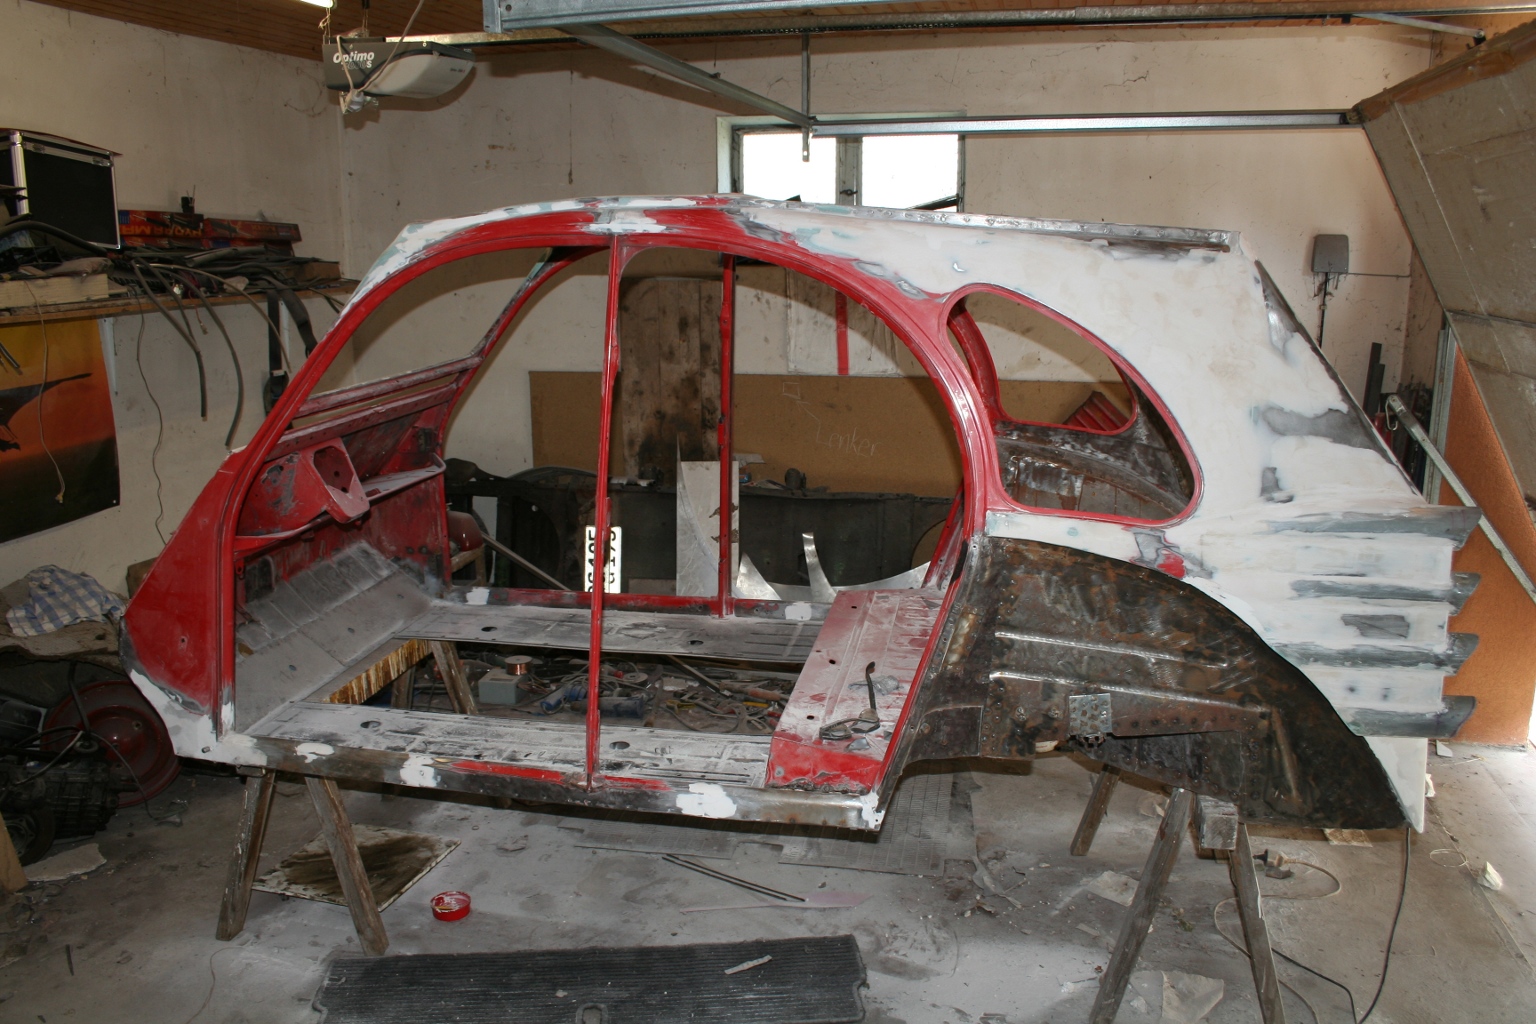 08th of June 2010 - my garage Somewhen I declared the filling and grining job to be over. Not because the result was perfect, but I thought I had grinded more than enough filler to dust. I am definitely no sculptor and the result was as good as I could do this job (it's a 2CV an no Rolly-Royce...). 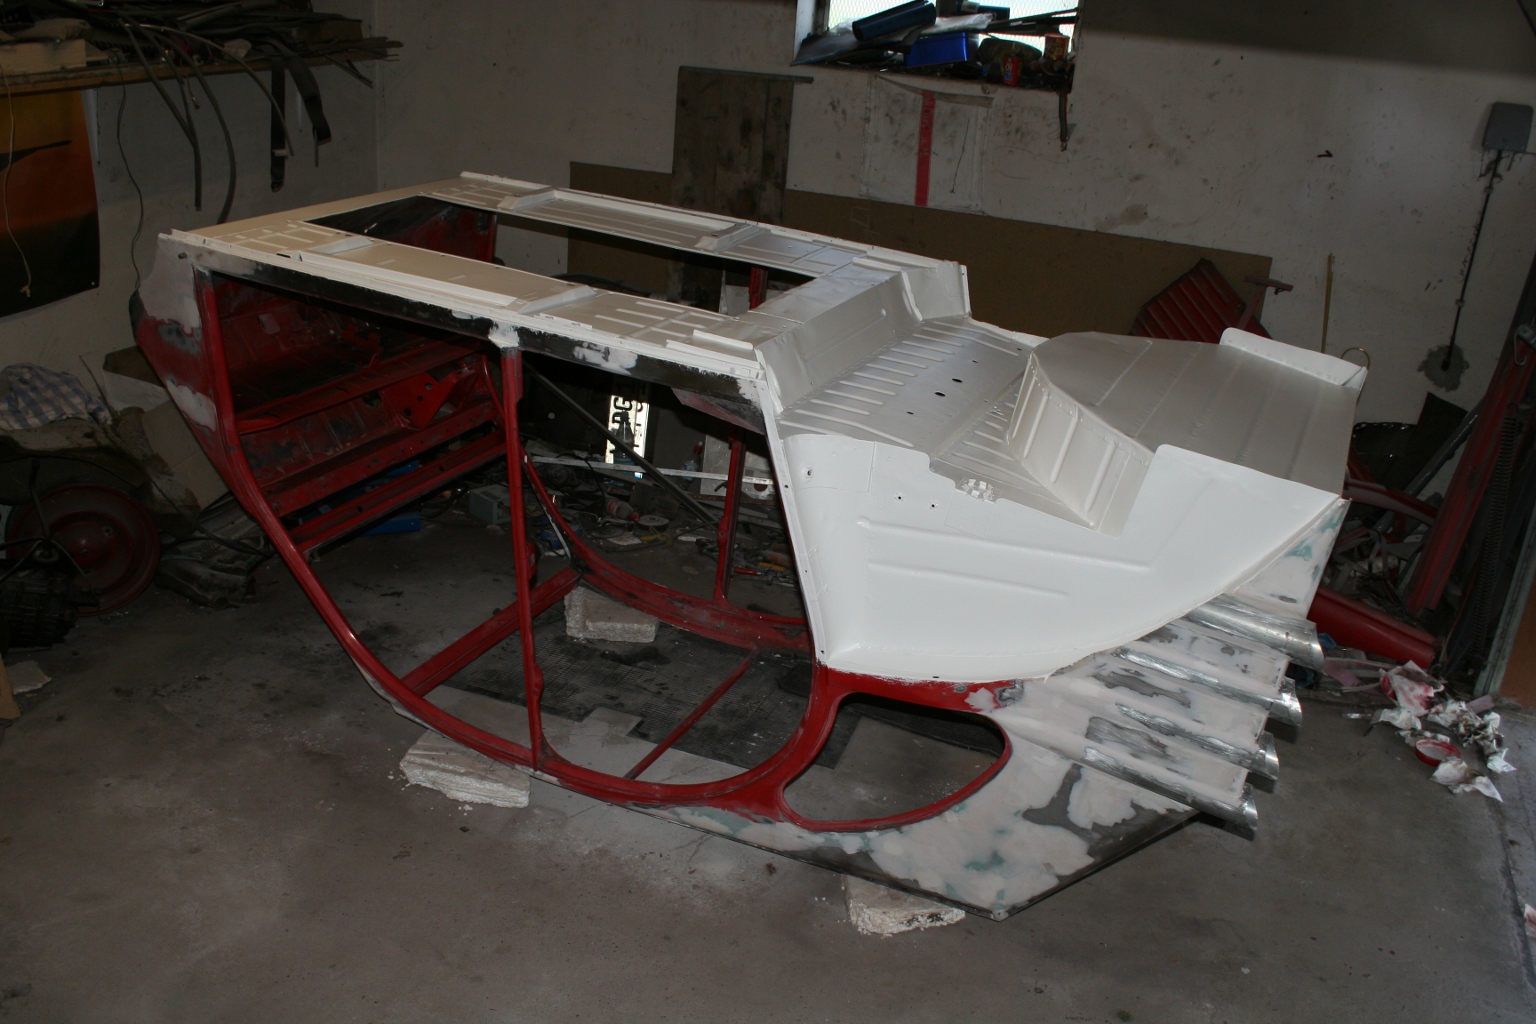 10th of June 2010 - my garage The priming of the underbody was the next step. I took a paint-brush and a roller like I did with my number 1. I think this is the most practicable way to do this job without a paint cabin. The surface won't be as glassy as those of a british state carriage, but the result is good enought to me. 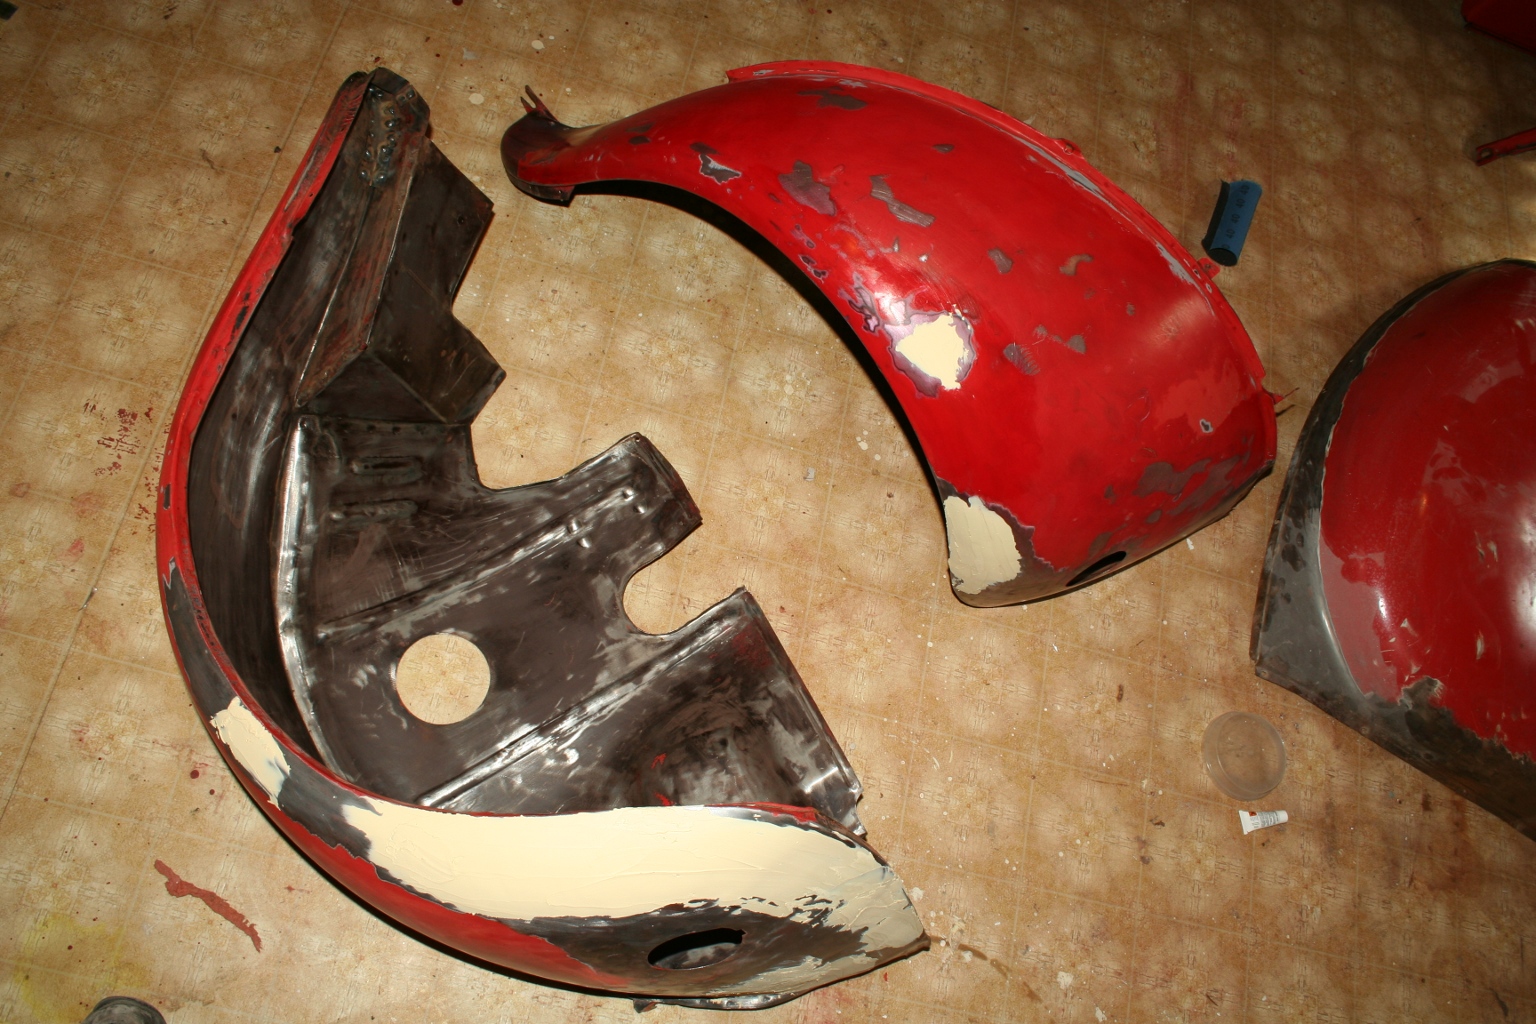 10th of June 2010 - my garage The front fenders were a bit crumpled and so it took some more filler to plane them. 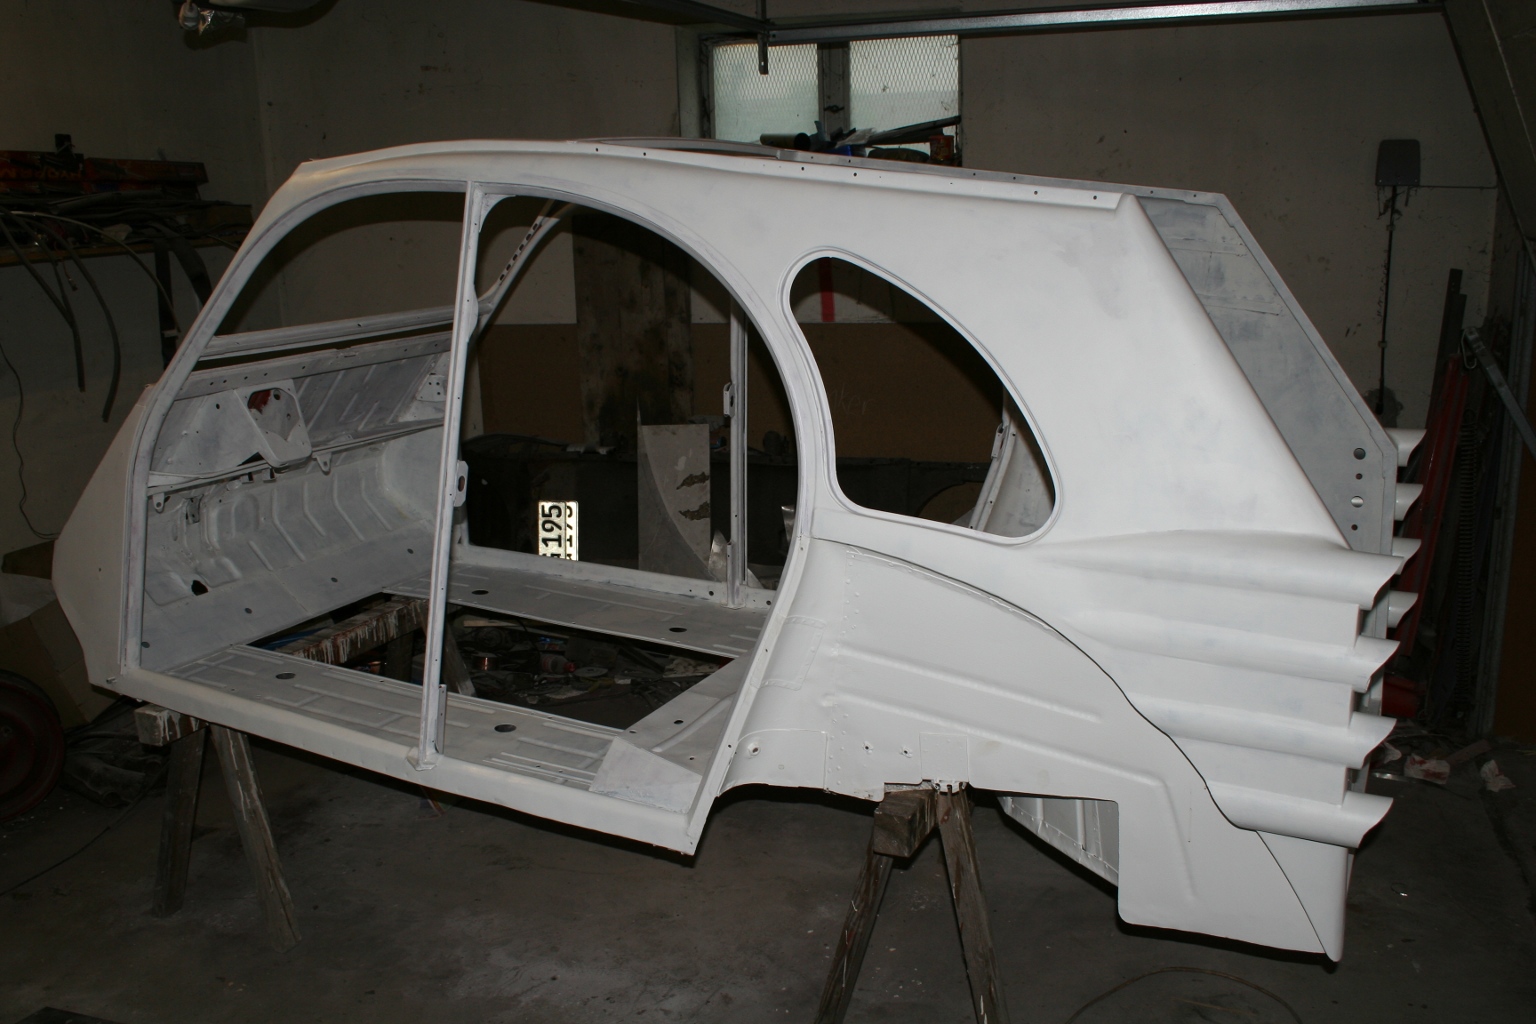 12th of June 2010 - my garage With the first layer of primer, the patchwork fades away. It took 3 hours of work to do this job. 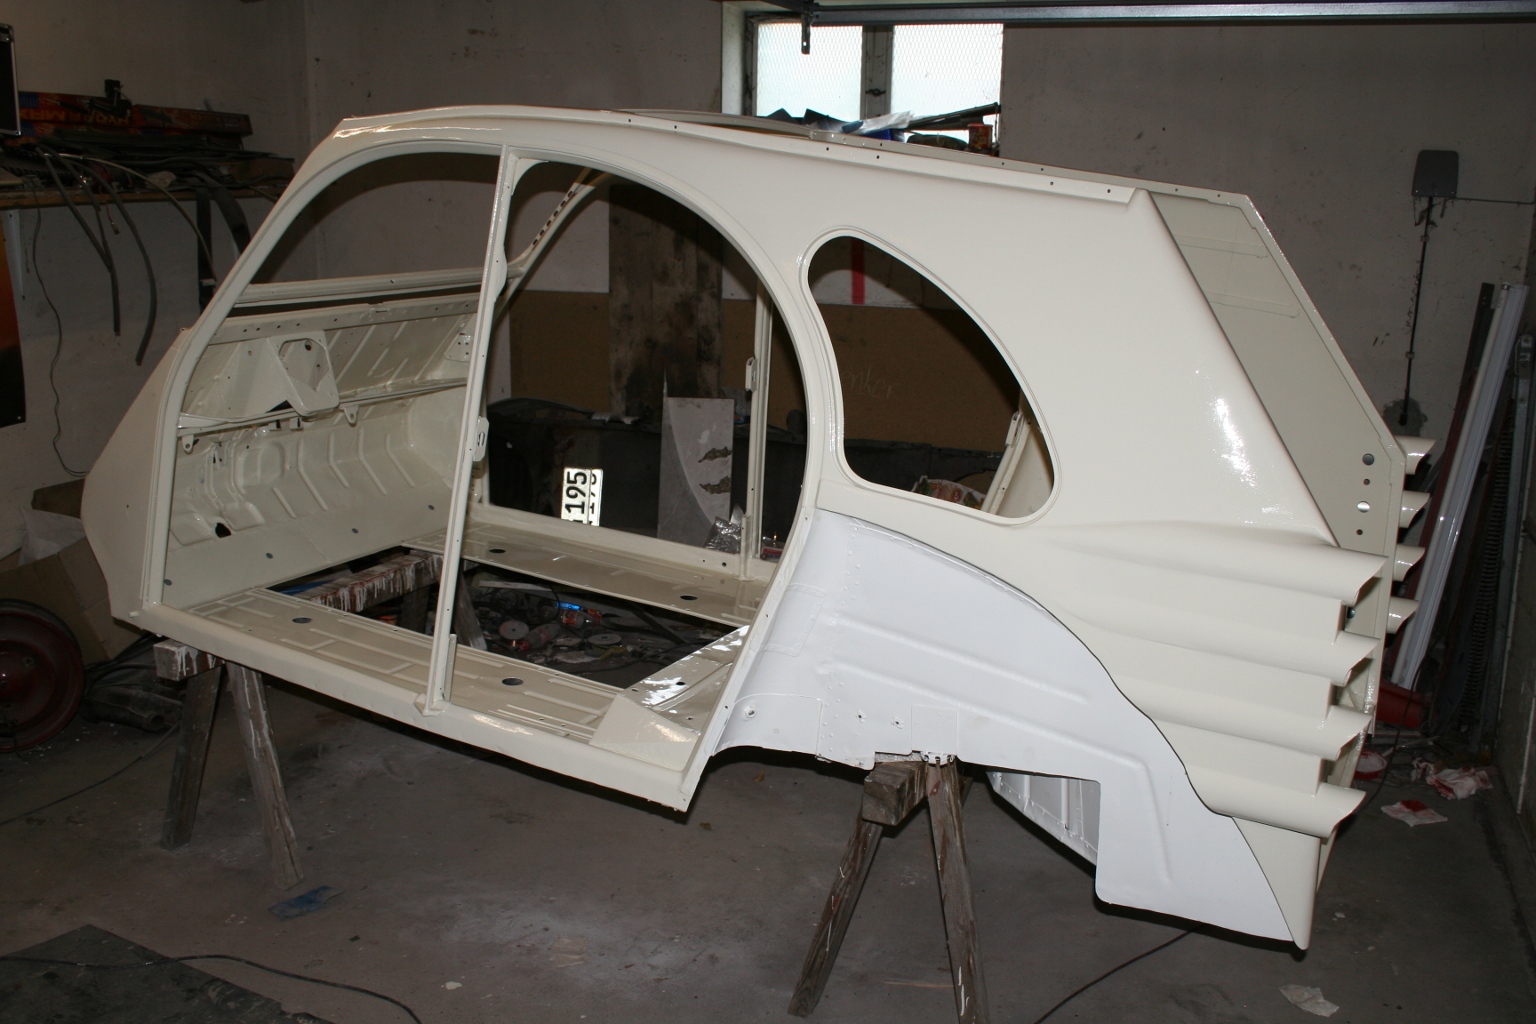 19th of June 2010 - my garage The final coat is the same I used to paint my number 1, RAL 1013 (light ivory). My number 2 will be painted with two colors, too. 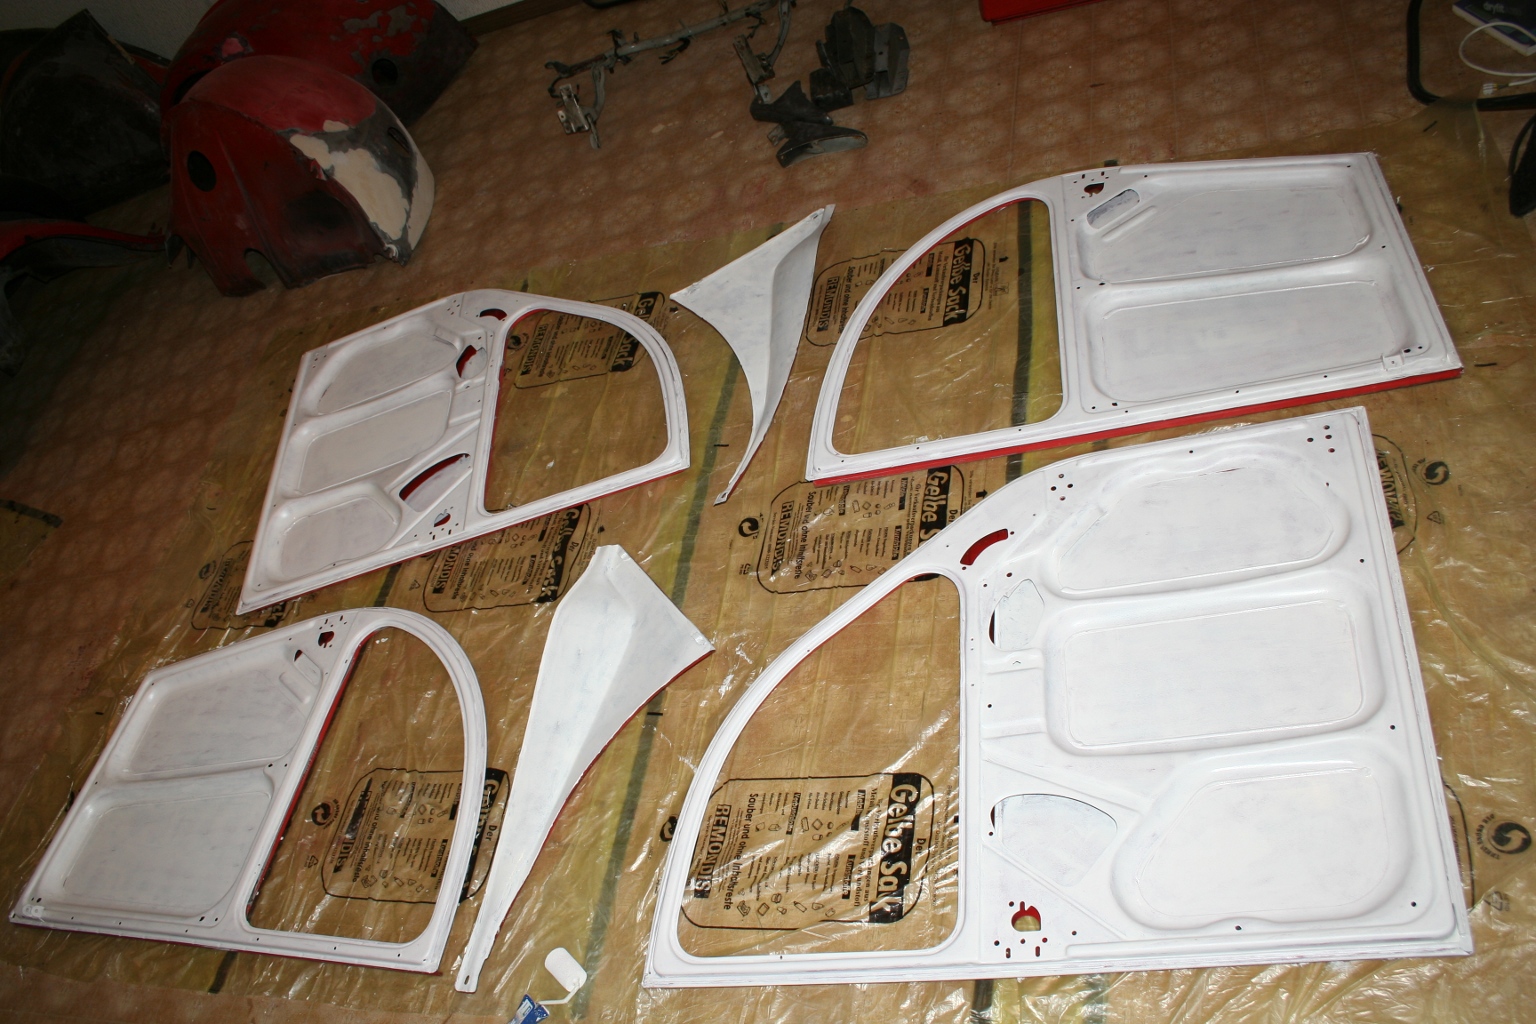 19th of June 2010 - my garage The next step is to filler lots of attaching parts. 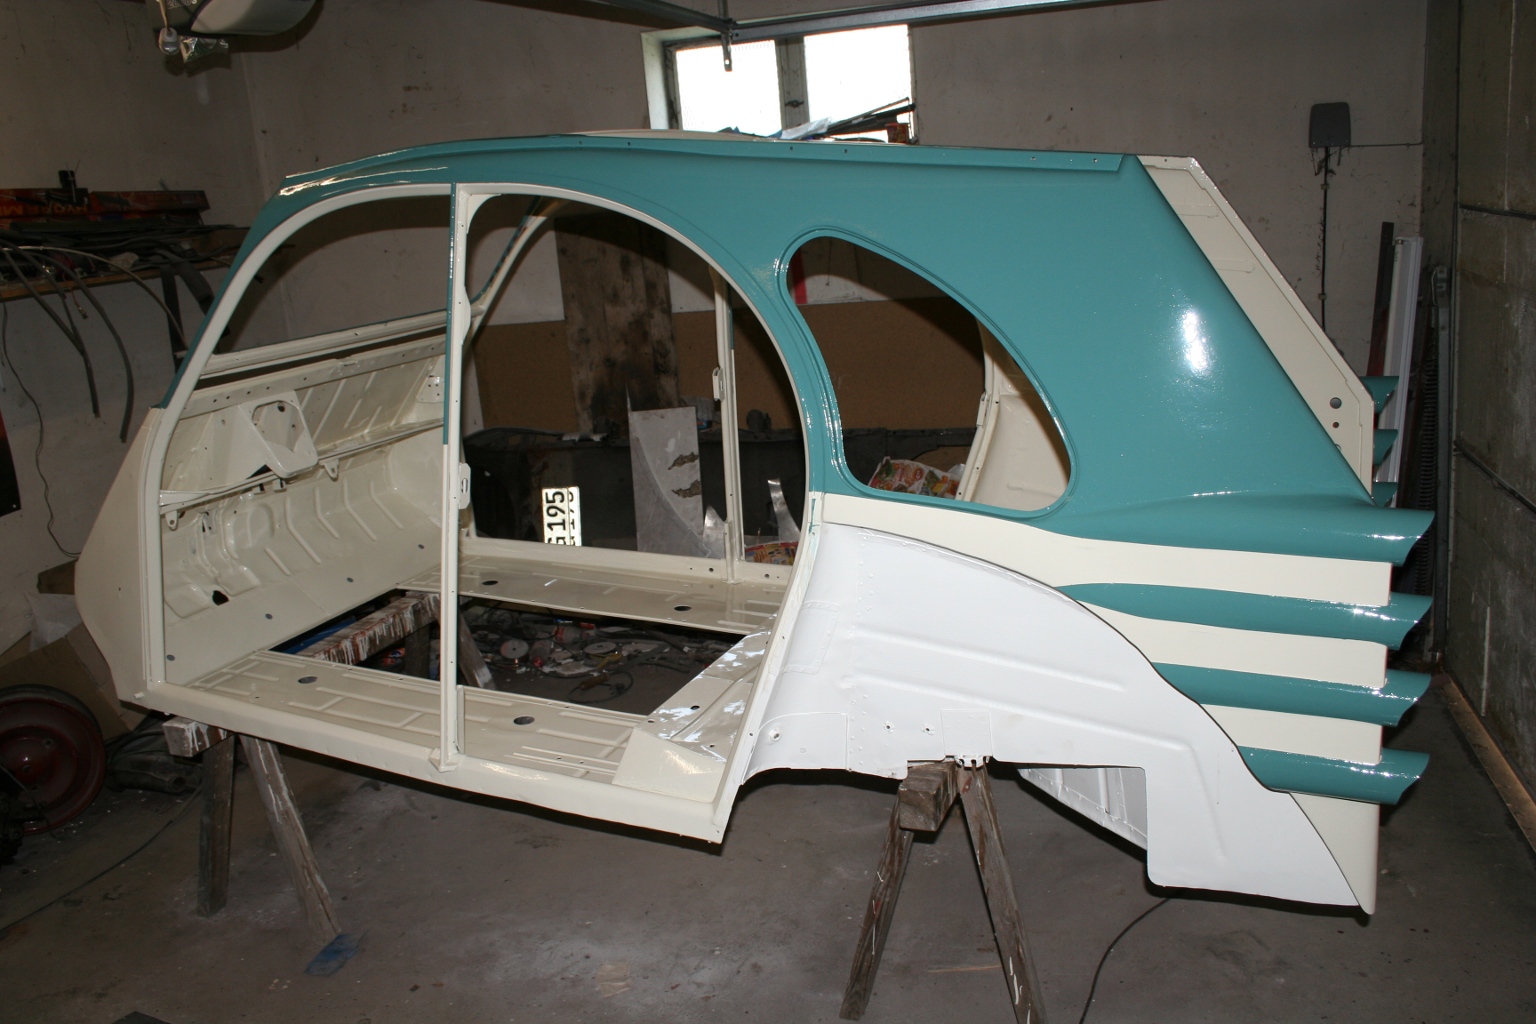 25th of June 2010 - my garage The second color is turquoise.  02nd of July 2010 - my garage Body and chassis are living in seperate garages yet, but the topping-out ceremony is imminent. I am just waiting for the parcel containing the Mike-Sanders grease tape.  07th of July 2010 - my garage Many hours passed by for the painting those parts... 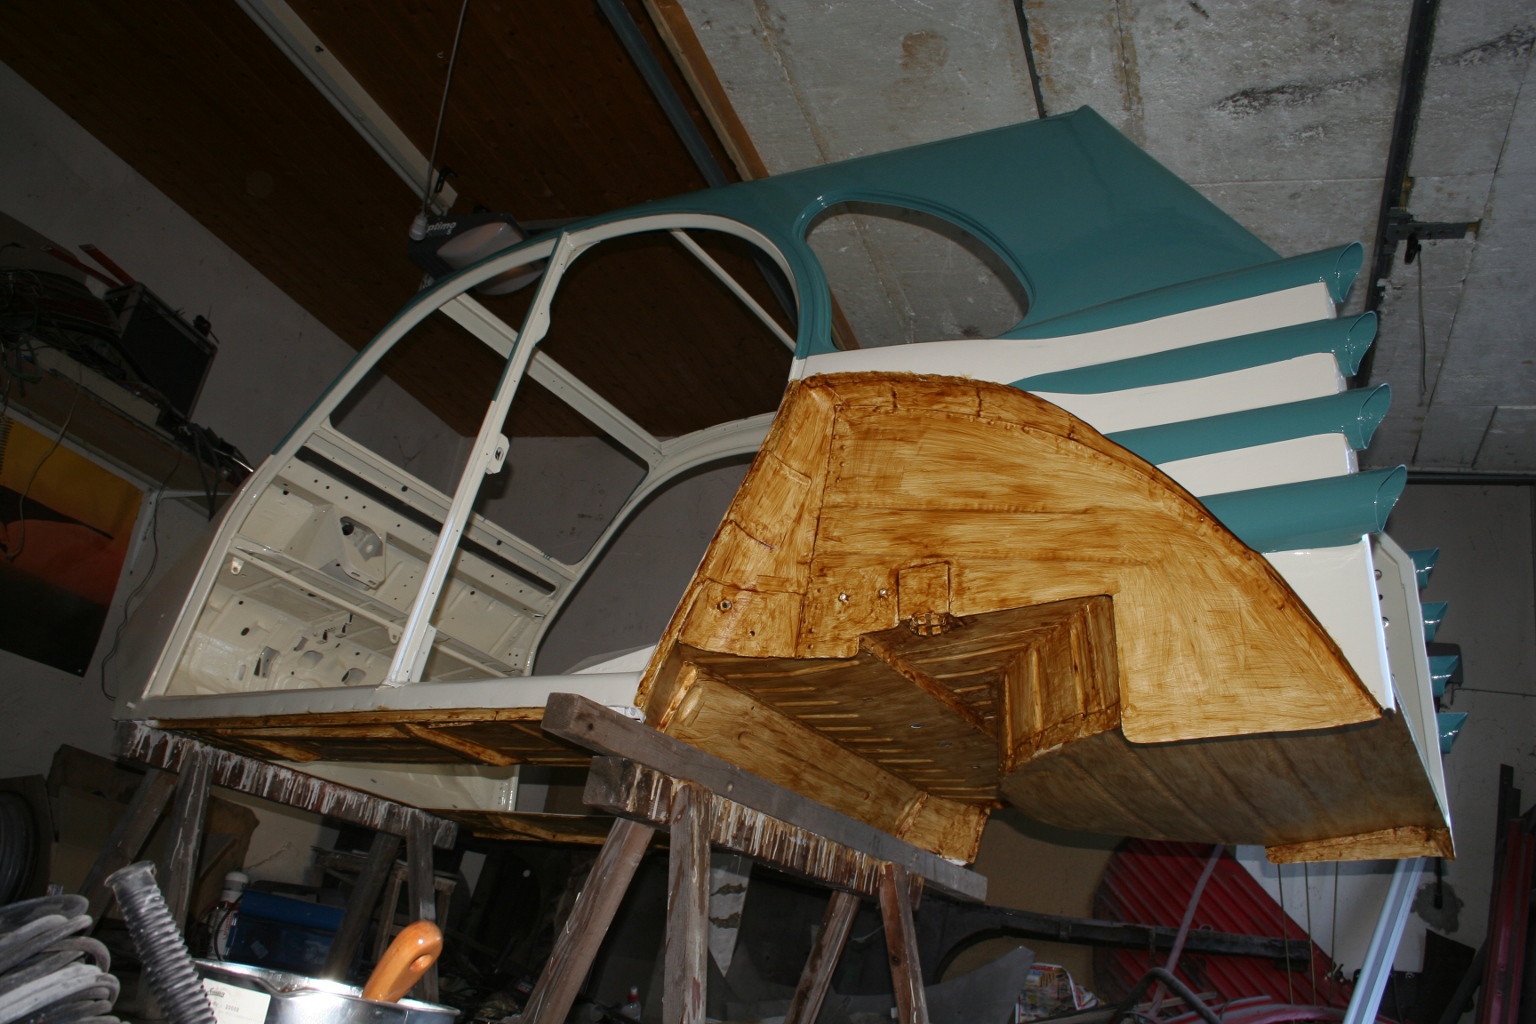 08th of July 2010 - my garage The underbody coating is UBS 220. Four years ago this stuff was called UBS 120. It looks like they have altered the formulation. I feel completely confident of this waxy coating. At least I can't find any damage spot at my number 1 even after four winters. The application was done by a paint-brush. The advantage is, that the covering can be done thicker at endangered edges, while the flatten, less rust susceptible areas can be applicated thinner. Less material means less money to spend. I needed 4L for my number 1 and estimated 3L at my number 2). The disadvantage is that the irregular covering doesn't look so good and it takes much more time to cover the underbody. Back to redesigning back of car (2) Continue with final assembly |