|
|
Back to redesigning back of car (1) Continue with paint job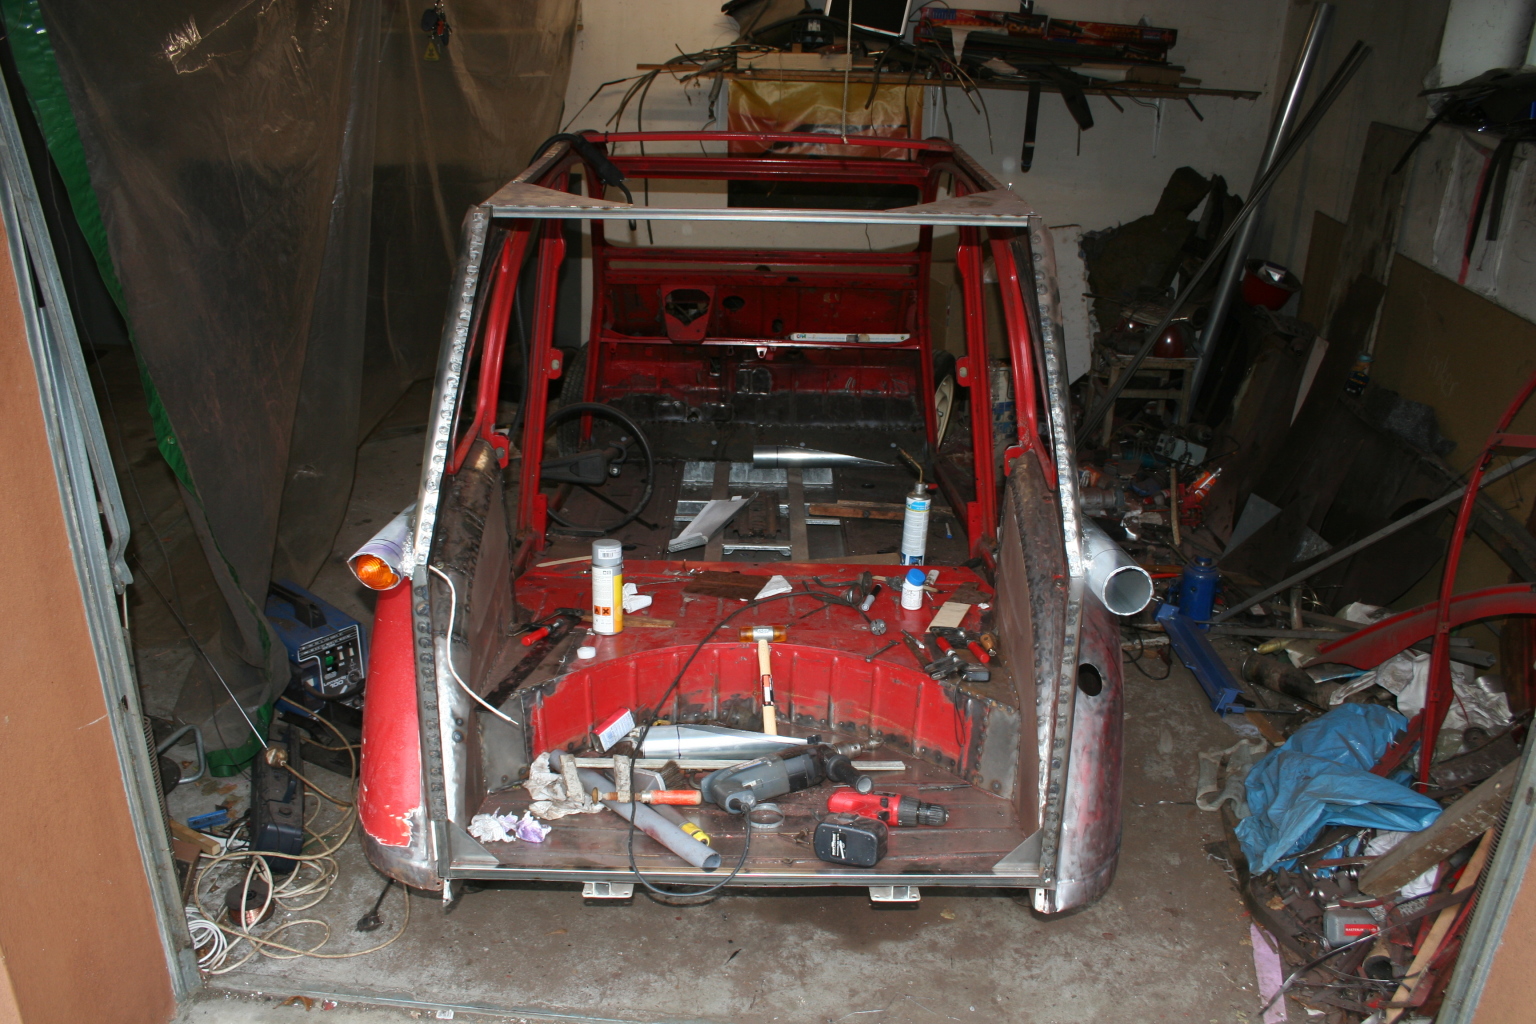 07th of November 2009 - my garage I had clarified the installation of the tail lamps with Mr. Zentarra from the TÜV in Wuppertal, where the meeting "TÜV meets 2CV" is arranged since three years now. Here you can see how it will look like. I decided to use the roundly lamps of the DS Break and they are attached at 'torpedo tubes'. The tubes are normally used for rain gutters and are made of zinc. Welding doesn't work here so I soldered them. That was a good exercise in tin-coating, because the weldseams should be treated that way afterwards anyway. Filler tends to cracking and cracks means penetration of wather and that means rust! Tin adheres much better on steel or zinc, so no cracks will open there. 
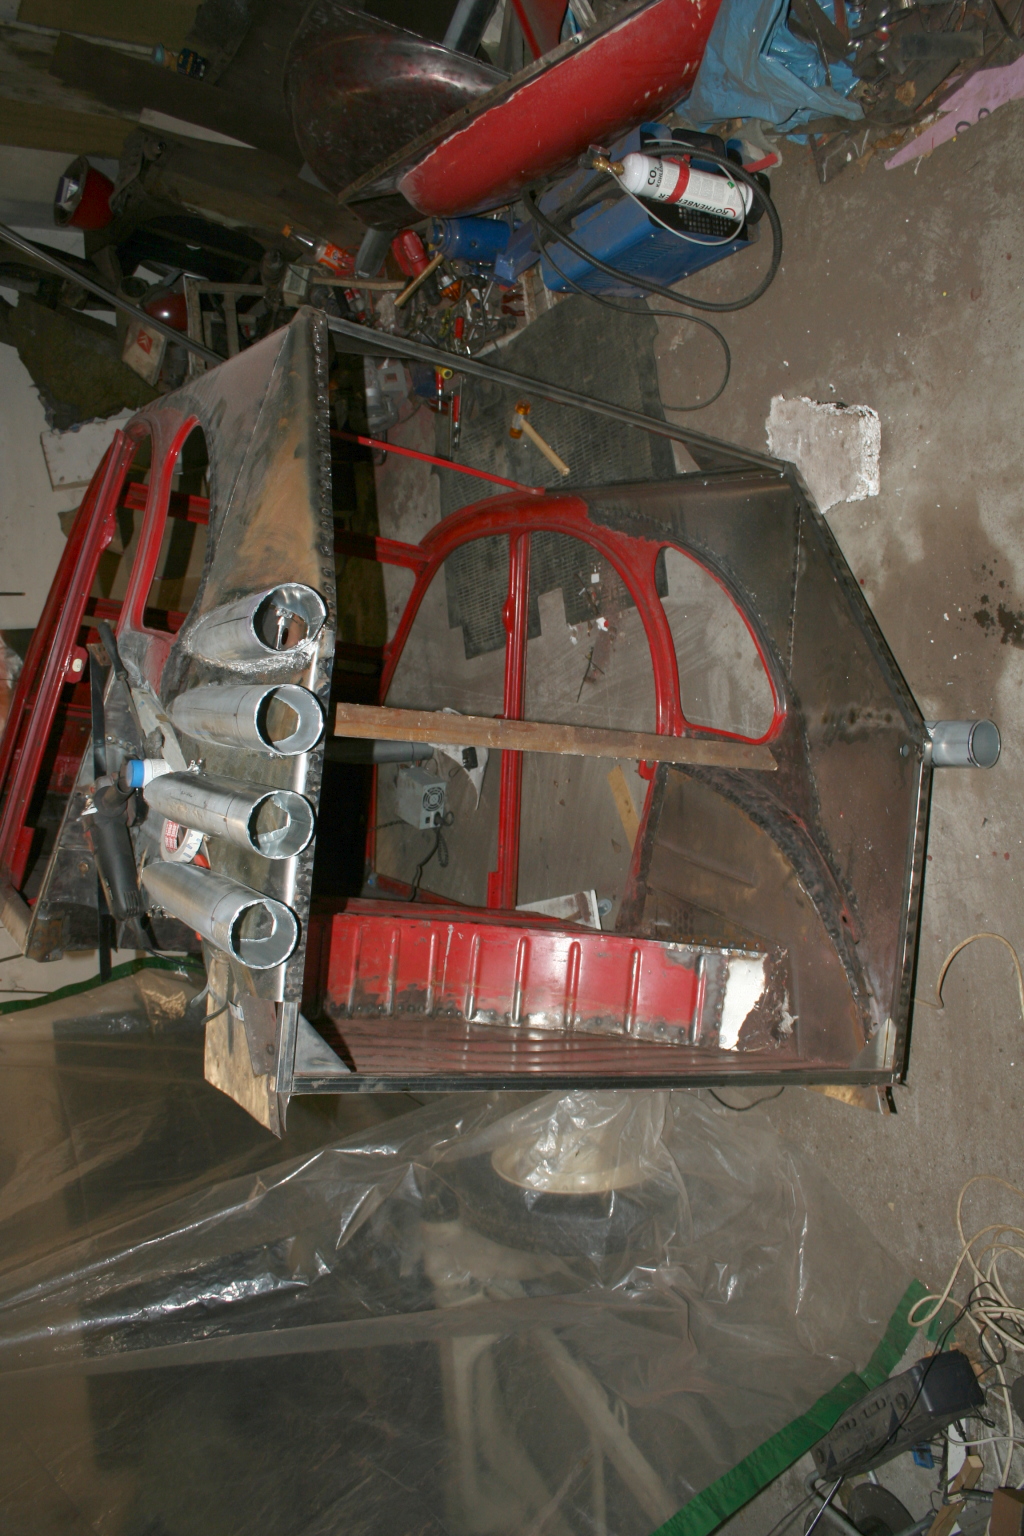 07th of November 2009 - my garage The bodywork is removed from the carriage once more and four of the tubes are attached at one side. The gap between the single tubes will be covered with stell plates - let's see how it will look like. 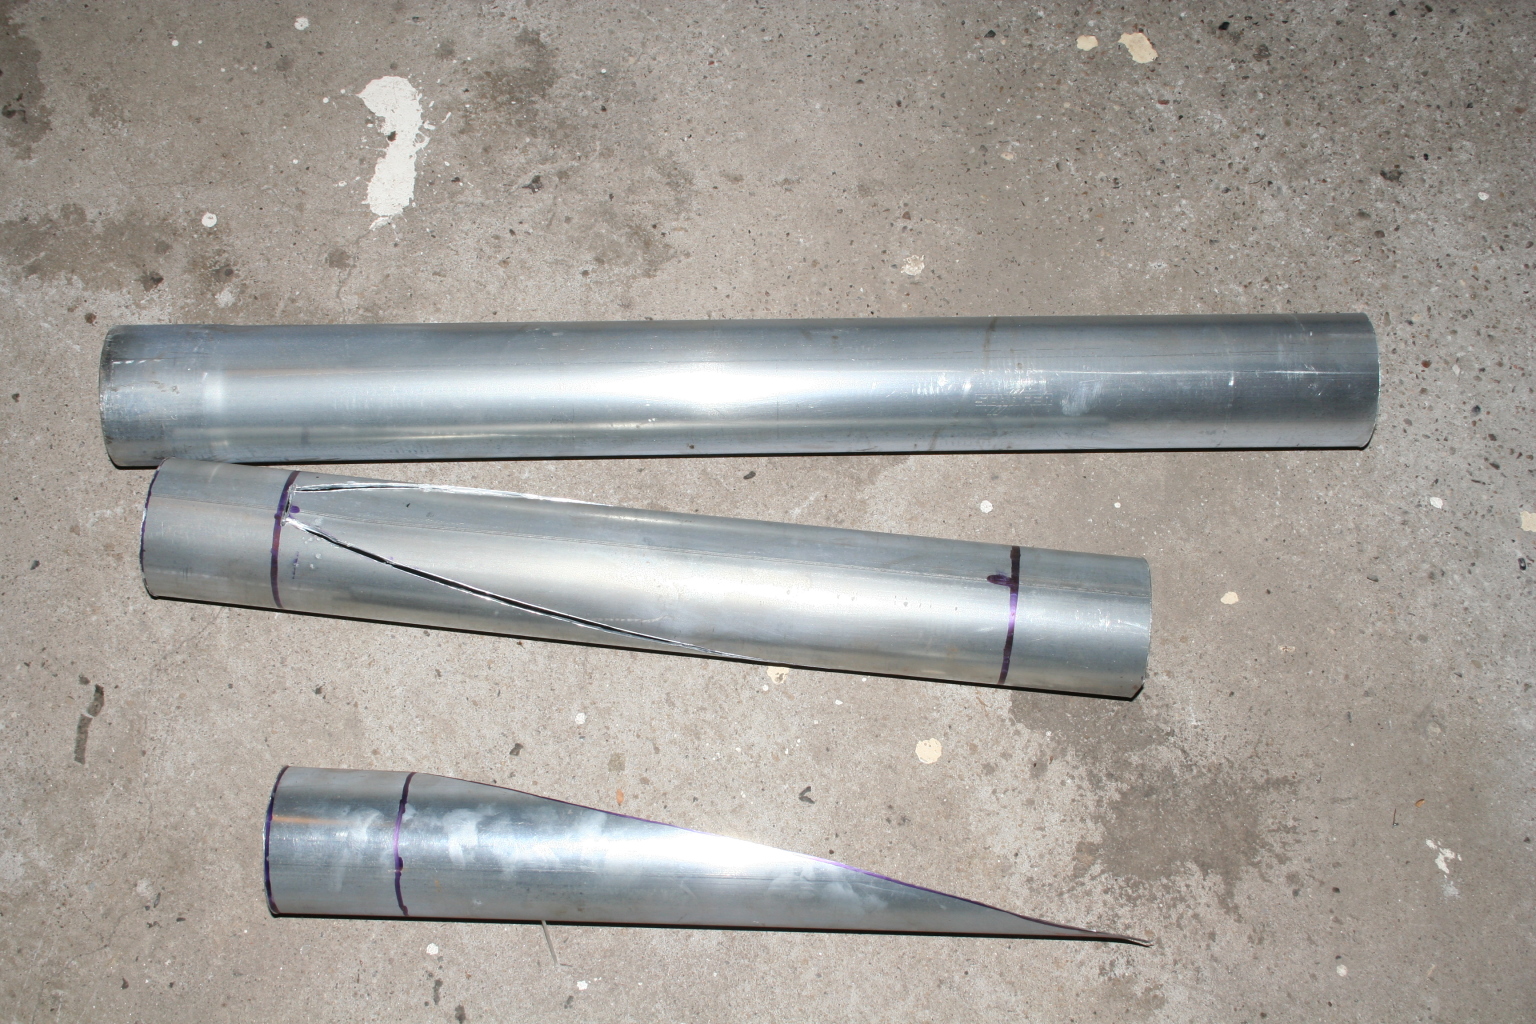 12th of November 2009 - my garage 52cm of tube makes two 'torpedos'. 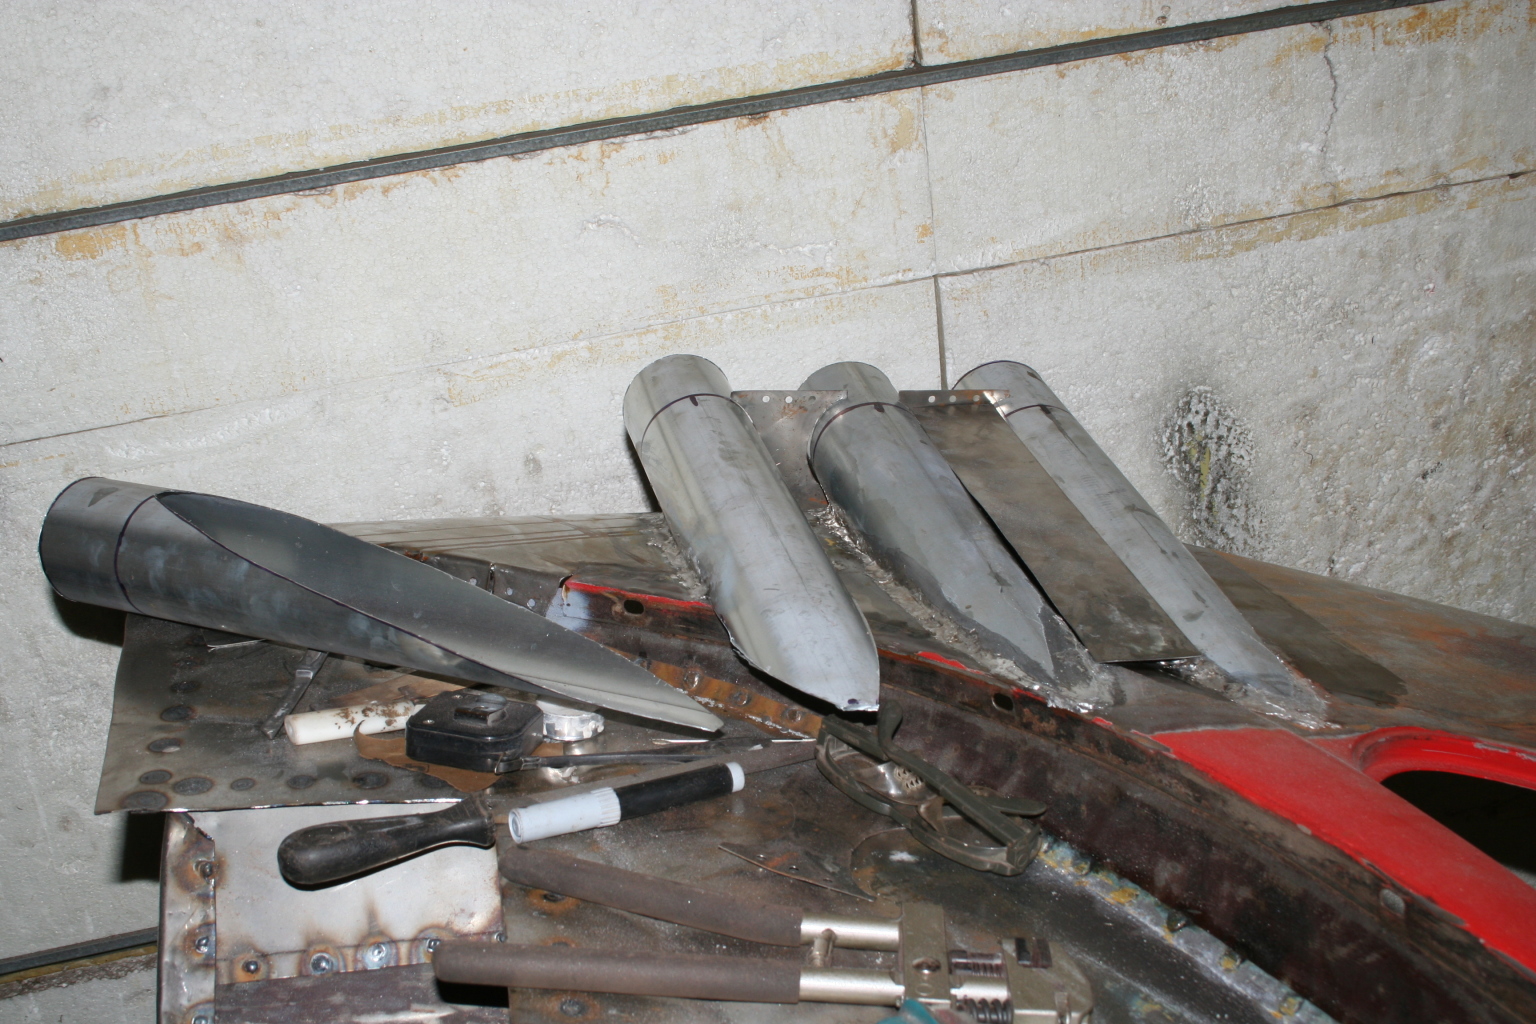 12th of November 2009 - my garage The gaps are covered with pannels - looks better to me 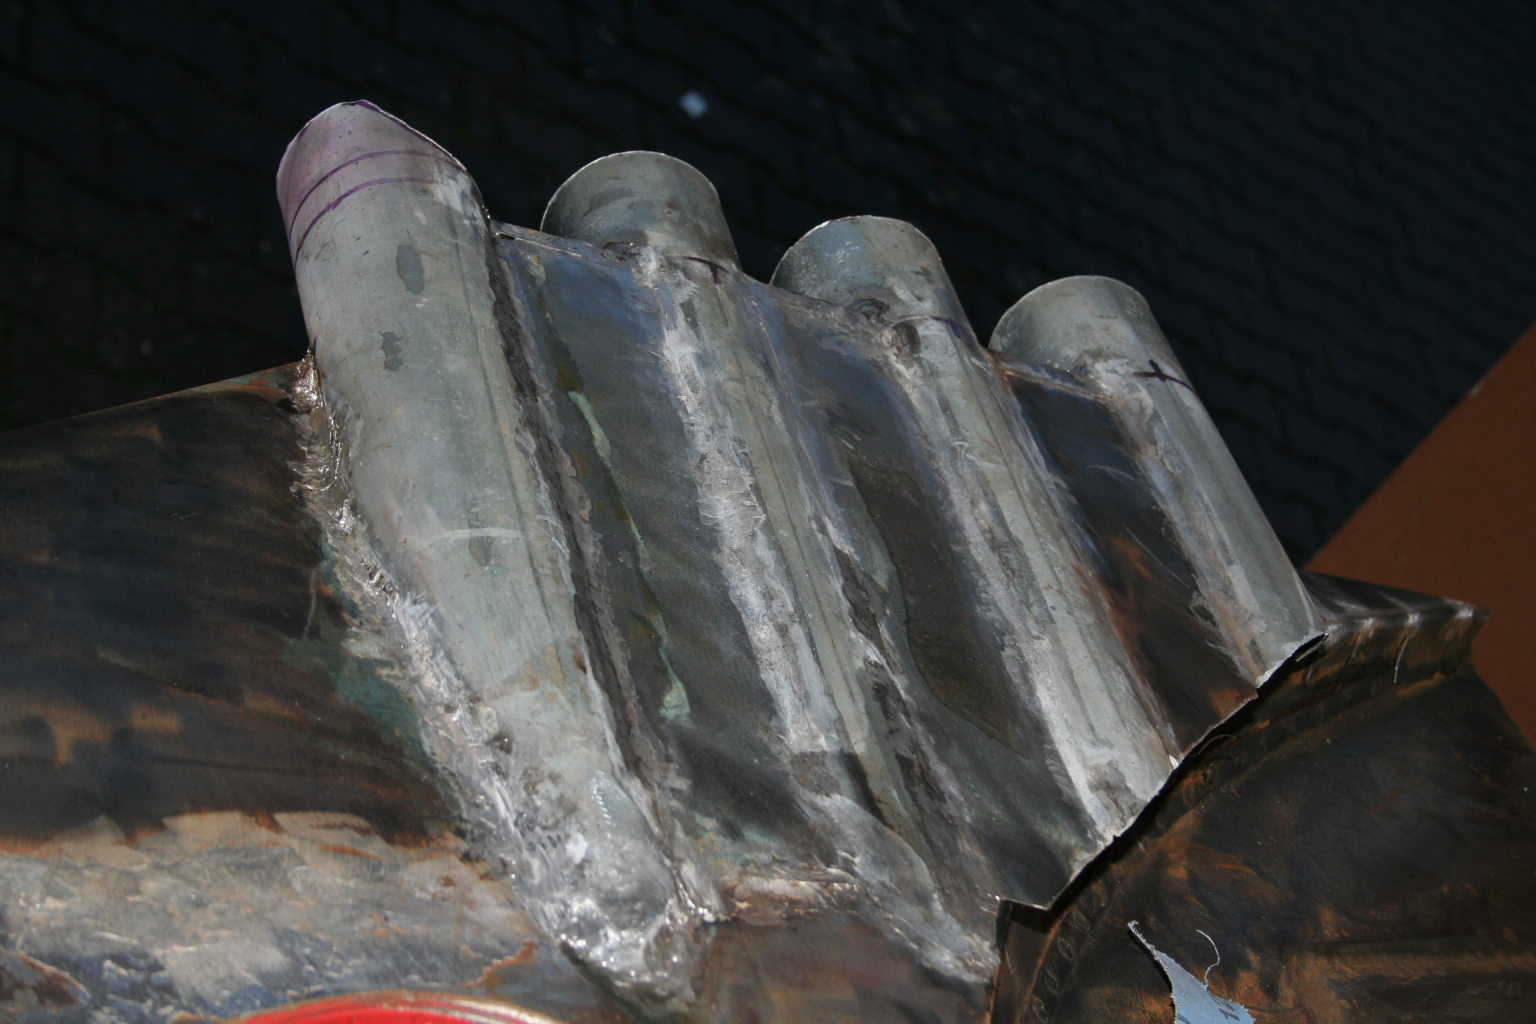 17th of November 2009 - my garage Soldered it looks like this. 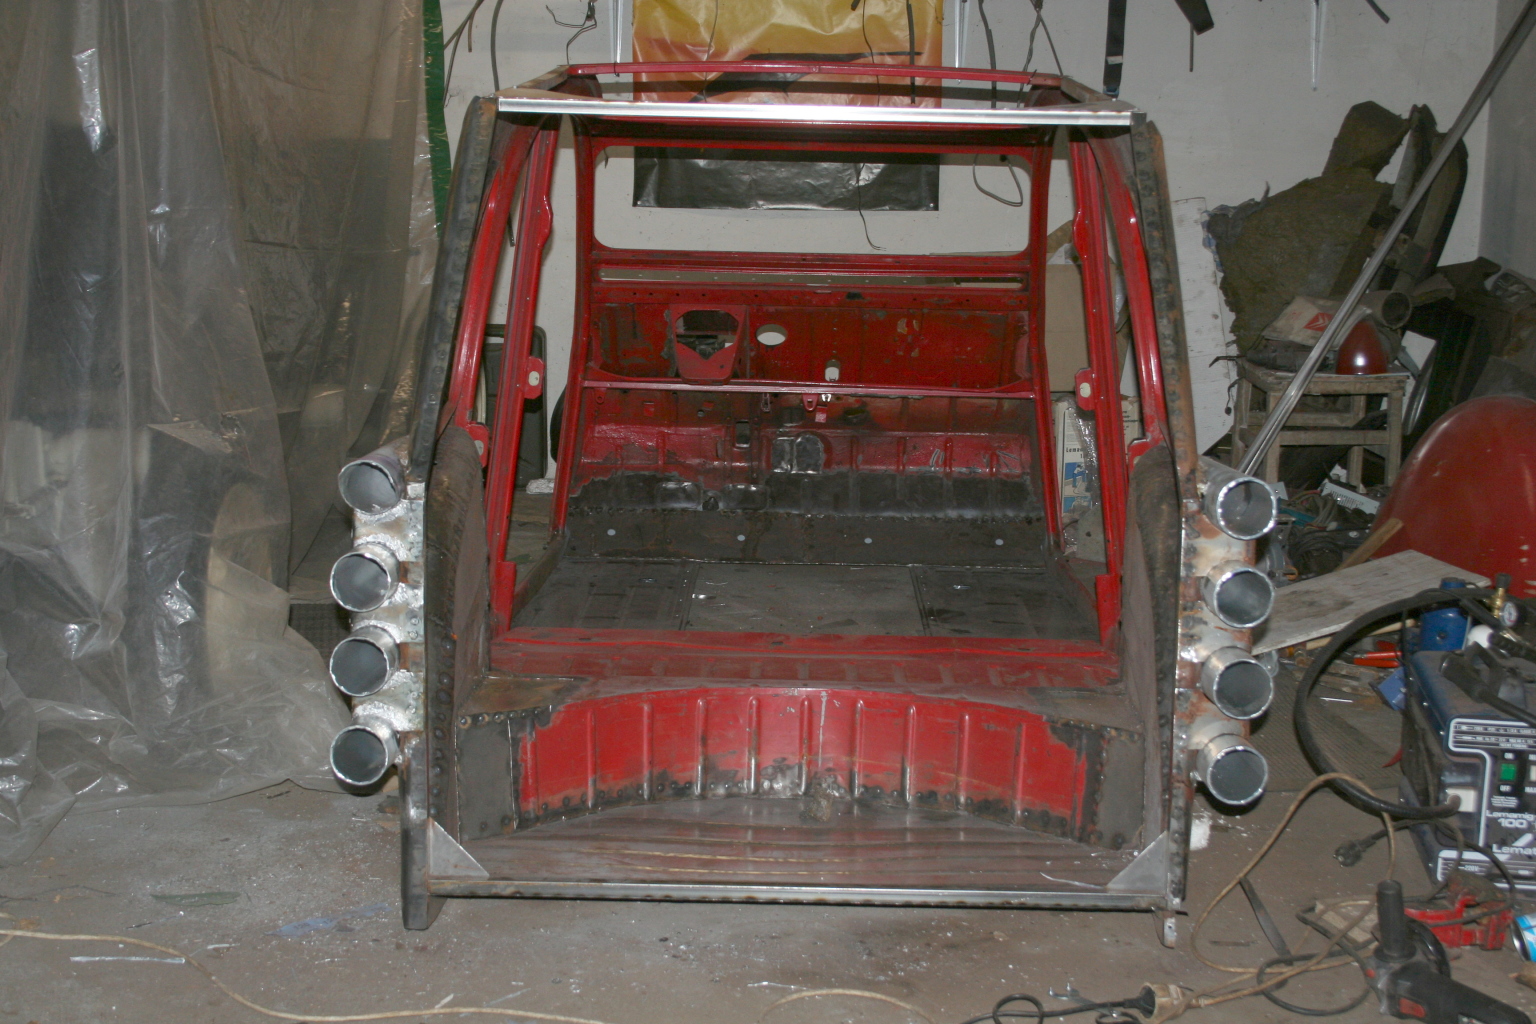 17th of November 2009 - my garage To make the left and the right side look the same, you can not meter often enough. My first version was somehow differing even though I used the rule very often. I had to breakaway one side again and to build it once more - that's better than being worried about the cockeyed side for a whole lifetime. Two workingdays passed by...  17th of November 2009 - my garage ...but now I like it. 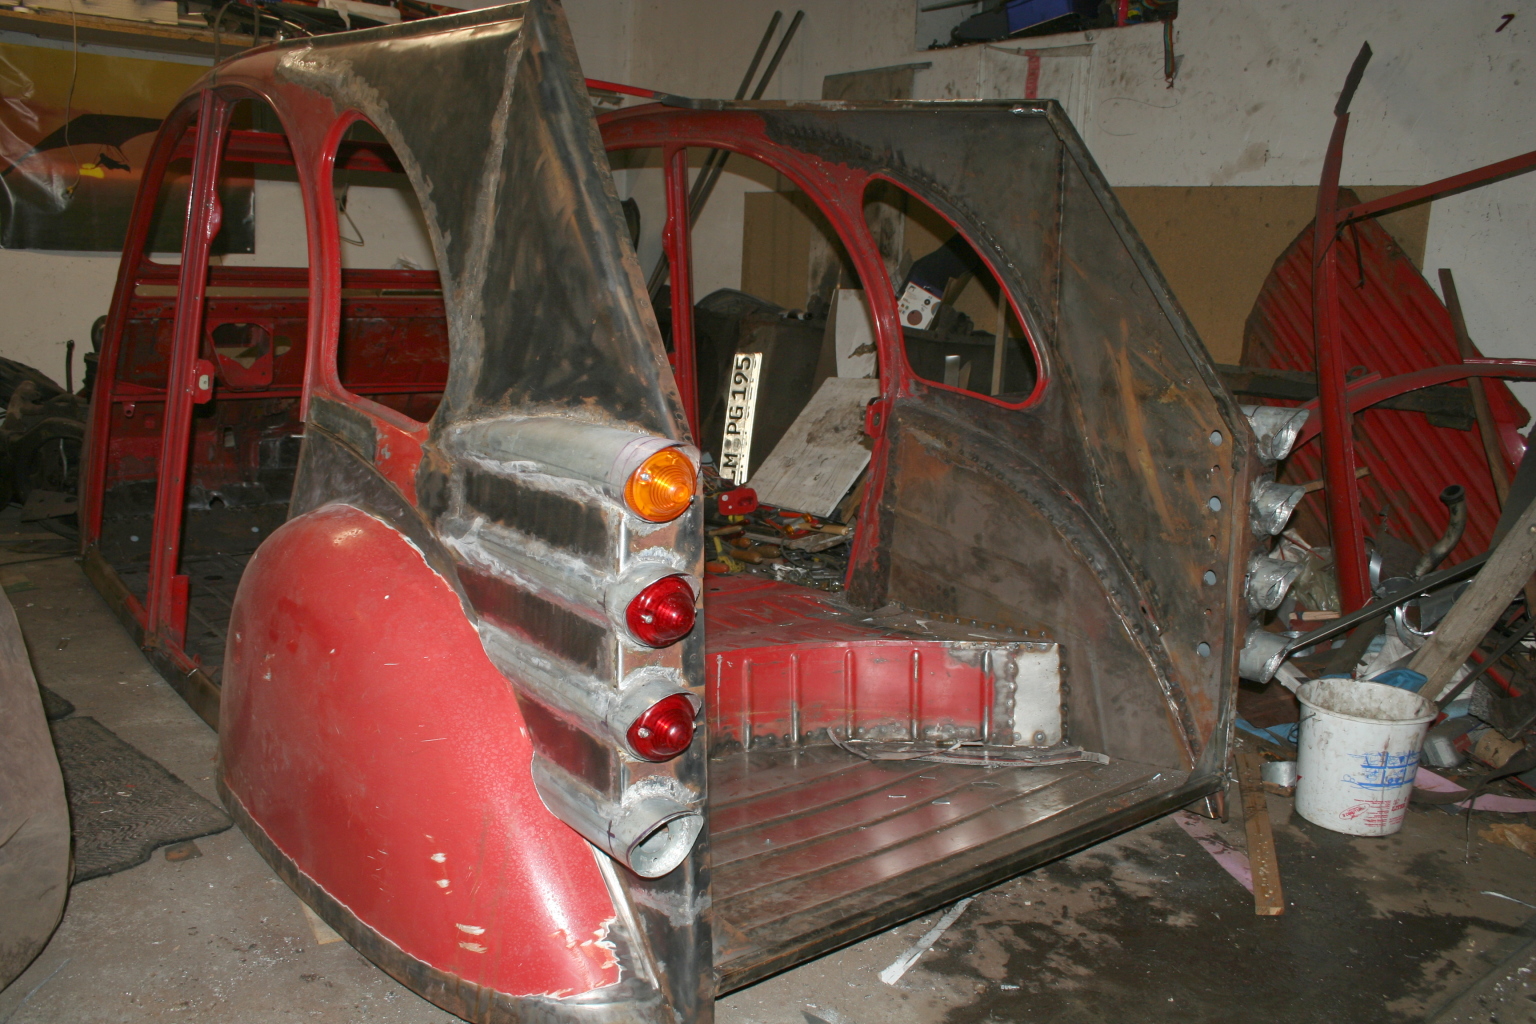 21st of November 2009 - my garage The tubes are cut to their lenght and the ends are rounded. Together with the mounted rear fender and the tail lights it doesn't look any longer like stovepipes - or does it, Adrien ?!?  24th of November 2009 - my garage Currently there are no interesting pictures to show. I am preparing the car for painting. That means I am rasping at the body and I am welding some dots. All parts have to be cleaned and the old paint has to be grinded. Here you can see the doors with their artwork, done by an unknown artist. The kids liked this painting much better than my number 1, but I have a completely new look in mind - sorry kids! 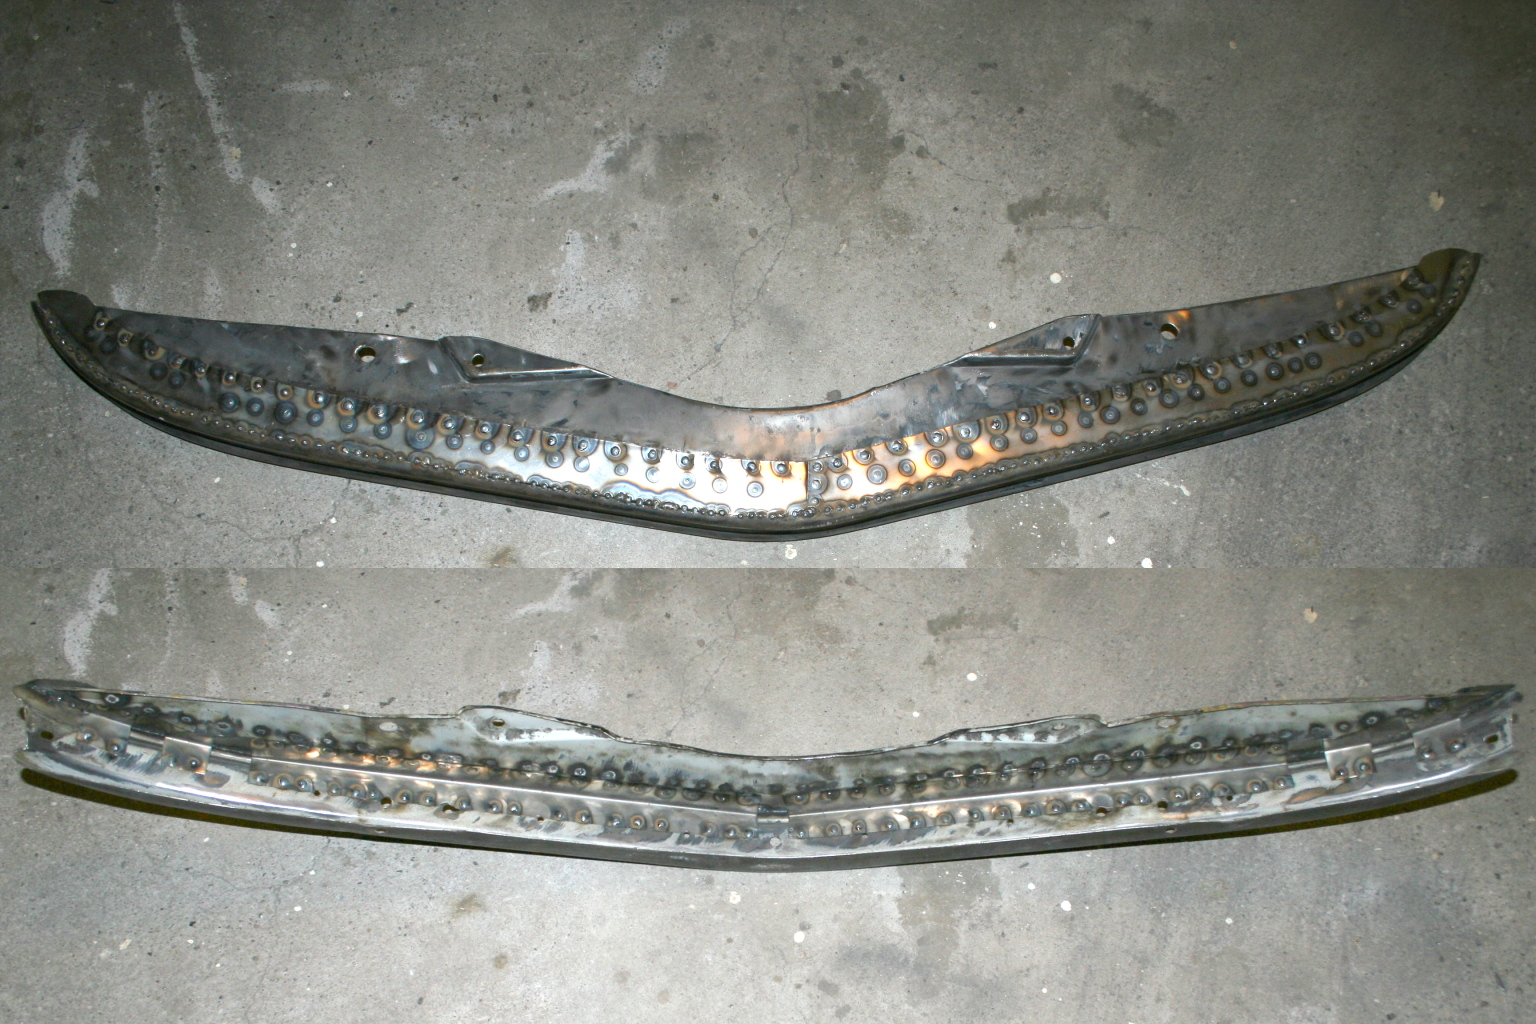 09th of December 2009 - my garage Time to show you my welding play. The front bumper consists of two overlaping metal sheets, which are undercut by water and so start rusting very fast. The afflicted area was cut off and new metal sheets were bent and welded. Here at I could practice the welding of overlaping and not overlaping sheets. Economical seen, it would have been better to buy a new bumper - so many hours of welding passed by. I have done this just to prove my welding and the time was a good investment. Just a few square centimeter of original metal have been saved therewith - many parts of the original car have gone away through the years (framework, undercarriage, engine, gearbox...). 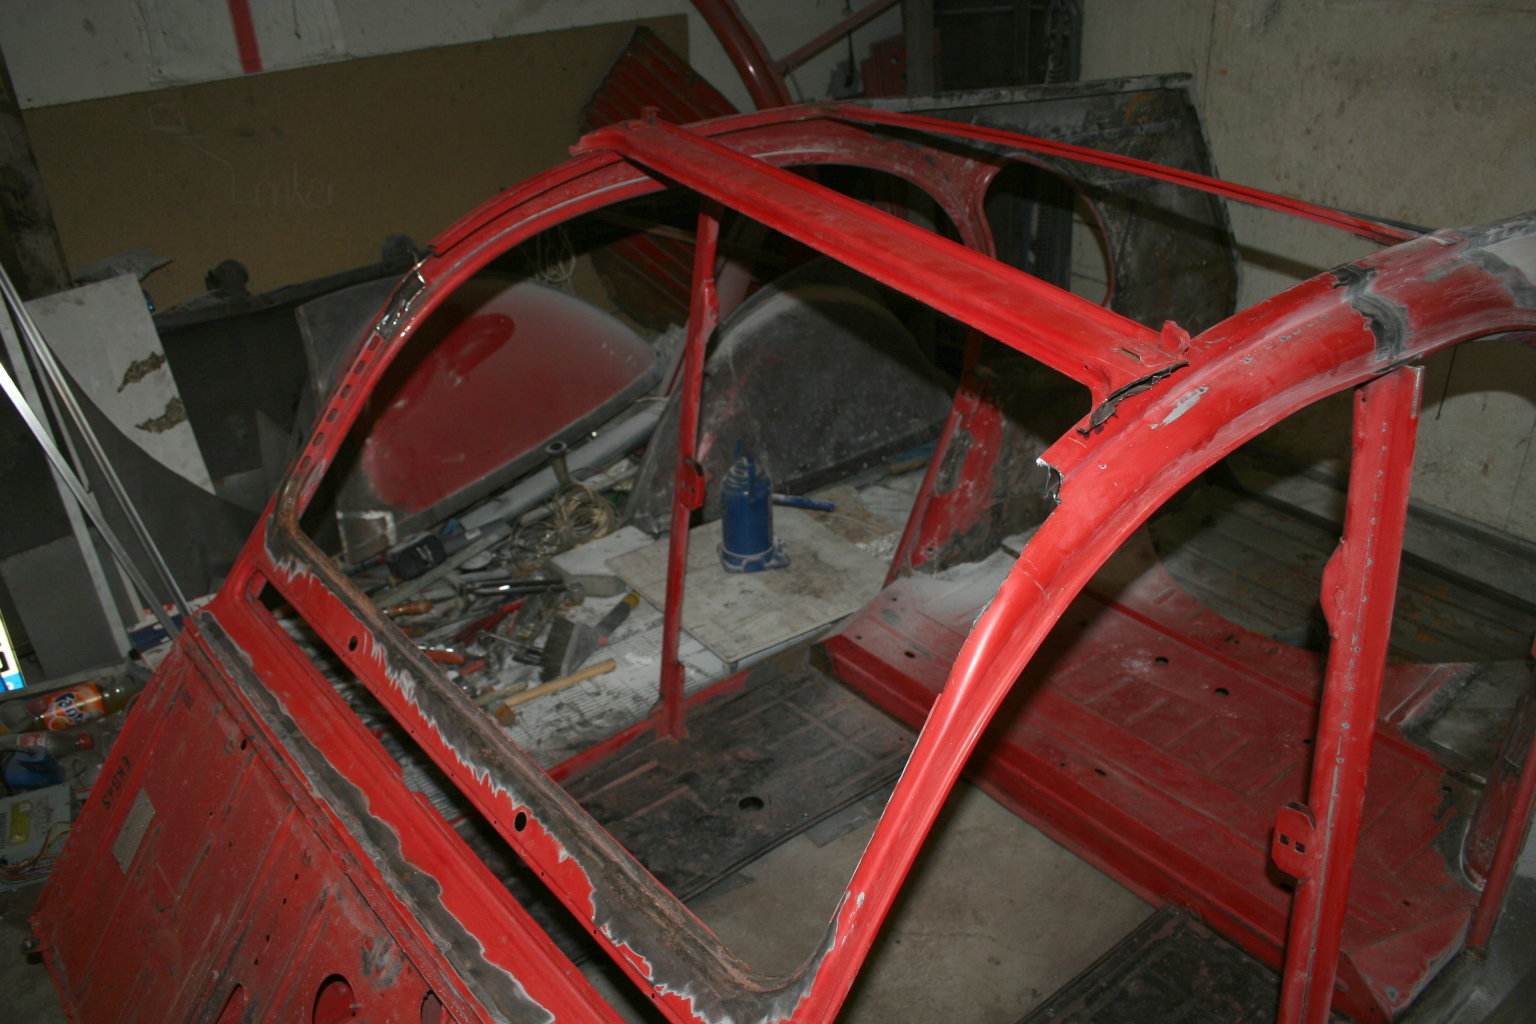
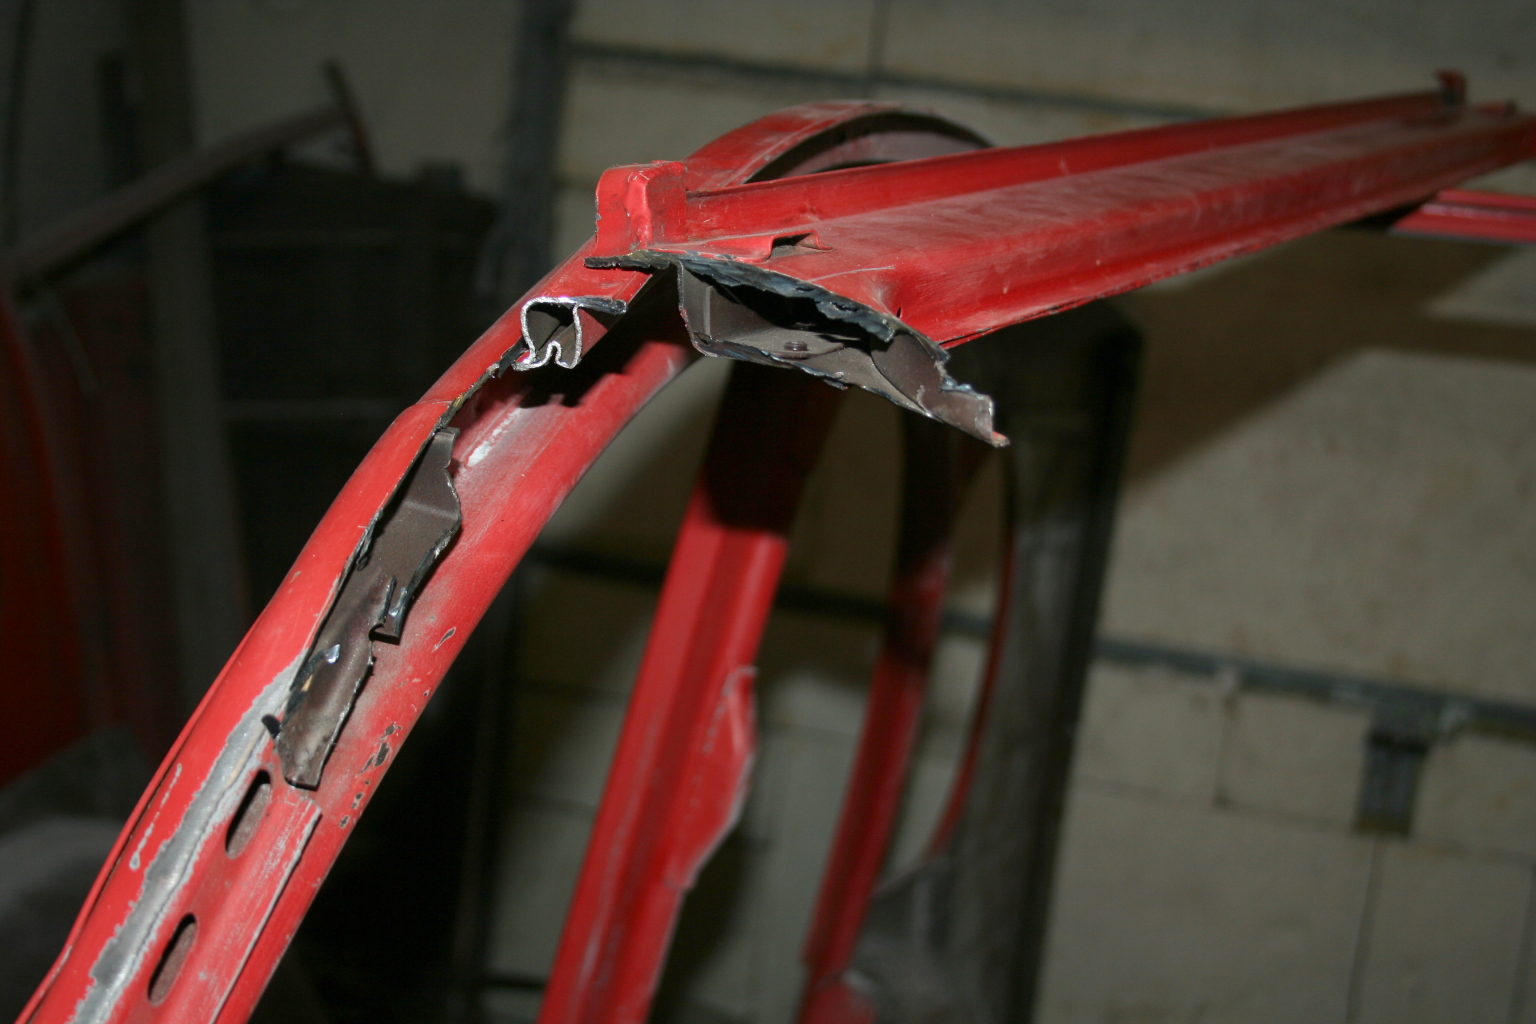 16th of December 2009 - my garage To avoid looking at the upper edge of the windshields frame instead of looking at the distance, I cut off the frame... 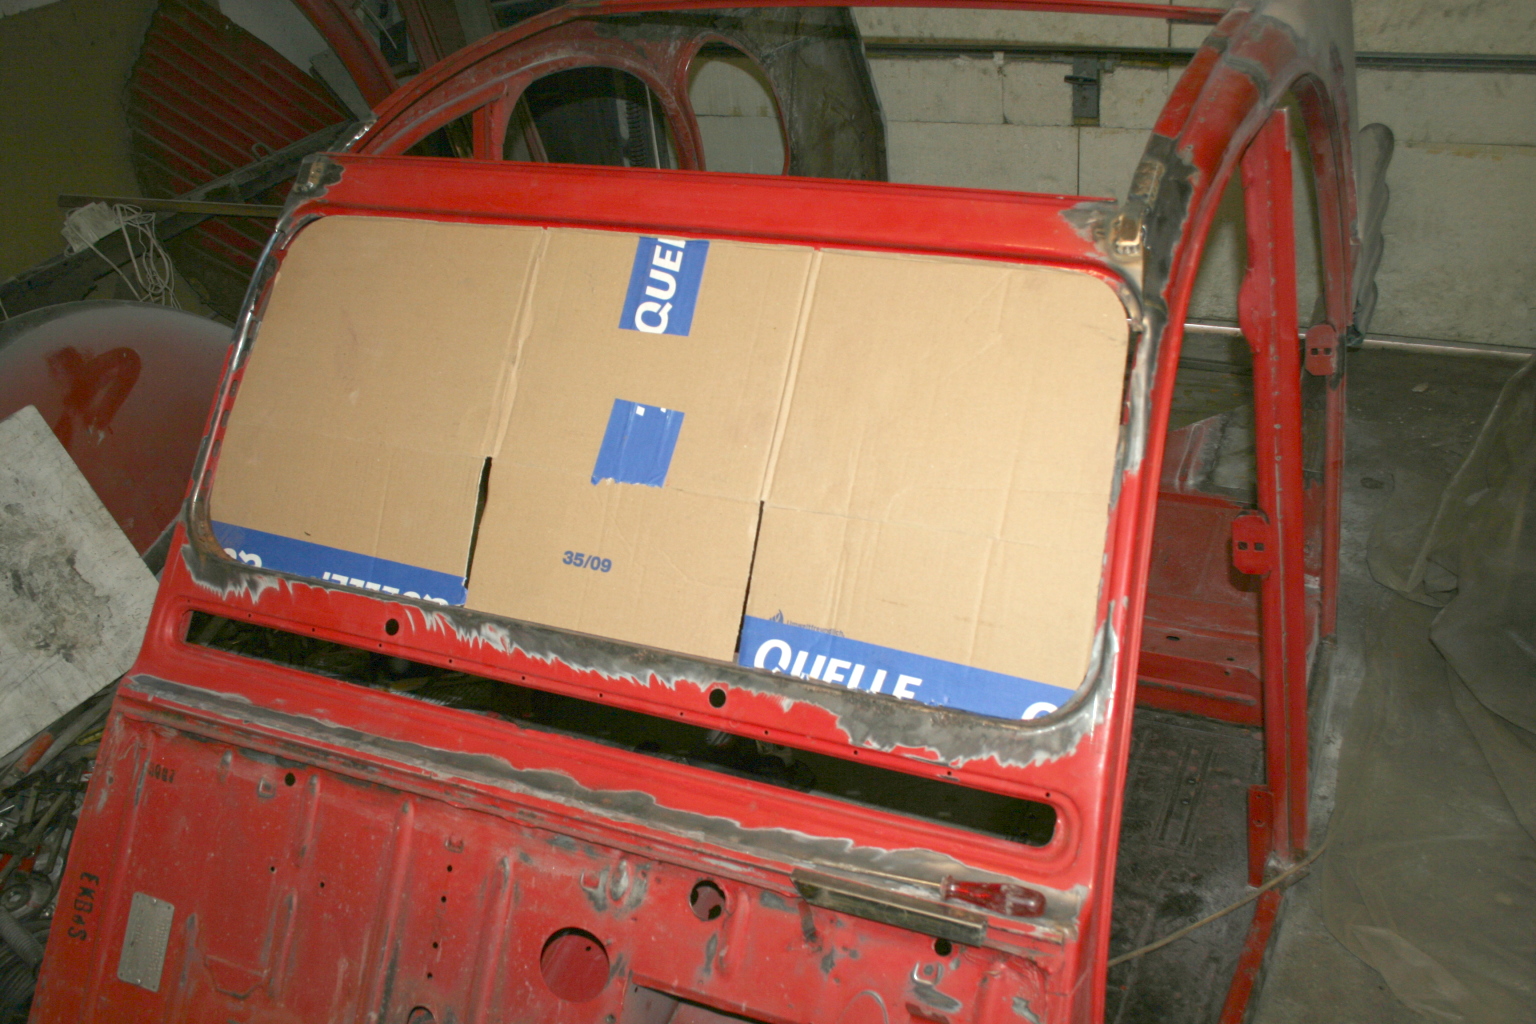 17th of Dezember 2009 - my garage ...and welded it some centimeters ahead. The new windshield ist 10cm larger. 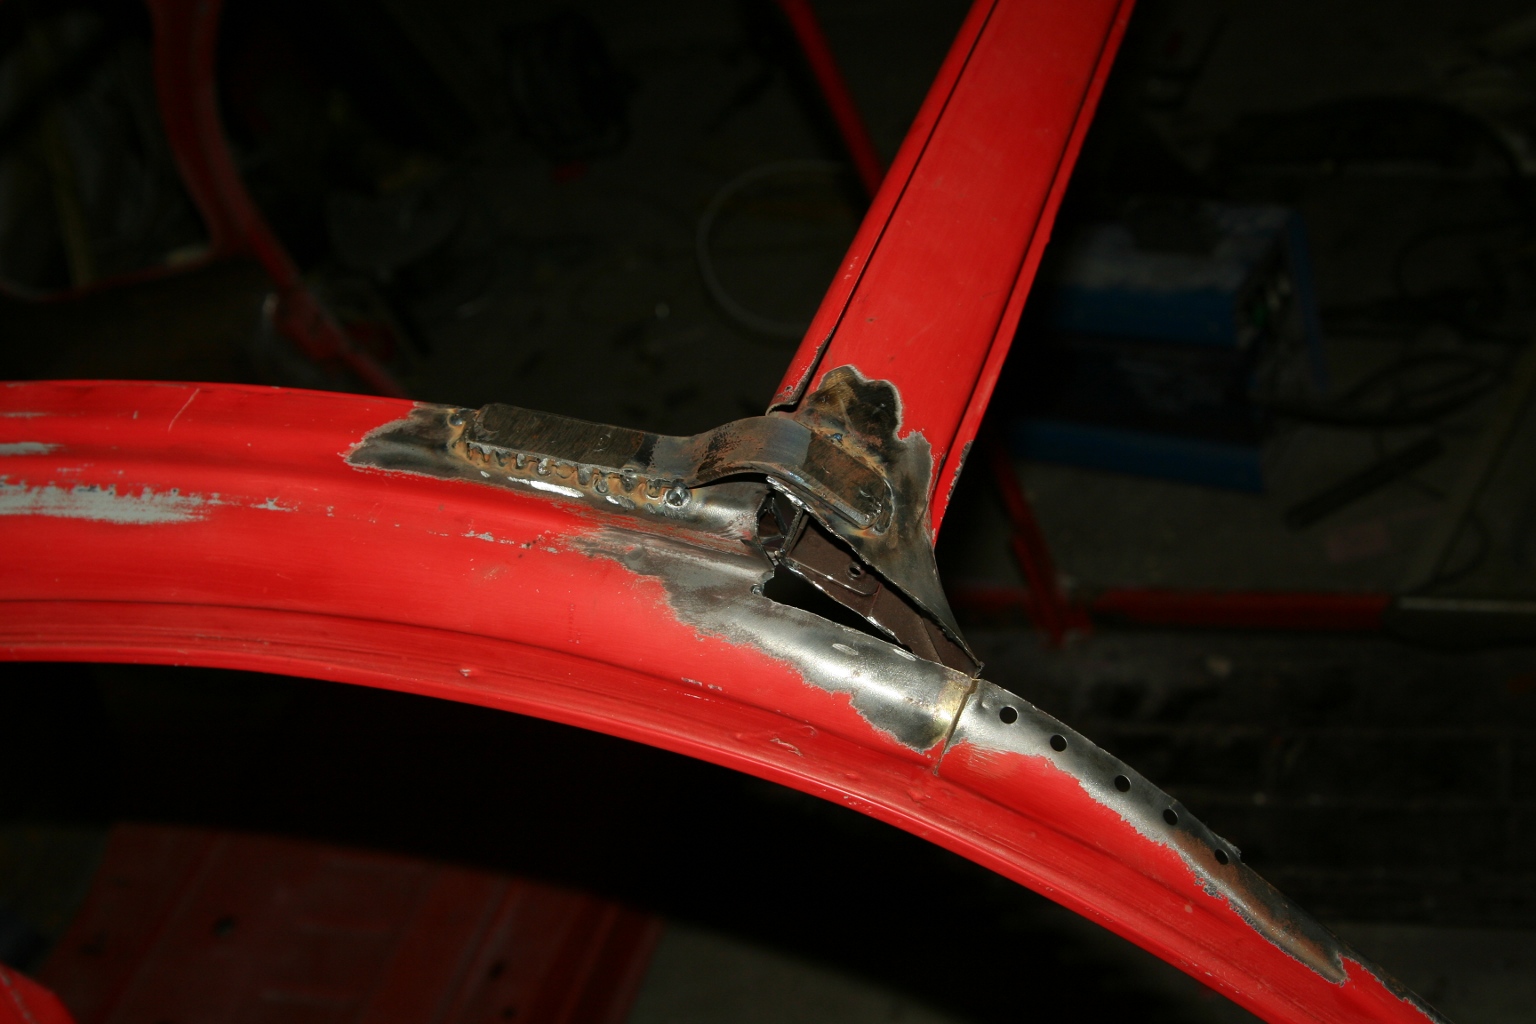 20th May 2010 - my garage After a veeeery long winter break, I enforced the upper edge... 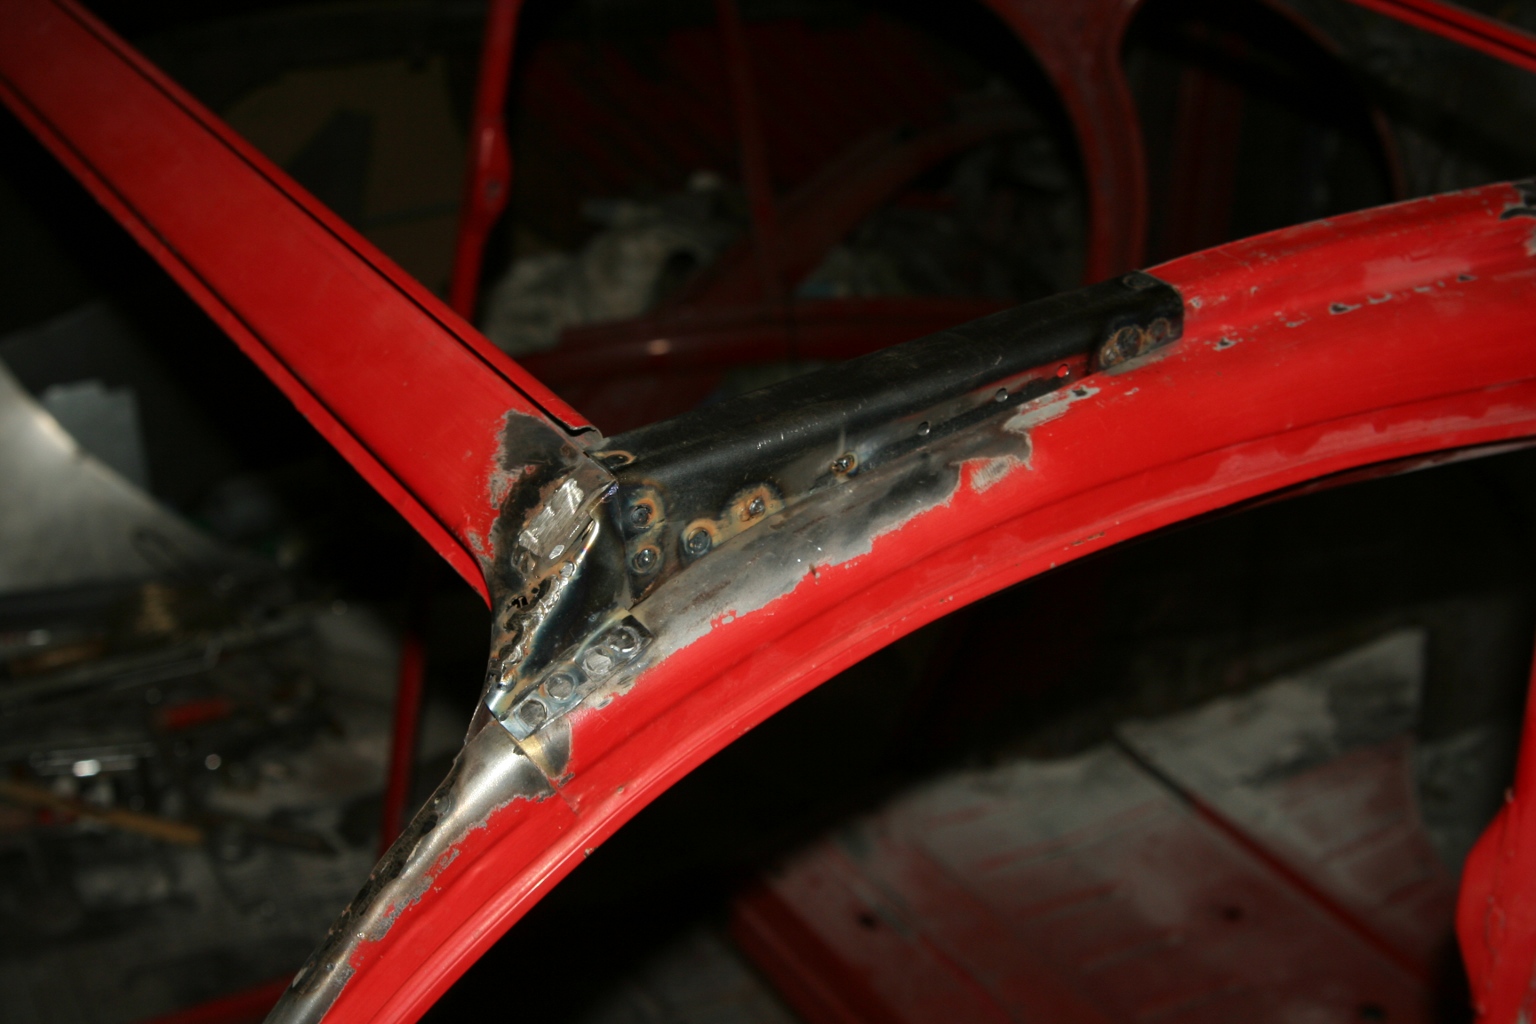 17. Dezember 2009 - meine Schrauberwerkstatt ...and closed the holes. Back to redesigning back of car (1) Continue with paint job |