|
|
back to replacing axle bolts Continue with welding work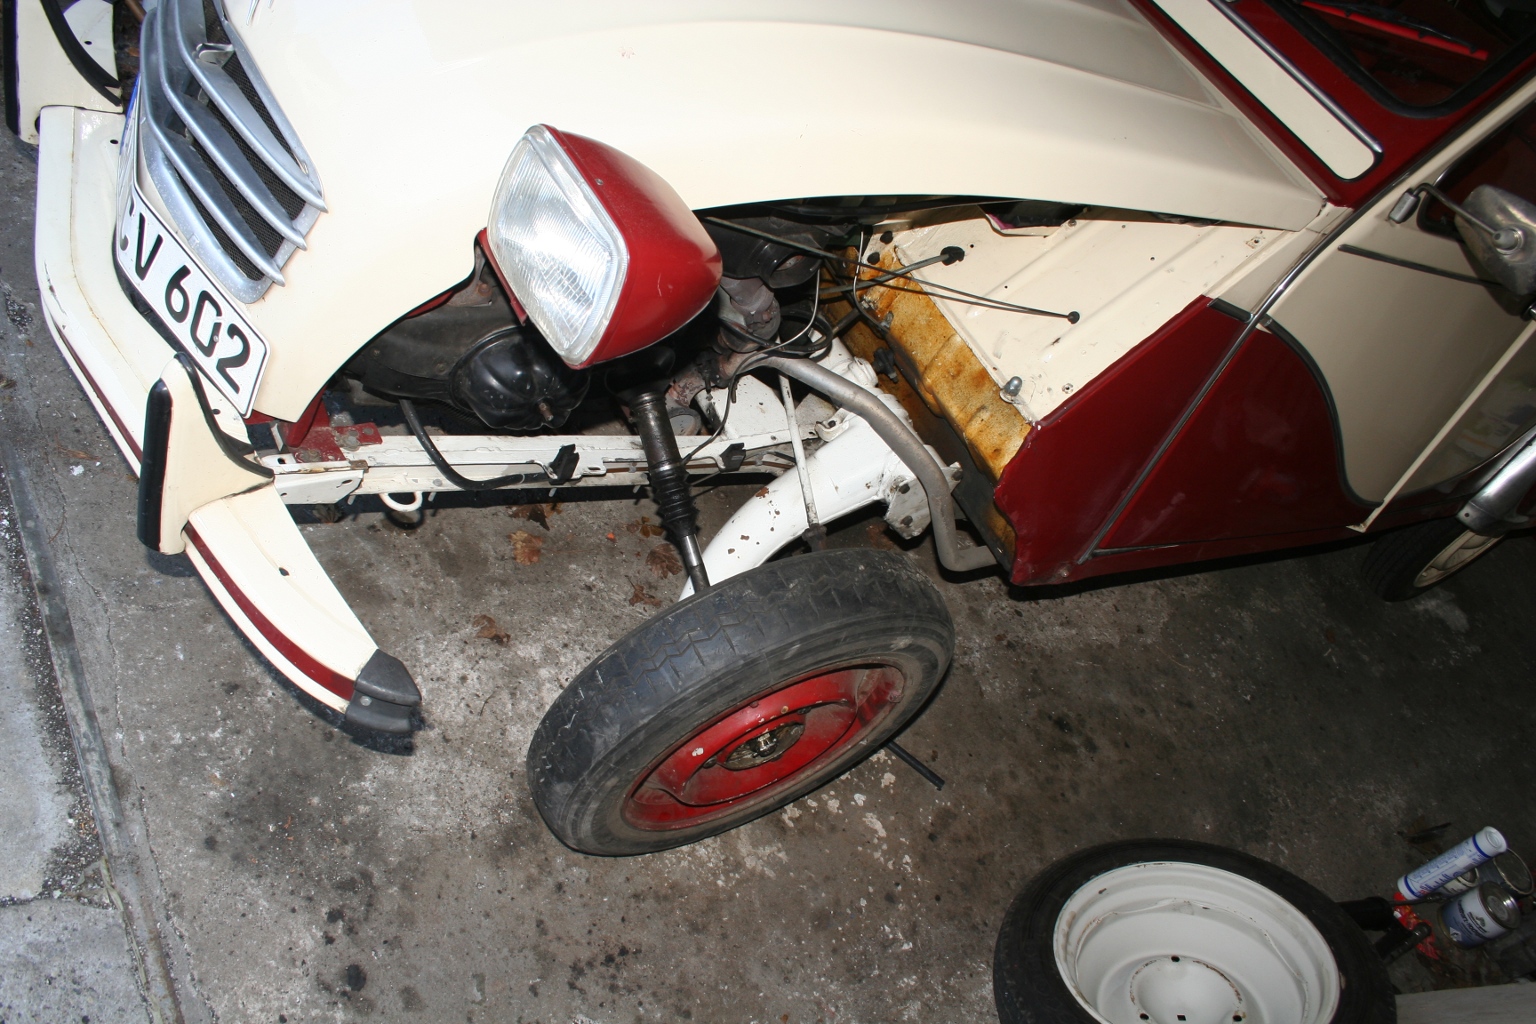 The worryingly sound from the left front wheel became louder and louder, wherewith a replacement of the wheel bearing became inescapably. Remove the front fender and the drive shaft with the help of the special rim. 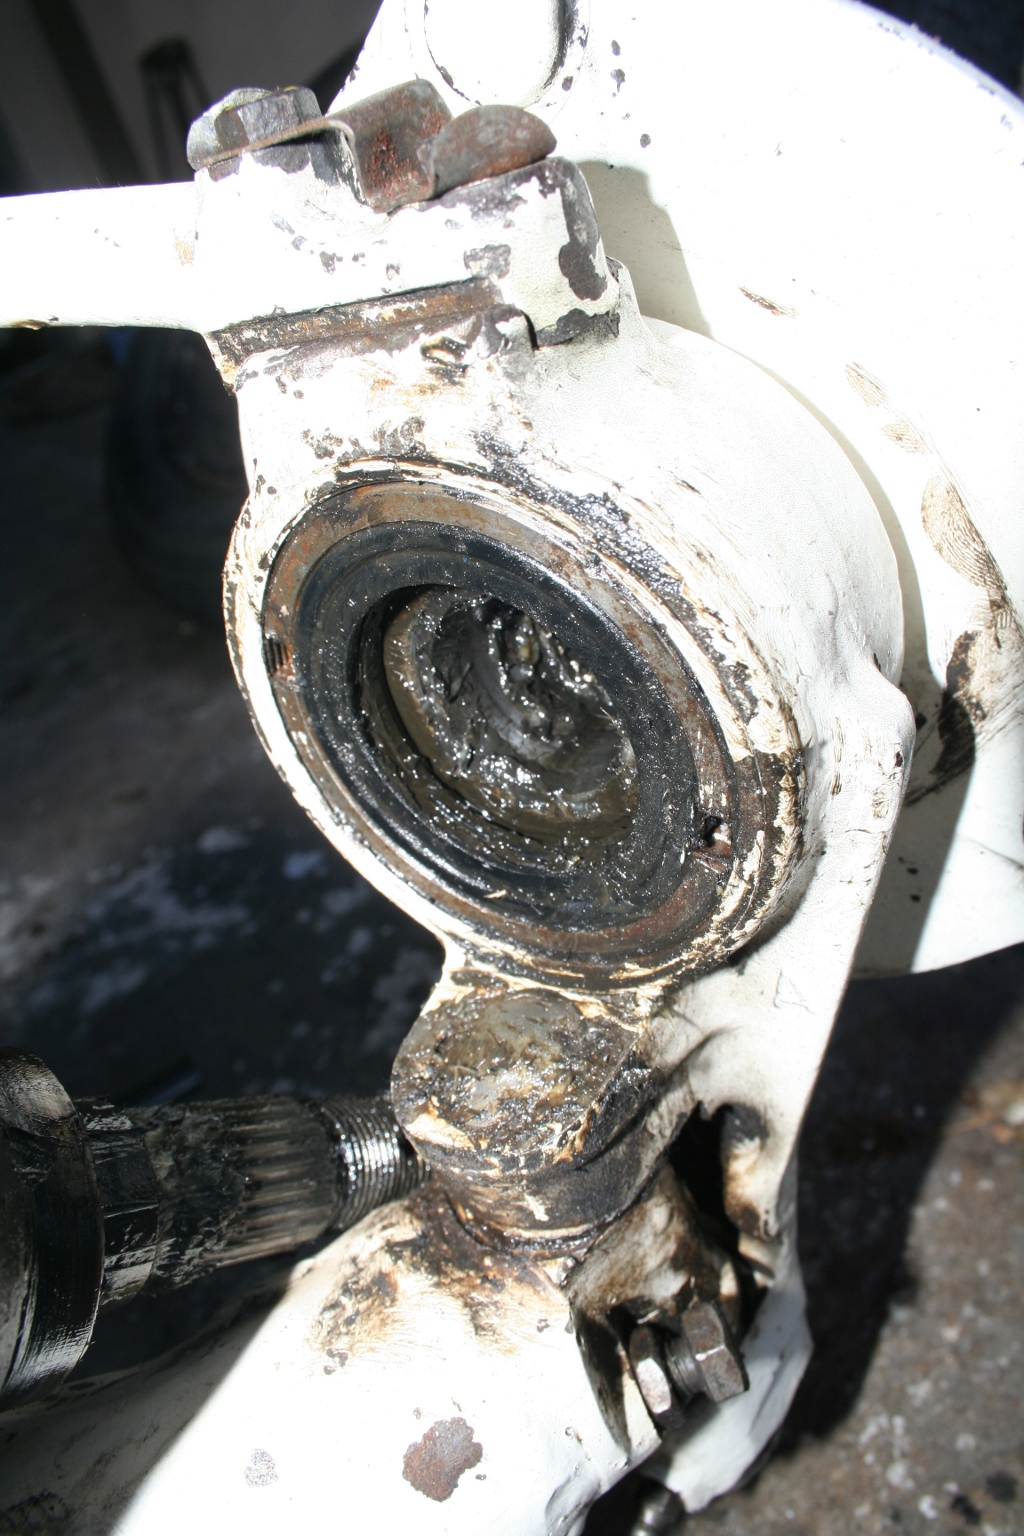 The sealing, pointing to the gearbox can be levered off with the help of a screw driver. 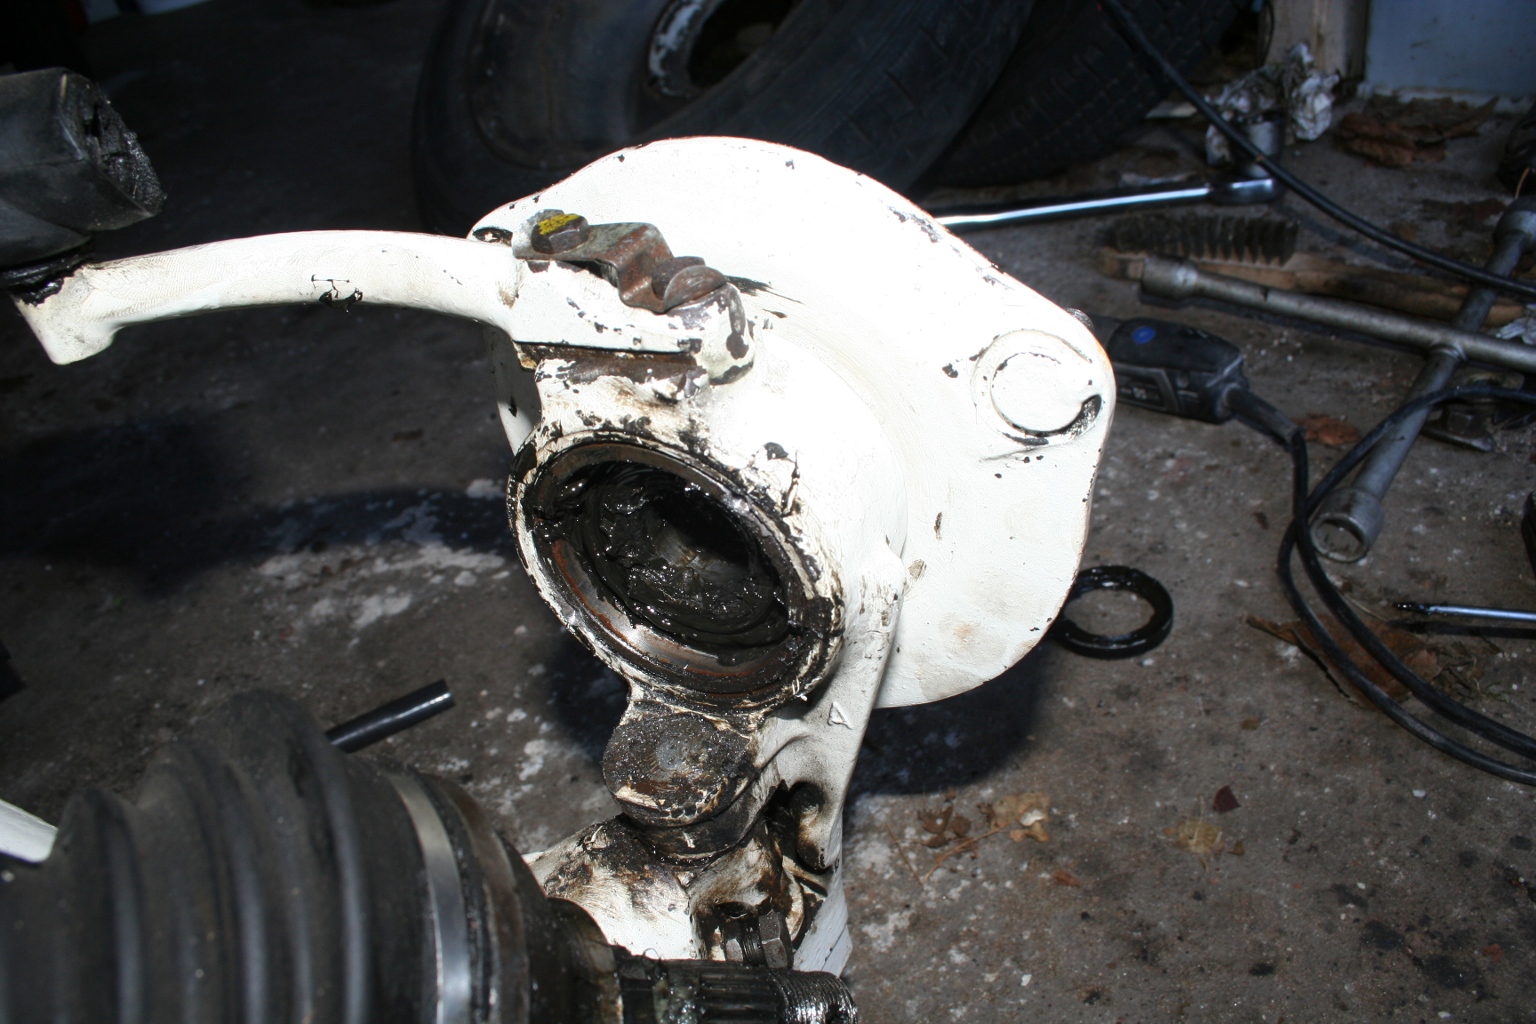 Next step is to remove the ring nut. This device is locked by two center punches (red arrows), which have to be drilled out. Normaly this nut is removed by a special tool. Plan B is to use a screw driver and slight hammer blowing to loosen it. I don't own the special tool and even stronger hammer blows didn't force the nut to rotate. I needed two hours of work with a Dremel to split it into two parts and remove it... 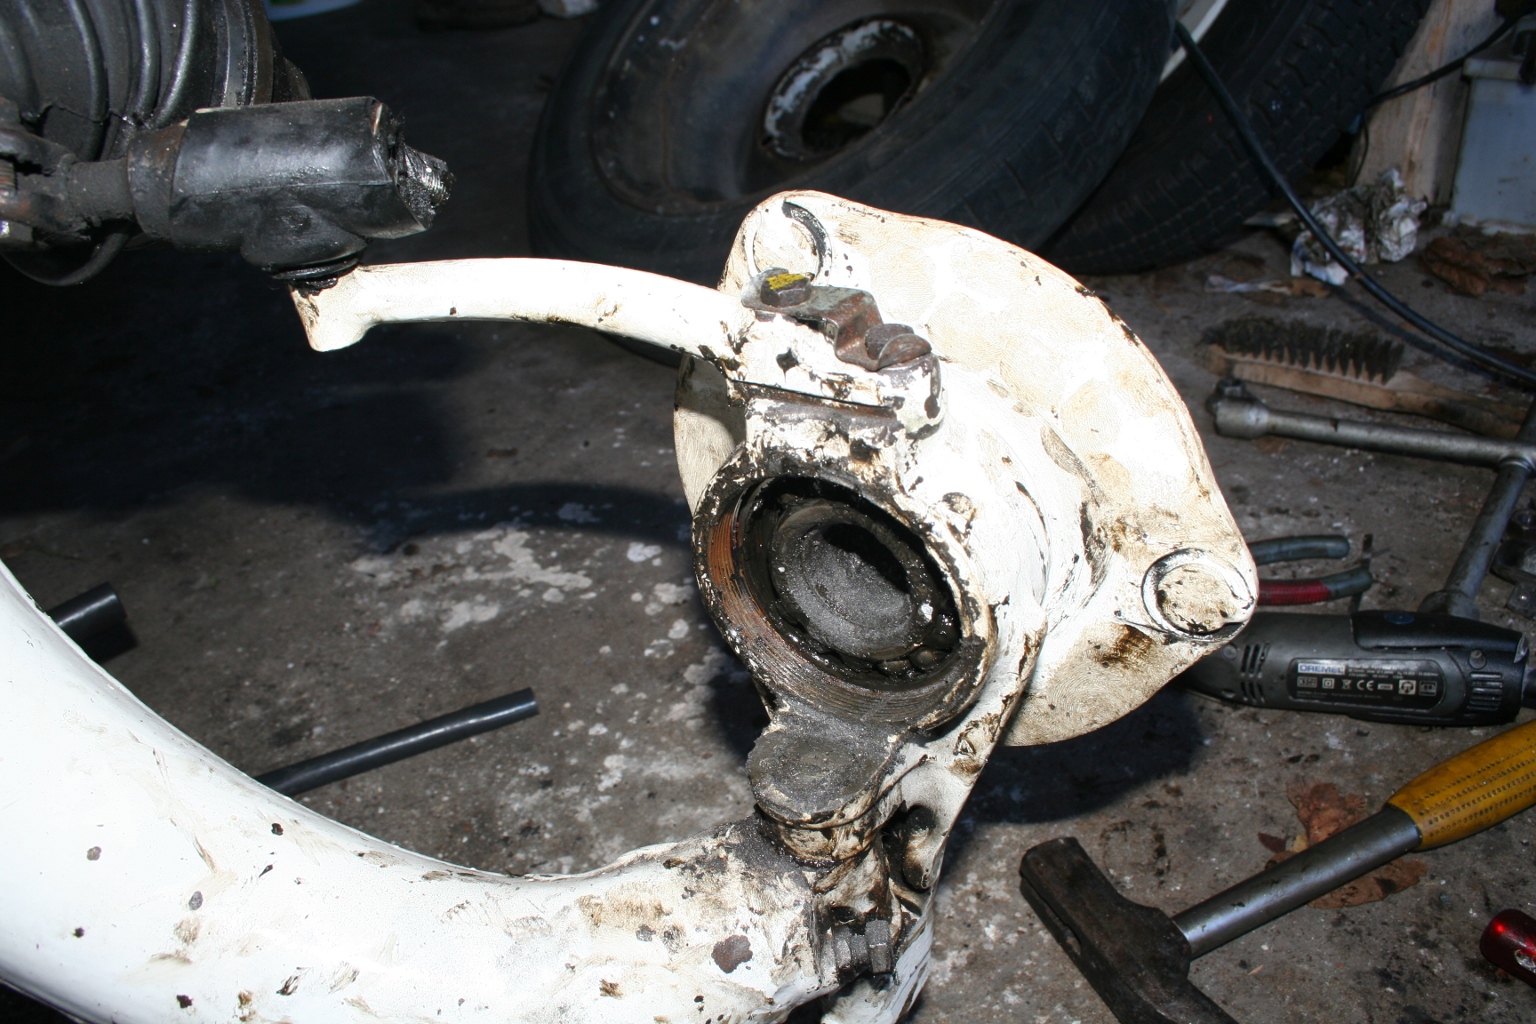 Somewhen the nut was loosened.  I could lever off carefully the unit with the wheel bolts using a big wrench (44mm). 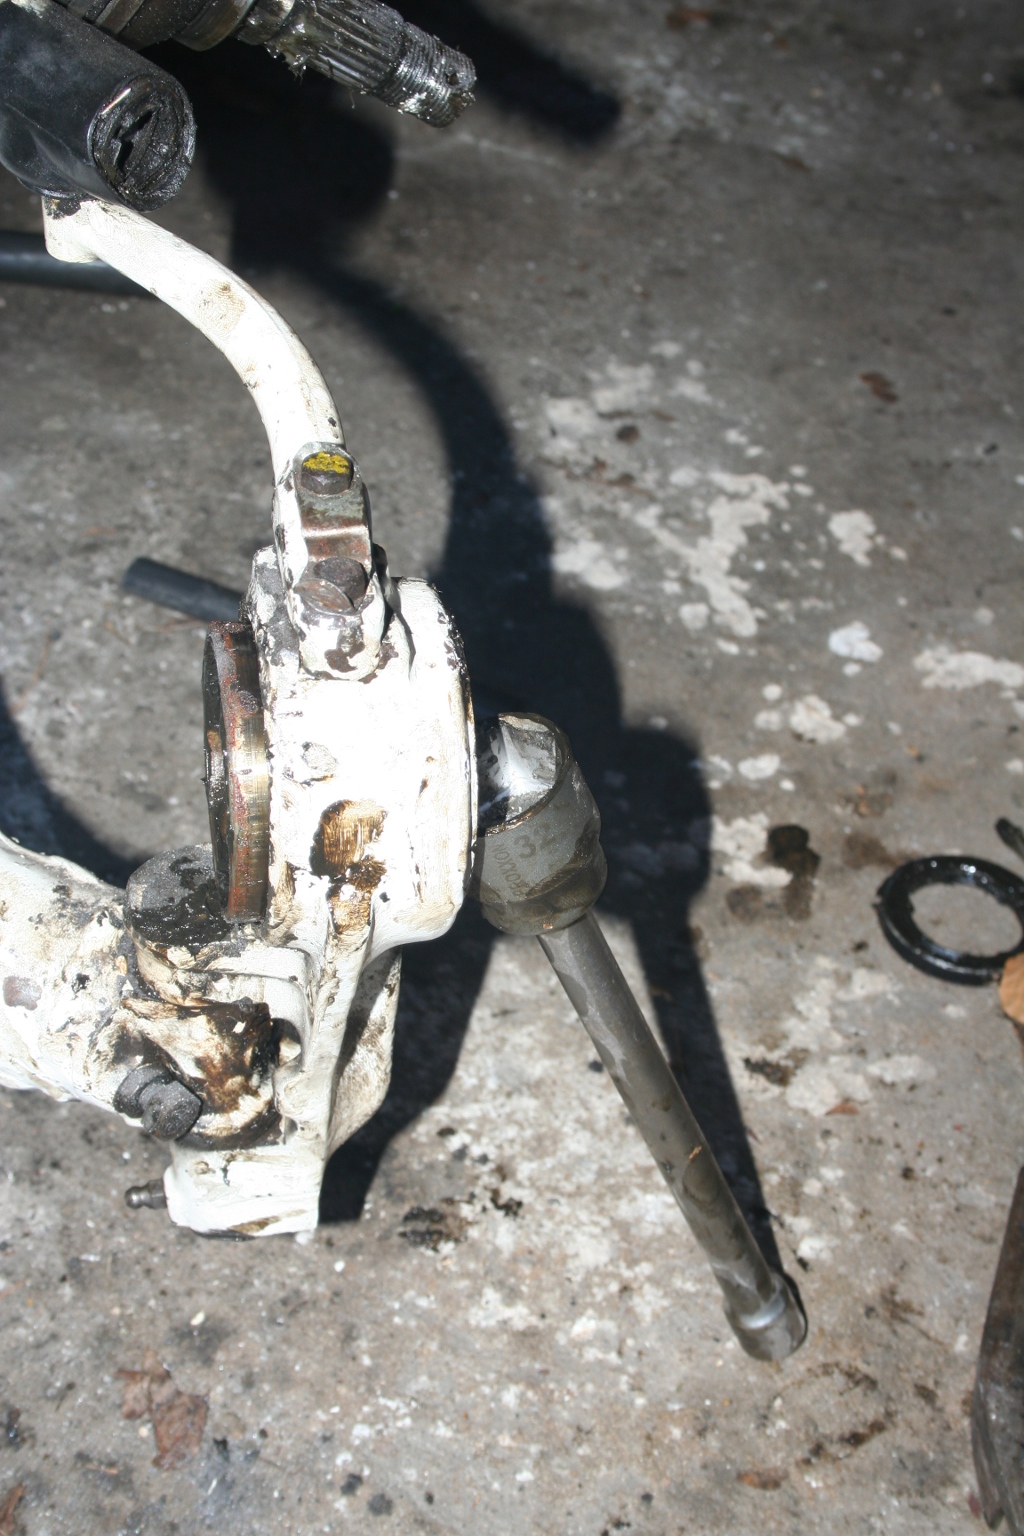 Lever off the oudside sealing with a screw driver, too. The remaining part of the bearing was loosened easily using a 32mm nut + extension and slight hammer blows. 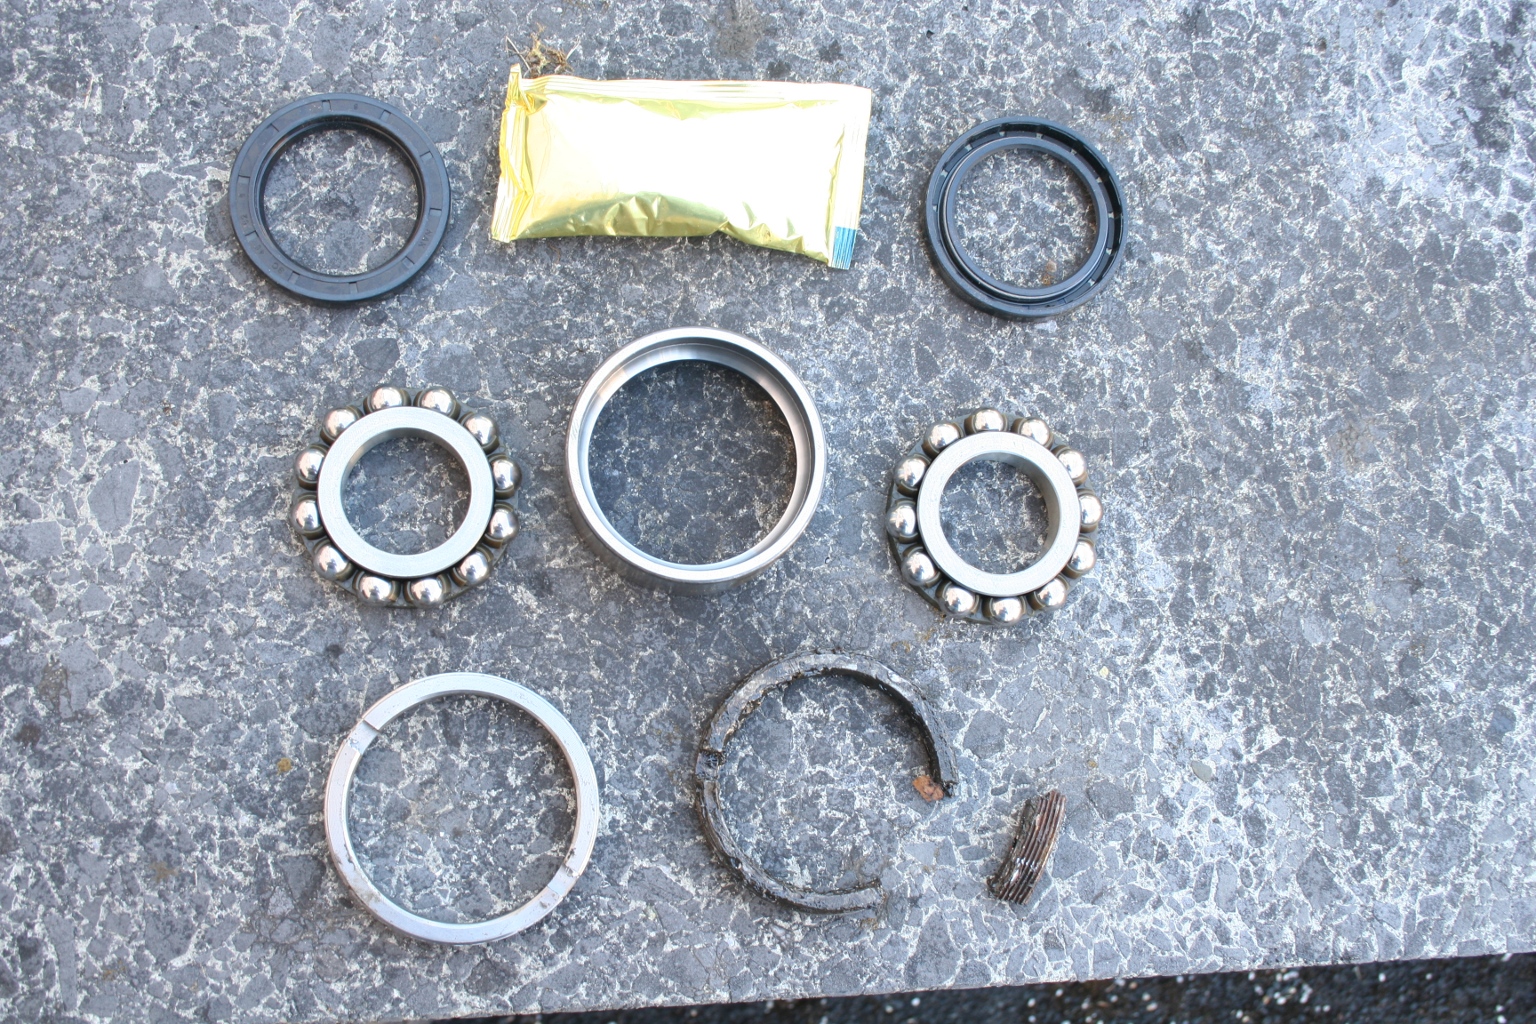 The new parts. At the bottom right you can see the broken old ring nut. It is a good idea to order a new one if you intend to replace a bearing. 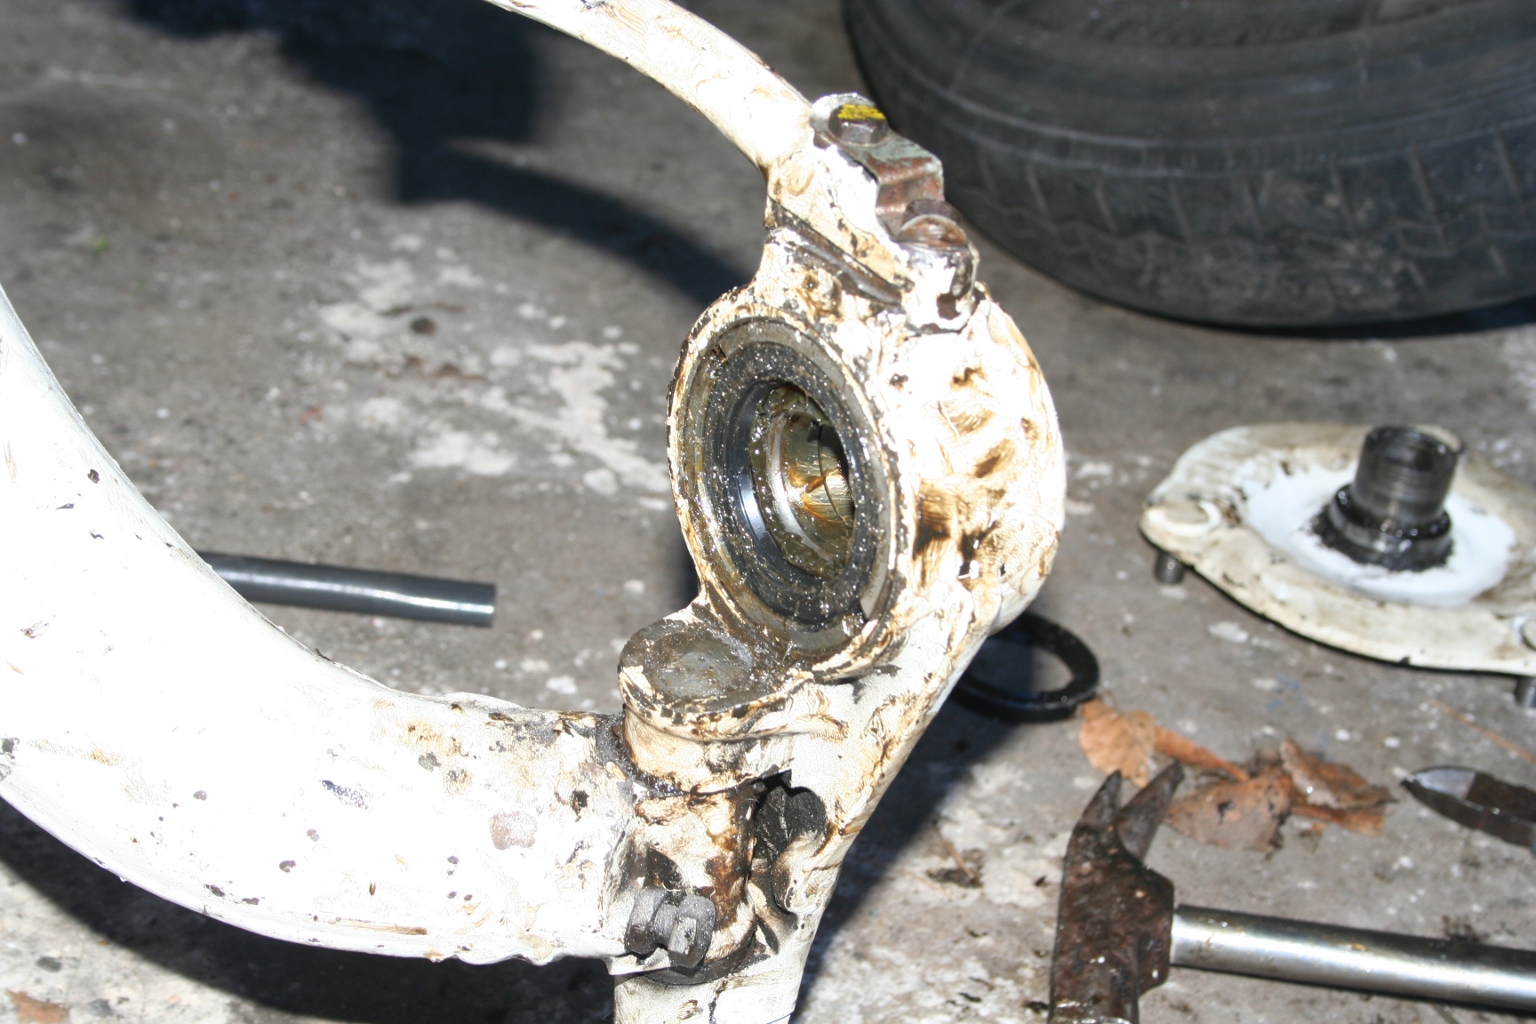 Grease the new bearing very well and insert it (I could do this by hand, without auxiliary tools). Turn in the new ring nut using screwdriver + hammer blows until lock and insert the sealings. Don't push the sealings until lock! Between bearing and sealing there should remain a gap of about 1,5mm. Lock the ring nut by two center punches. I knocked in the device with the wheel bolts some millimeters until the drive shaft overlaped slightly. Then the device was press fitted with the help of the crown nut of the schaft. Unfortunately I forgot to make a picture of this step. Tighten the crown nut with 350Nm, lock it using the cotter pin and the work is done! back to replacing axle bolts Continue with welding work |