|
|
|
Back to replacing wheel bearings Forward to welding The documentation of the bodywork at my number 1 was very short, maybe because of the fact that those operation took place outside of my garage. As a late birthday present respectively as a lifelong loan I got a welding machine - thanks to Klaus. Now I can learn how to do welding by my own and I can take as many pictures as I like. Siegfried told me about the secrets of welding cars. Here is what he said: " Welding is simple, there are no secrets. Time-consuming is the correct preparatory work." Preparatory work starts with finding the rusty metal sheets. Sounds simple, but requires the removing of the underbody coating consisting of bitumen which should never ever be used for conserving your 2CV. 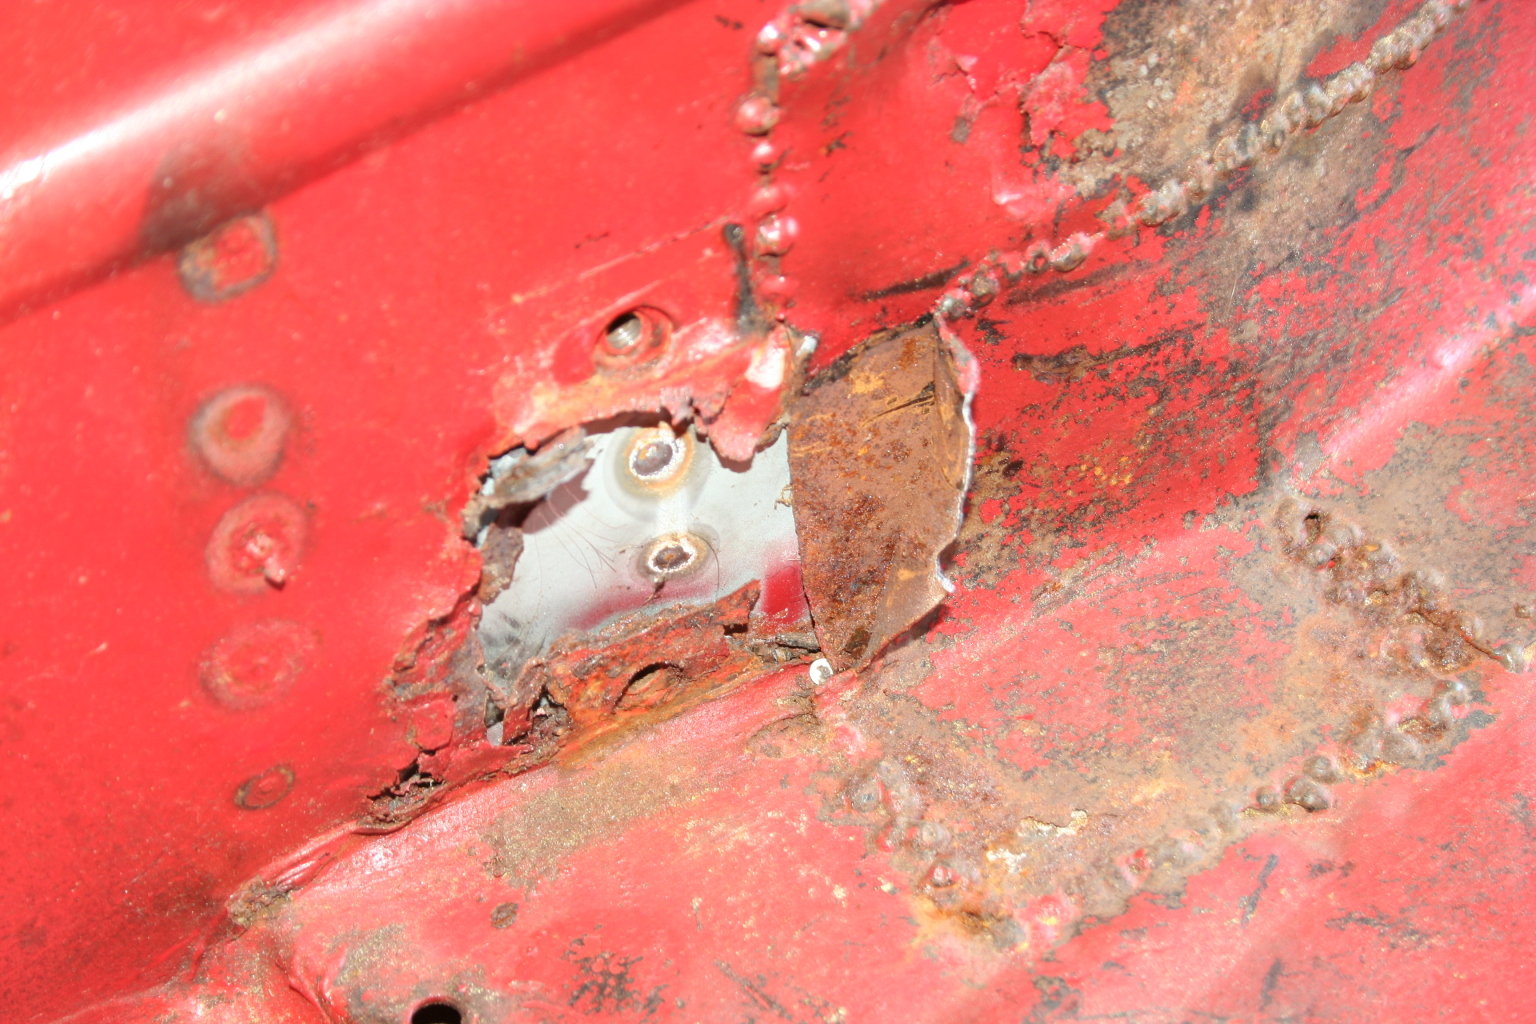 19th of August 2009 - my garage Inspecting the bodywork. The three layers of metal sheets at the rear fender could be seen from far away. If you don't conserve the new welded plates (cavity wachs or grease), it starts rusting again very soon (look at the two bended metal layers). Using stainless steel is wasting money, because of the contact voltage the metal starts rusting more easy at the boudary area and so the still shiningly new stainless steel plate falls of your car after one or two years. Meaningful is the use of this material if you replace the complete undercarriage and if you conserve the boudary areas! Normal people like us should use normal steel. If you spend some time and money in the correct conservation, this material will last for a lifetime. 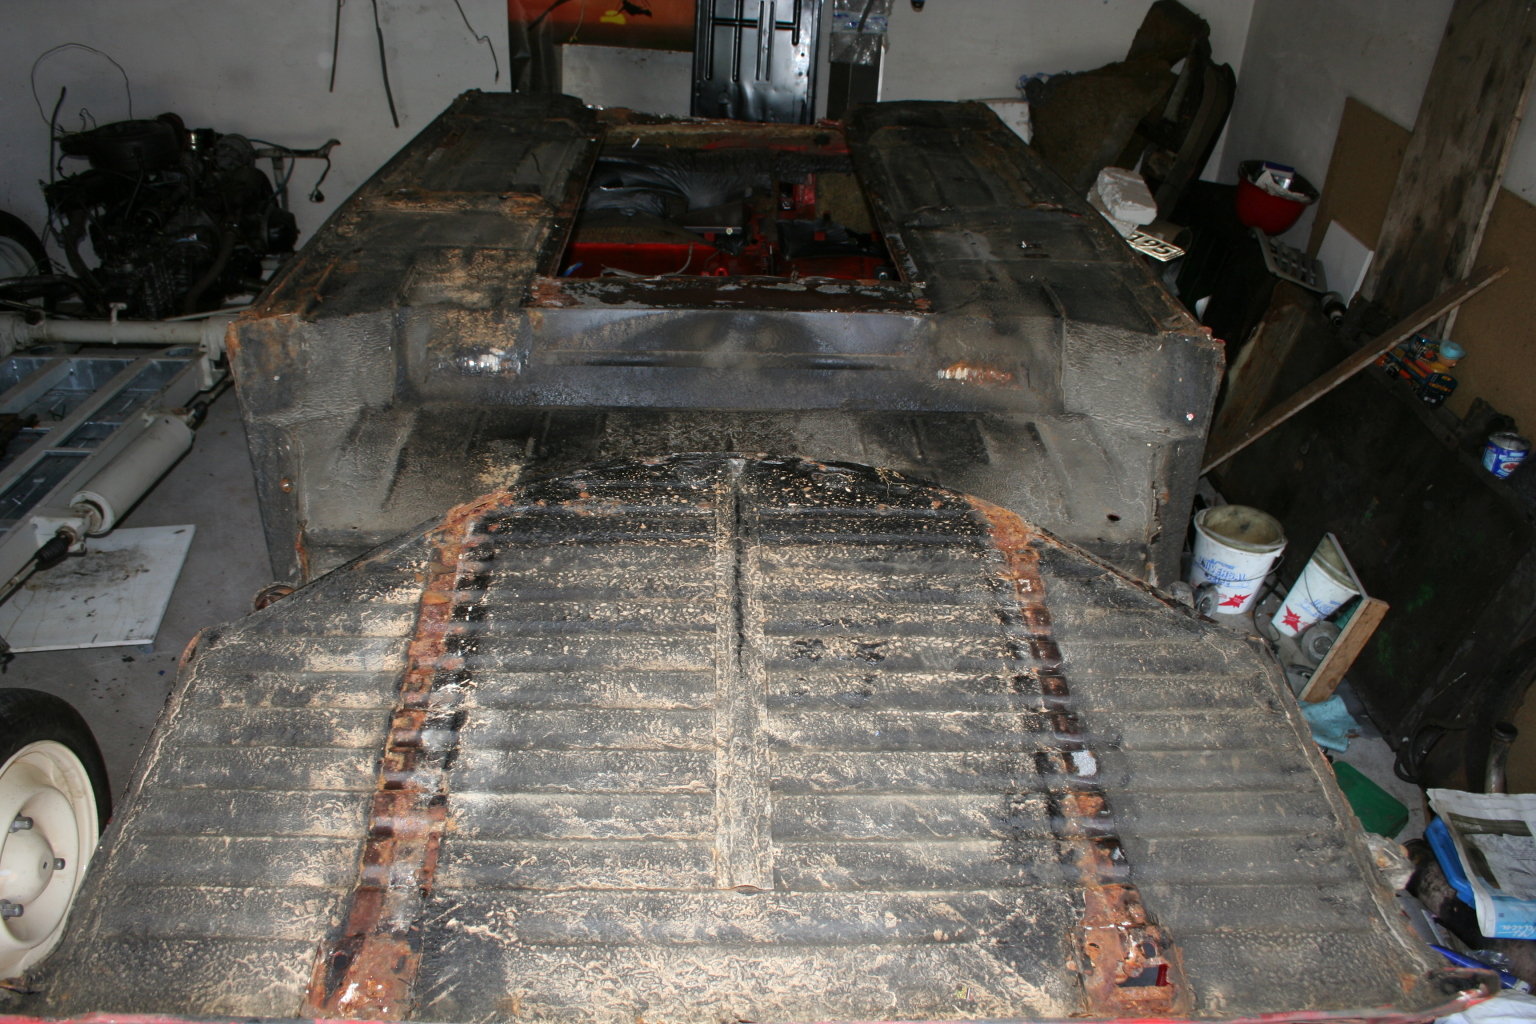 19th of August 2009 - my garage Take down the bodywork and turn it upside down. Following the first look at the undercarriage.  19th of August 2009 - my garage Not only from the top, but also from the bottom, most of the metal sheets look very rusty. According to this, some reparing laminations were already bought. 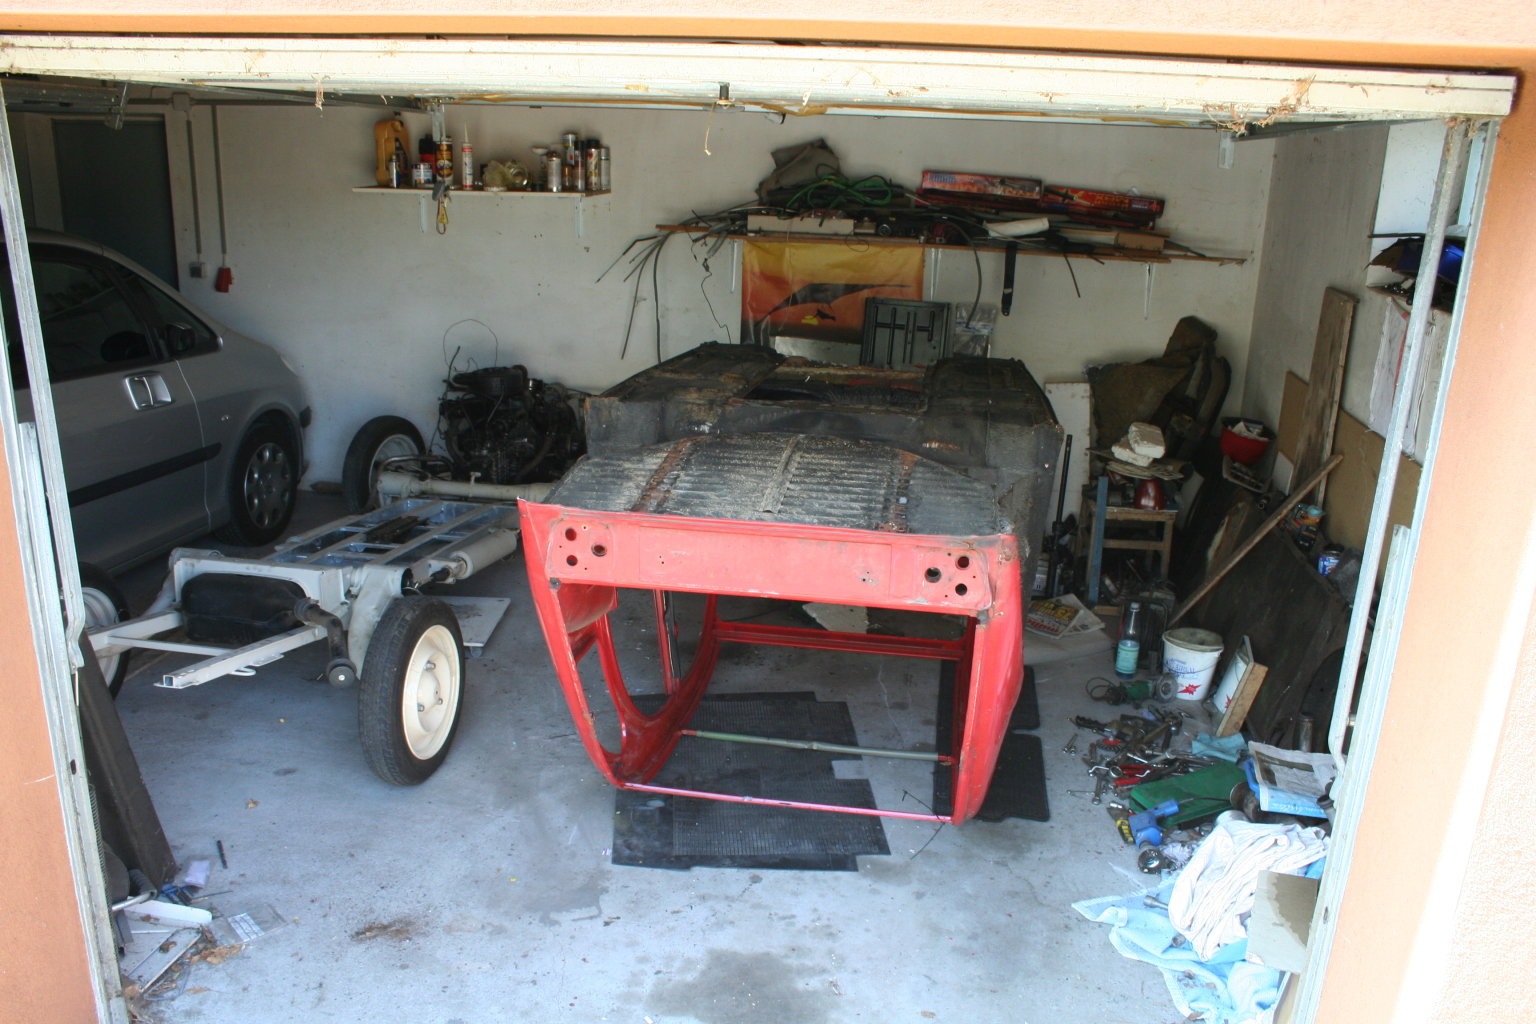 19th of August 2009 - my garage Knowing about the well known weak points, I ended my working day. Let's start working and remove the underbody coating. To make this step more easy, you should warm the bitumen slightly and remove the bigest part of it with the help of a spattle. This should be done in a well ventilated room (open the door of the garage), because vaporized bitumen ist anything else but healthy. That's the reason why you should not heat the bitumen til melting or vaporizing. Just warming up slightly and the bitumen can be removed more easy. 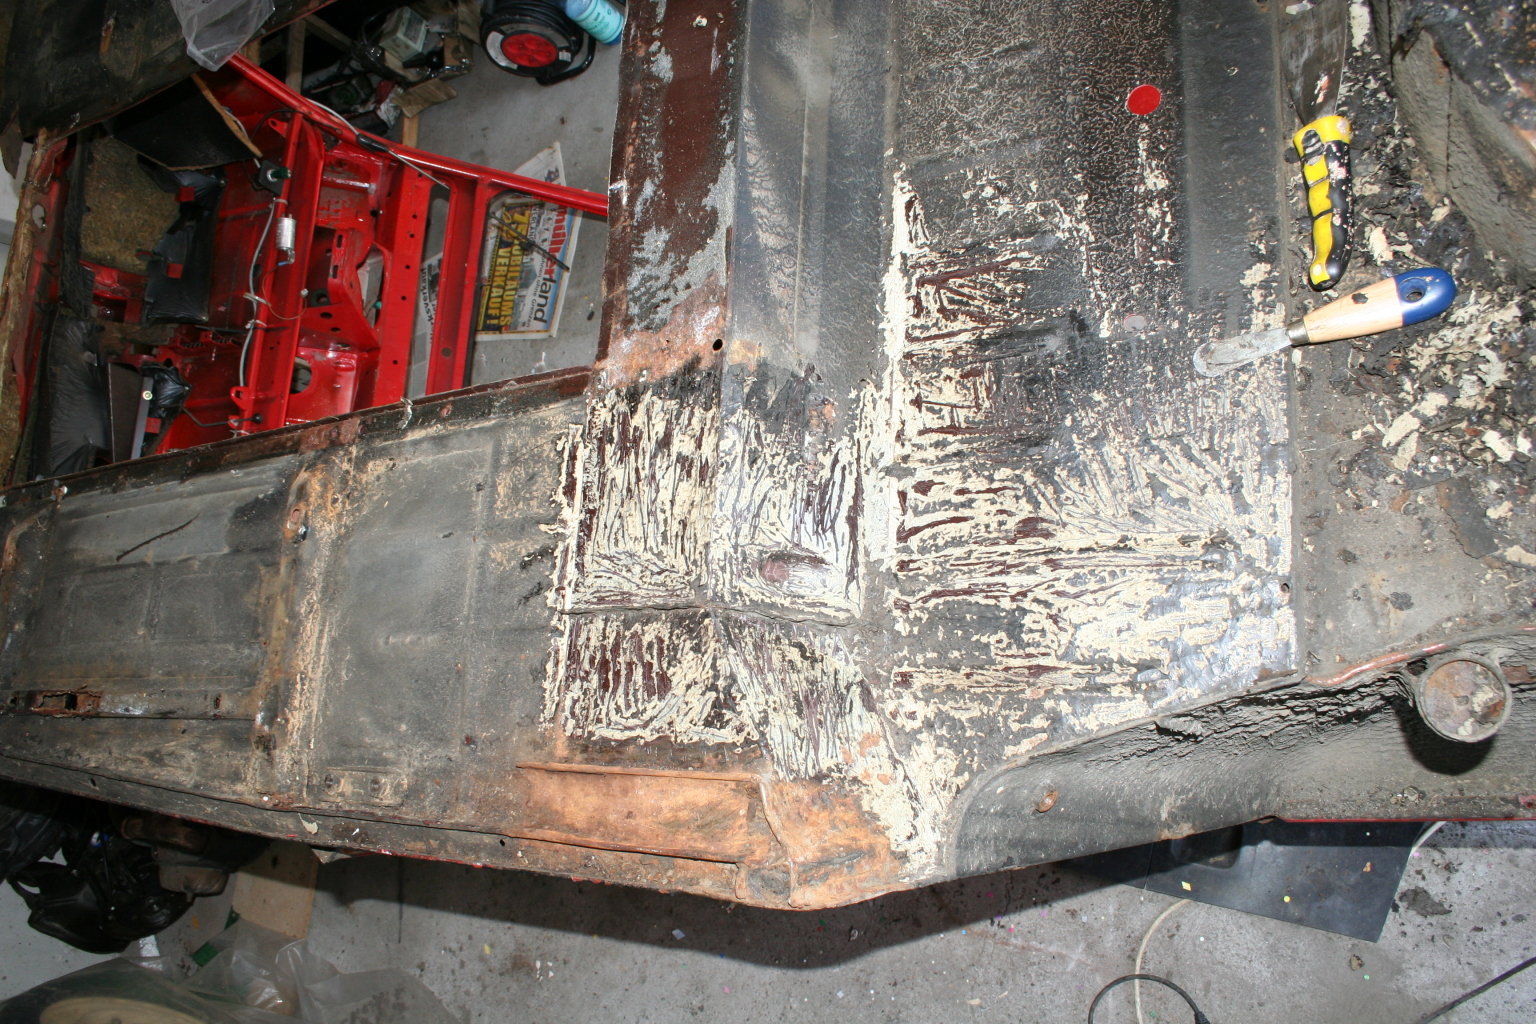 20th of August 2009 - my garage Roughly with the spattle removed underbody carriage.  20th of August 2009 - my garage Removed completely with the help of an angle grinder and attached steel brush. Drilling machines are rotating too slow - therewith you won't be very successful. Protective goggles, dust mask and ear protectors are oblibatory! 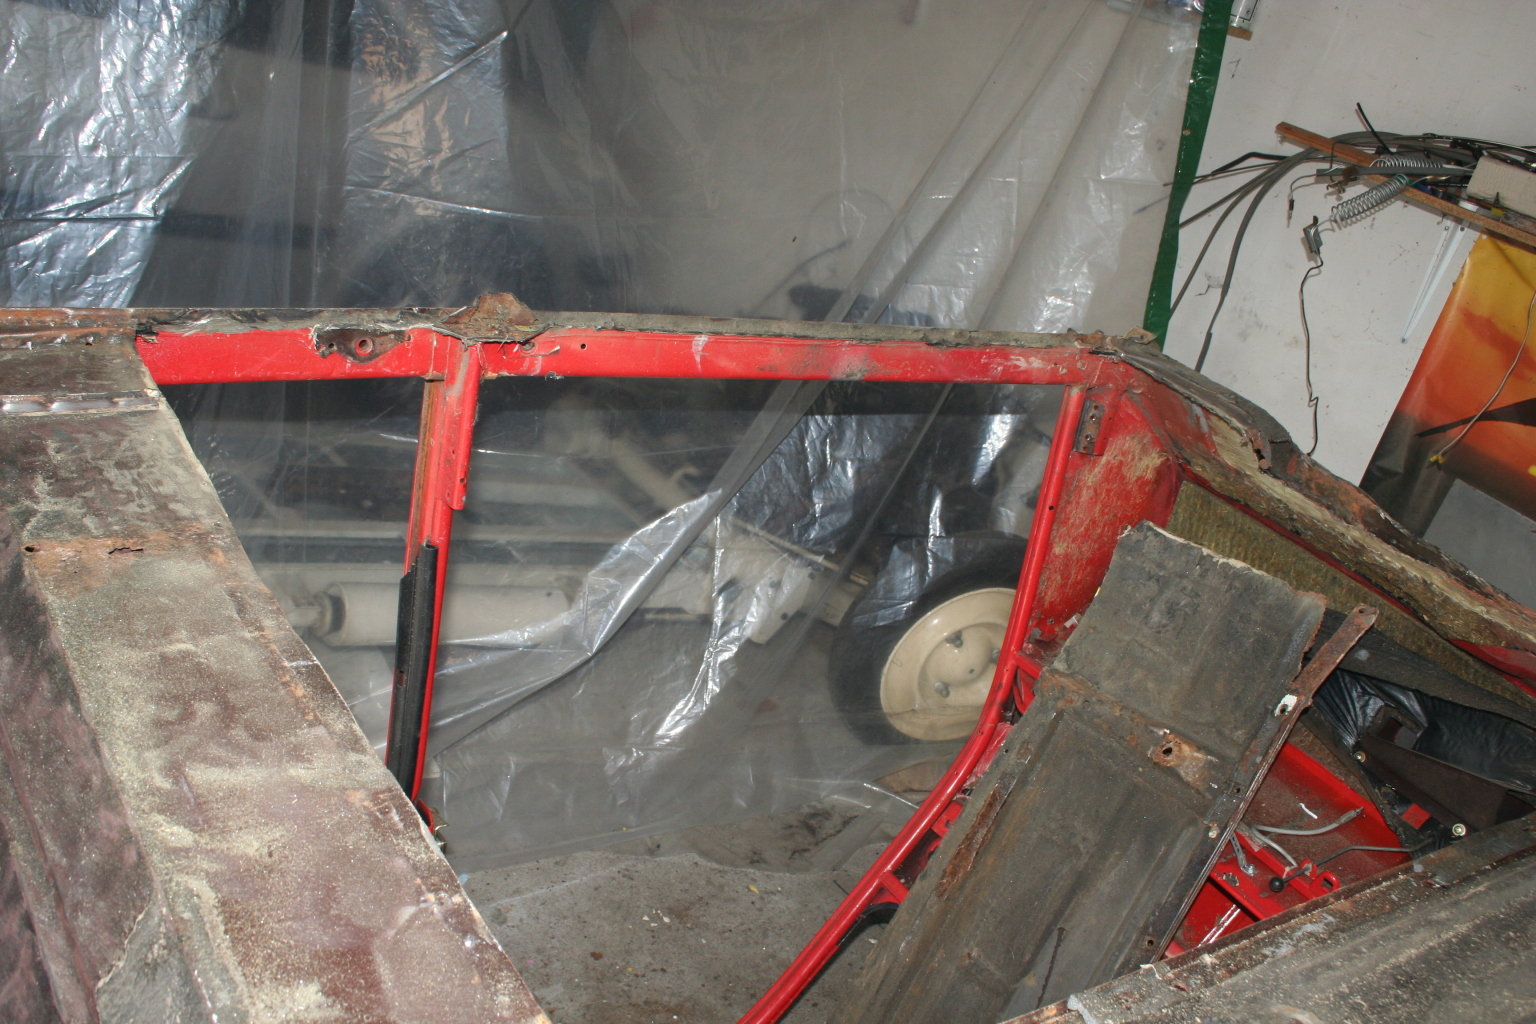 20th of August 2009 - my garage Of course, the plates which sould be replaced don't have to be cleaned, just at the cutting edges you shoult remove the dirt. Mount the cutting-off wheel to the angle grinder and remove the rusty plates. The boundary area should be removed later, to avoid cutting good material. 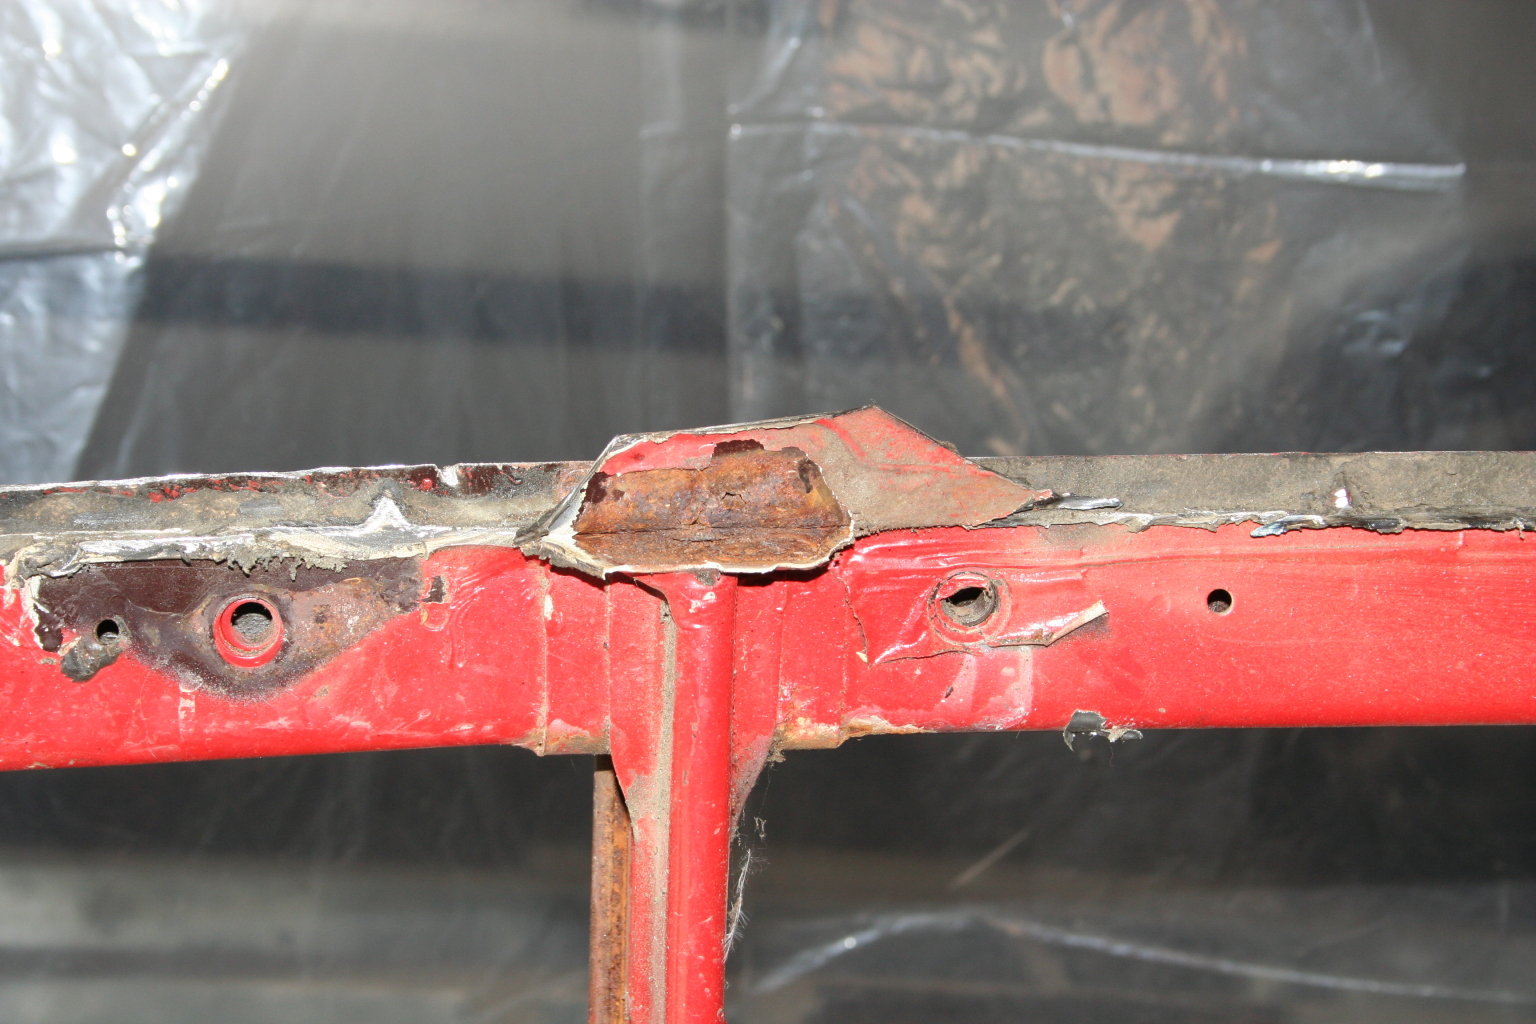 20th of August 2009 - my garage 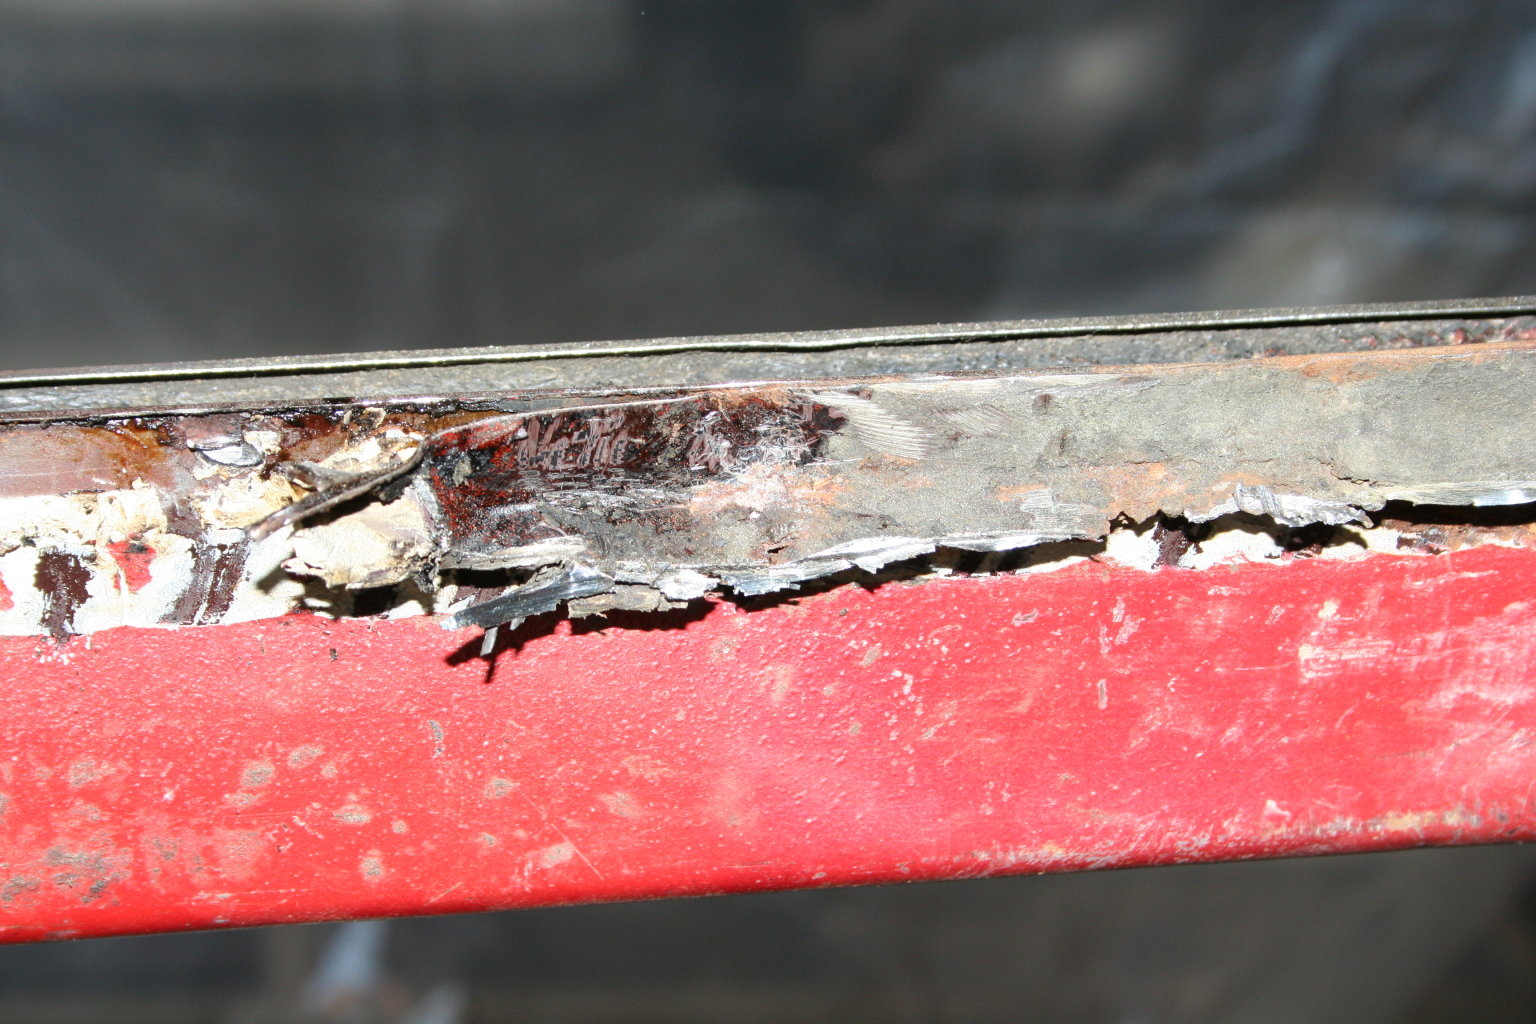 20th of August 2009 - my garage Now the left over edges have to be removed. You should not weld at those leavings! Clean the welding points,... 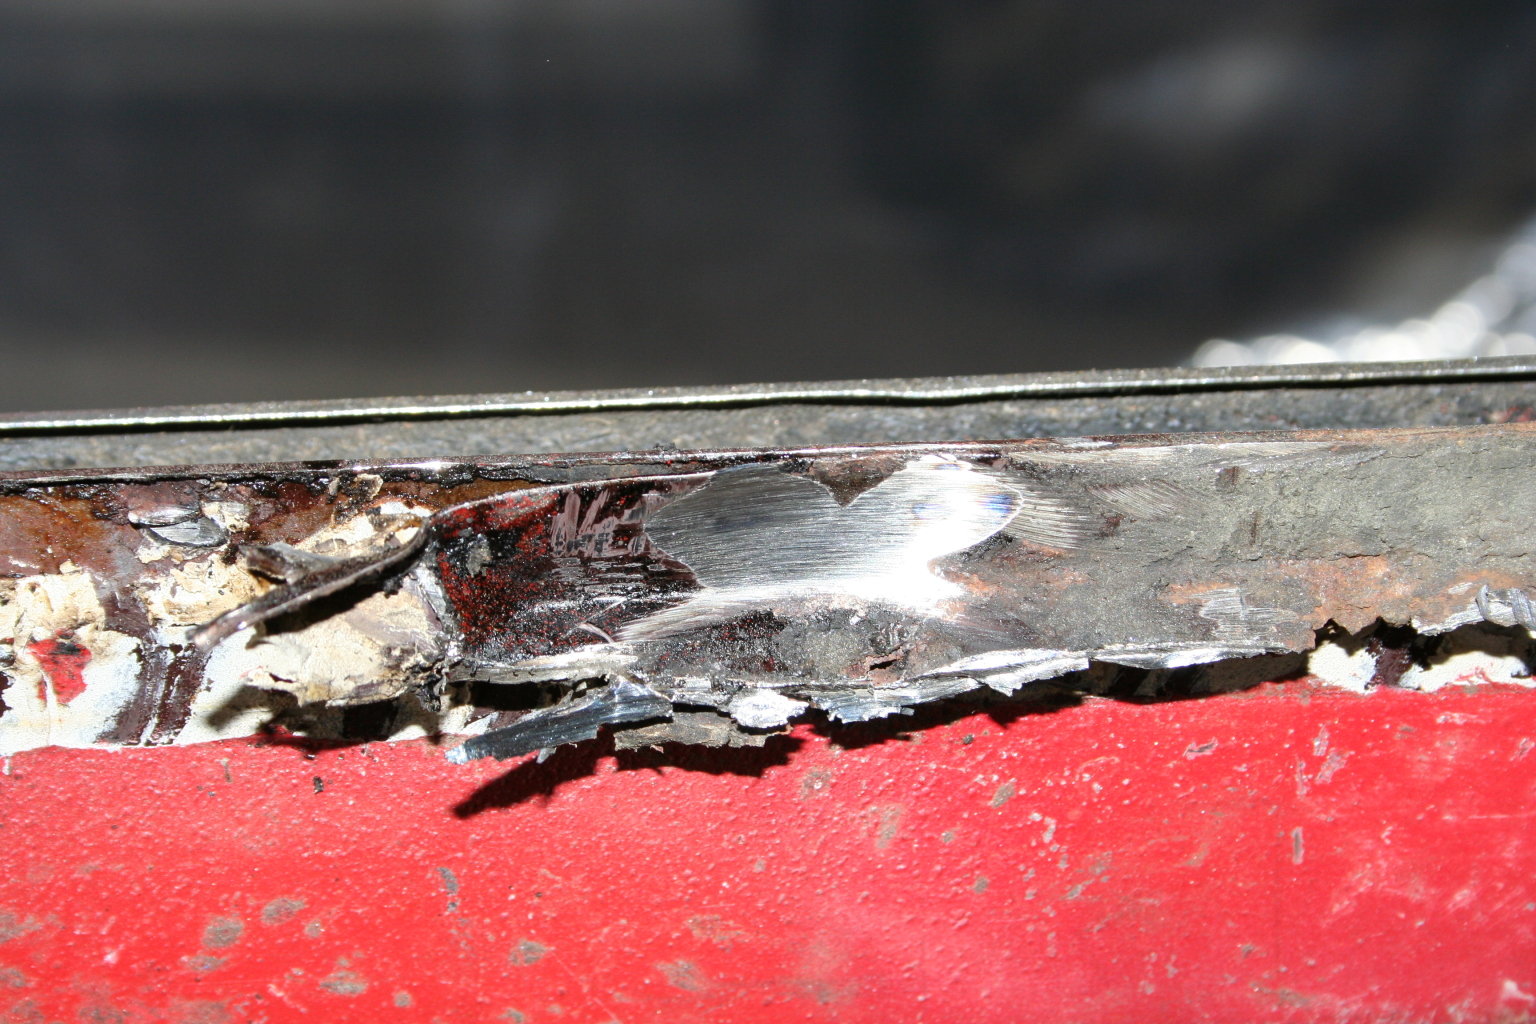 20th of August 2009 - my garage ...abrade them with the angle grinder... 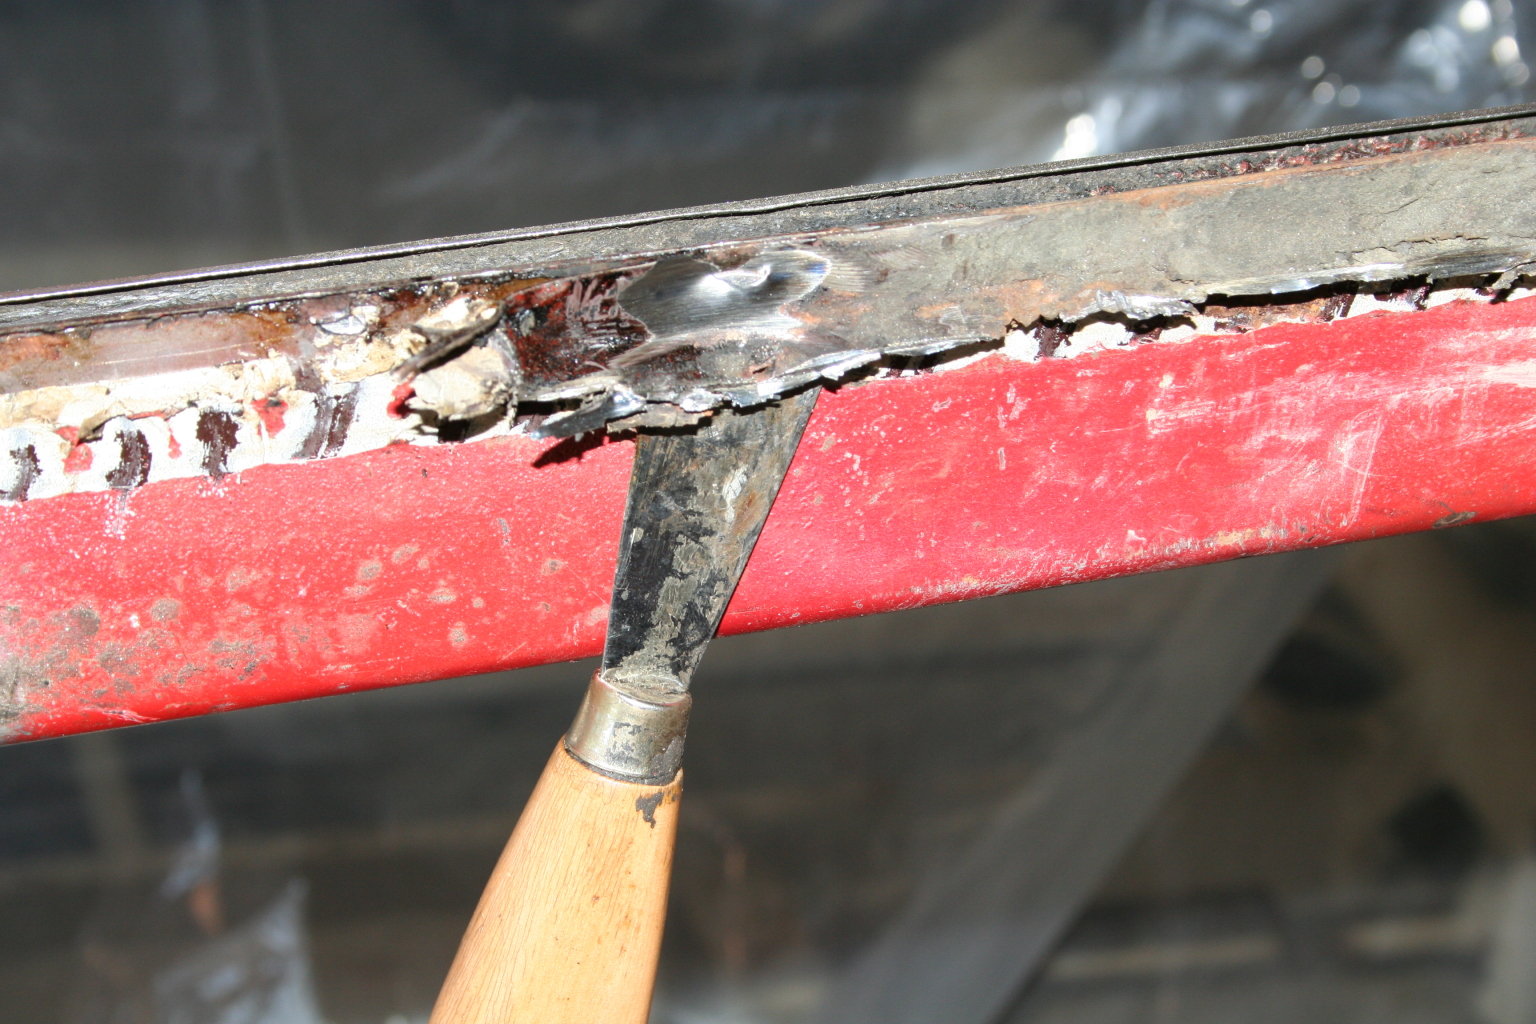 20th of August 2009 - my garage ...and knock them off with the spattle. Be careful just to destroy the upper metal layer! This could be done more smartly with the help of a spot weld cutter, but this is something I don't have in my garage. 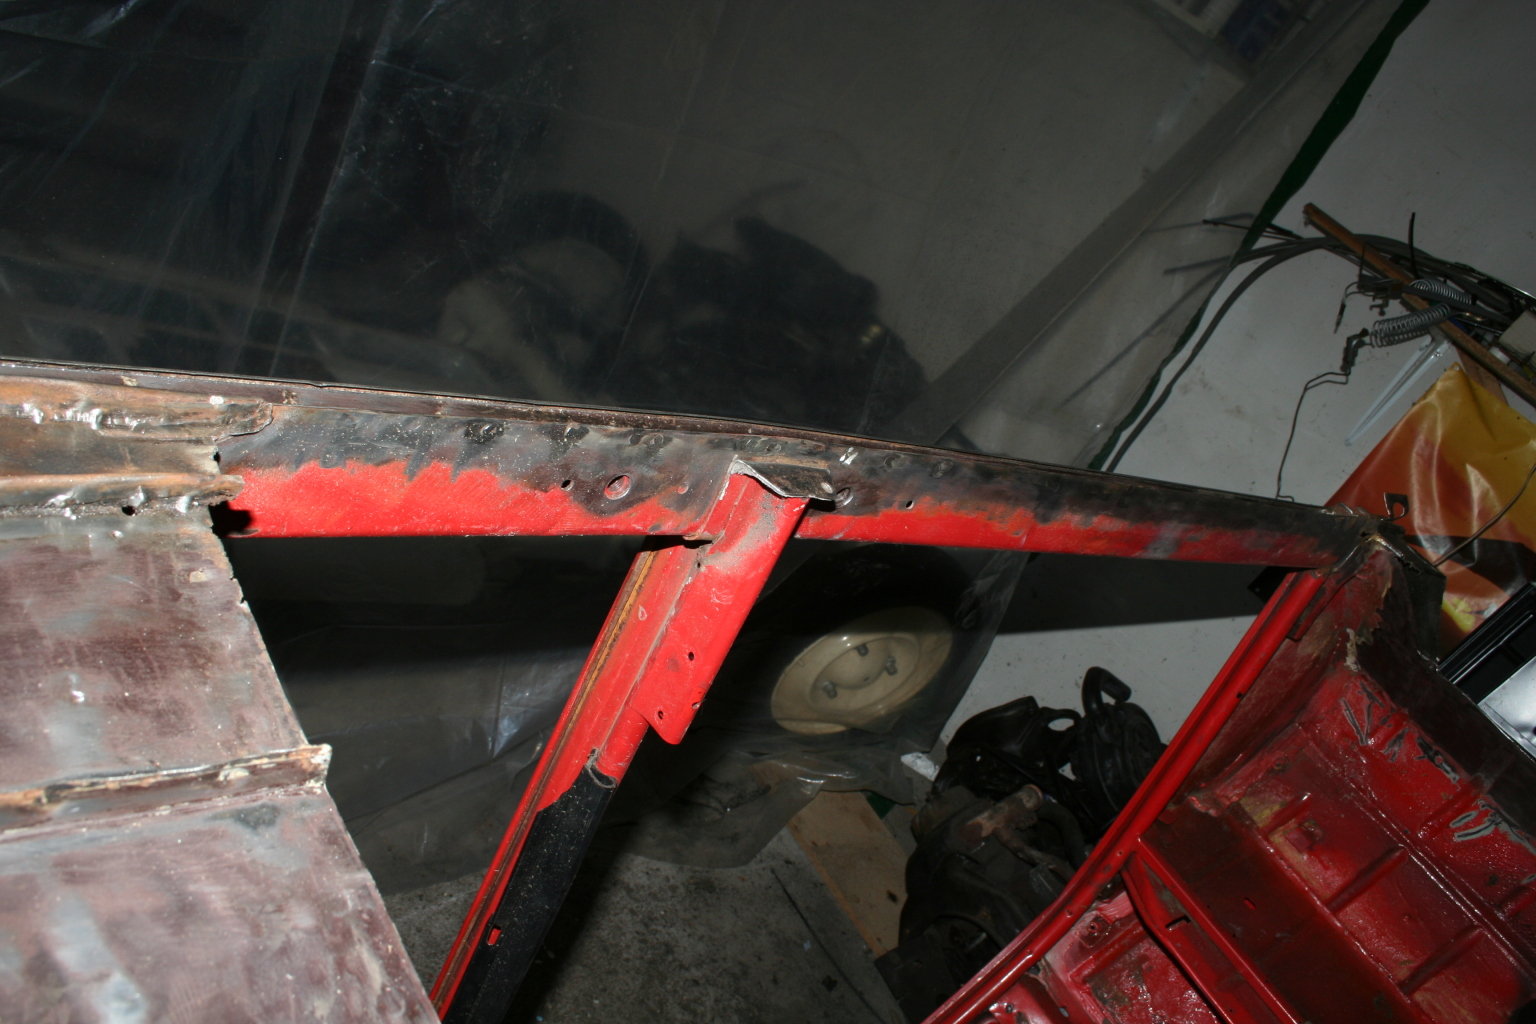 20th of August 2009 - my garage Cleaned it looks sometimes like this. 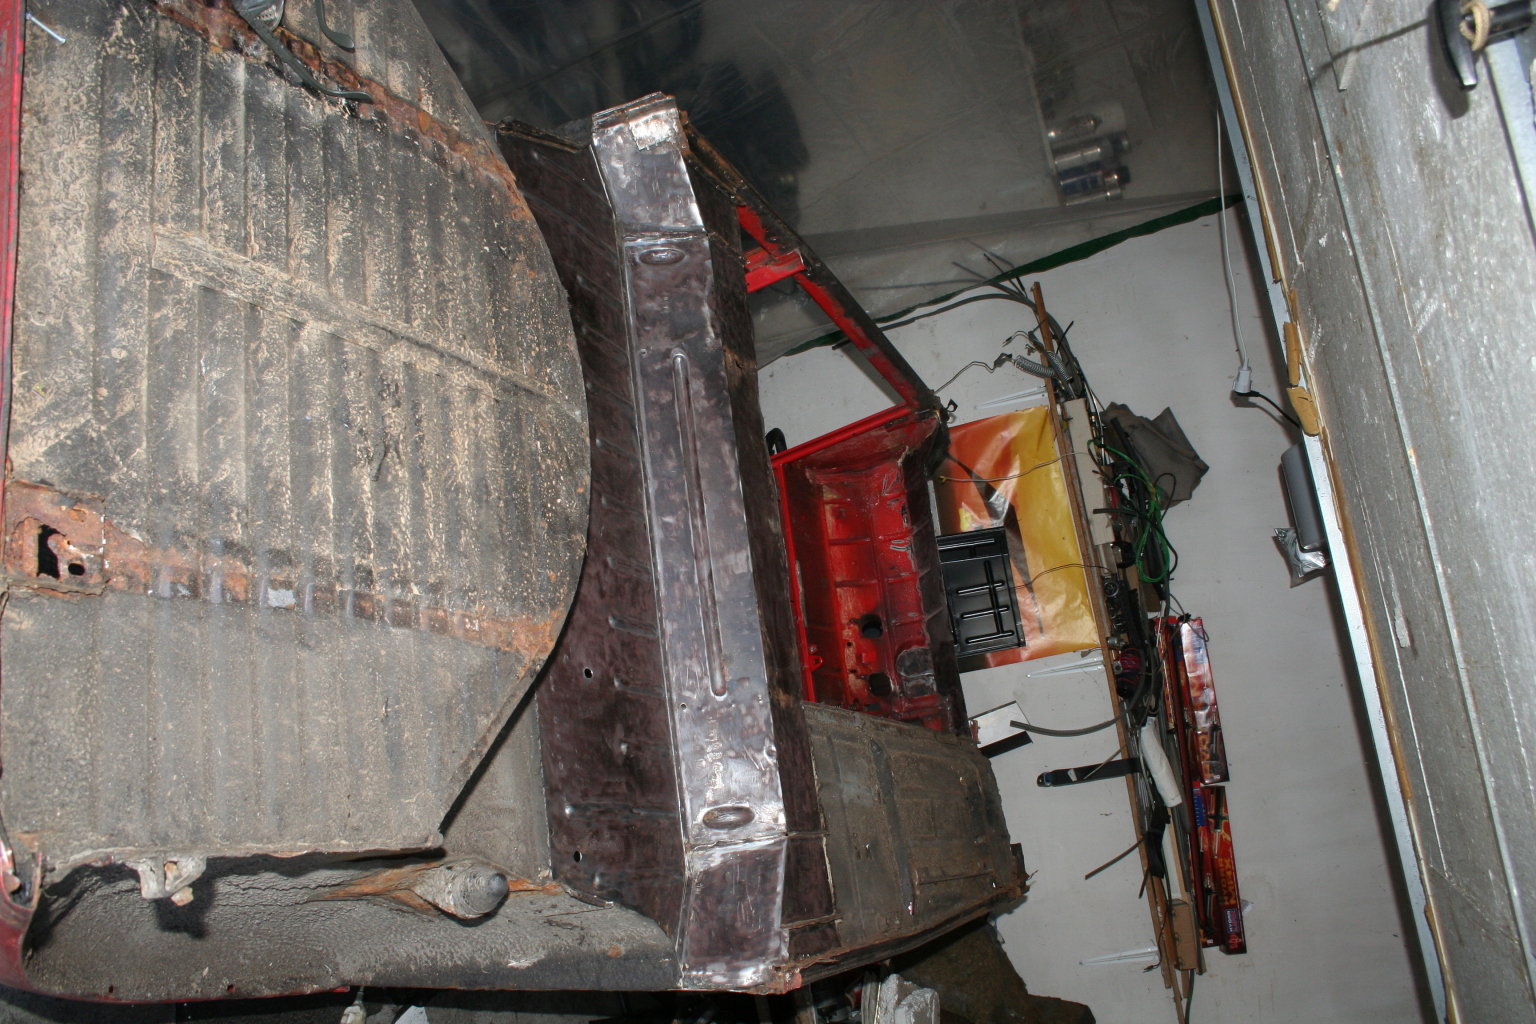 20th of August 2009 - my garage I have been working this day from 11:00 - 17:30Uhr without a lunch break and finally I could see the undercarriage this way. After the 'unpacking' process I could see the complete damage symtoms. Like always the bigest damage is hidden underneath the thickest 'protection coating'!  20th of August 2009 - my garage The rear purchase for the jacking equipment at the driver's side - this is not the worst.  20th of August 2009 - my garage Front of the driver's side - the holes are bigger and some areas are bended. The big undercarriage plate is still mounted and there will be more rust covered below...  20th of August 2009 - my garage Front of passenger's side - here should no jack be used. 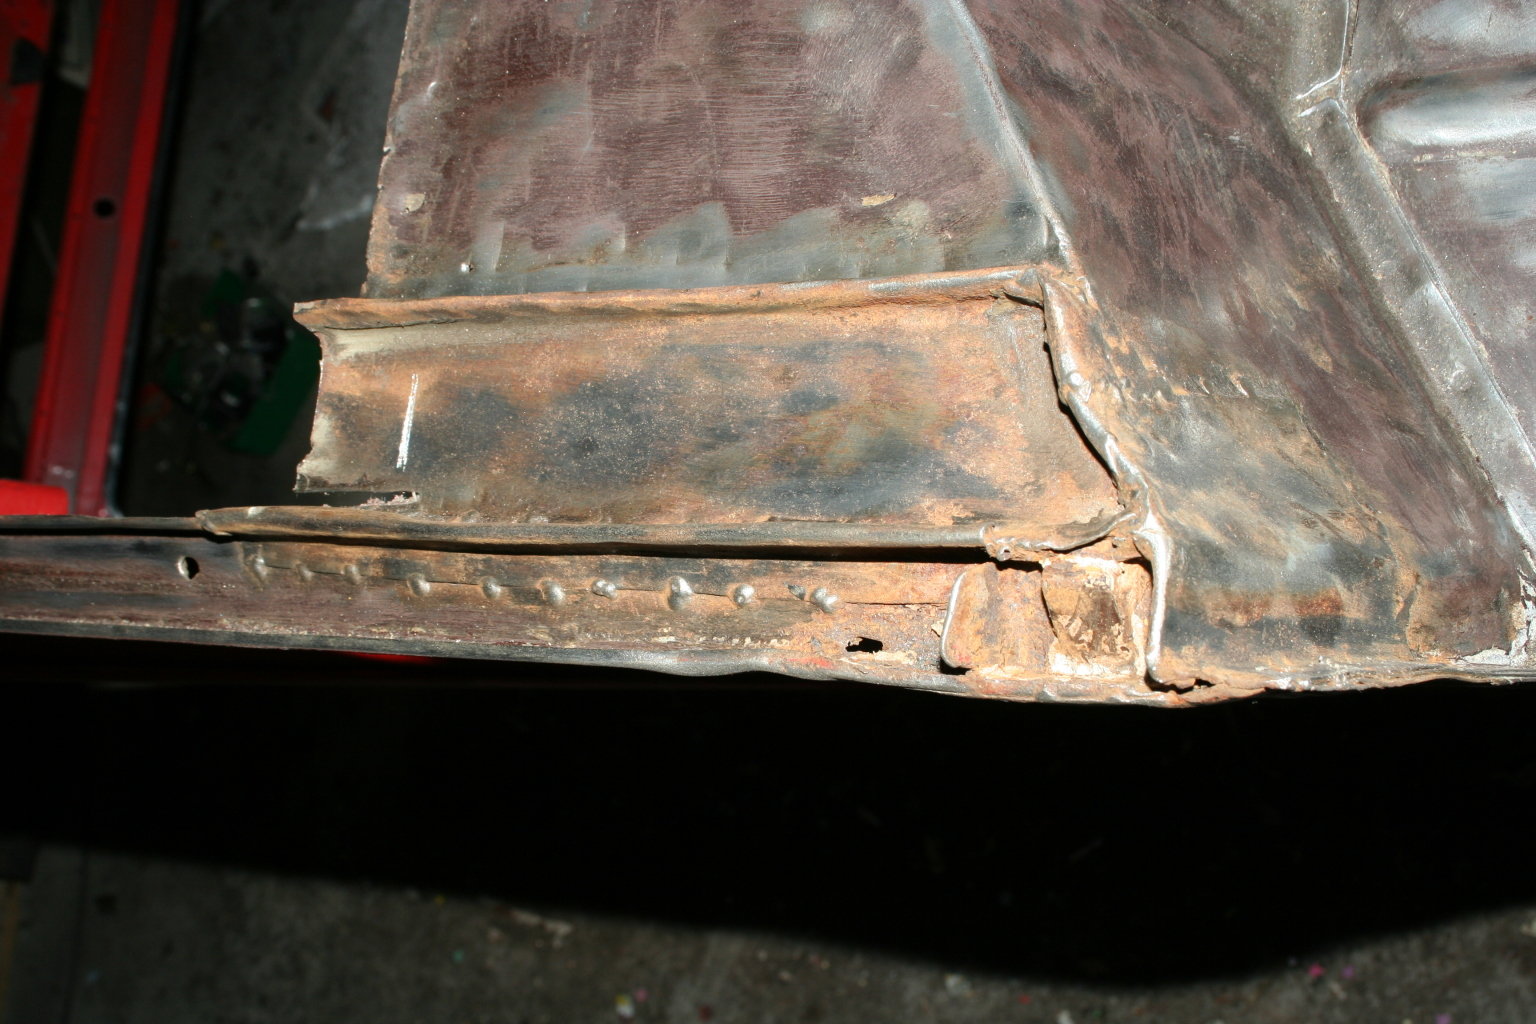 20th of August 2009 - my garage At the rear of passenger's side there are already some repairing plates viewable. It doesn't look as bad as at some other areas of the bodywork, but there was no tidy conservation and so the plates started rusting again. 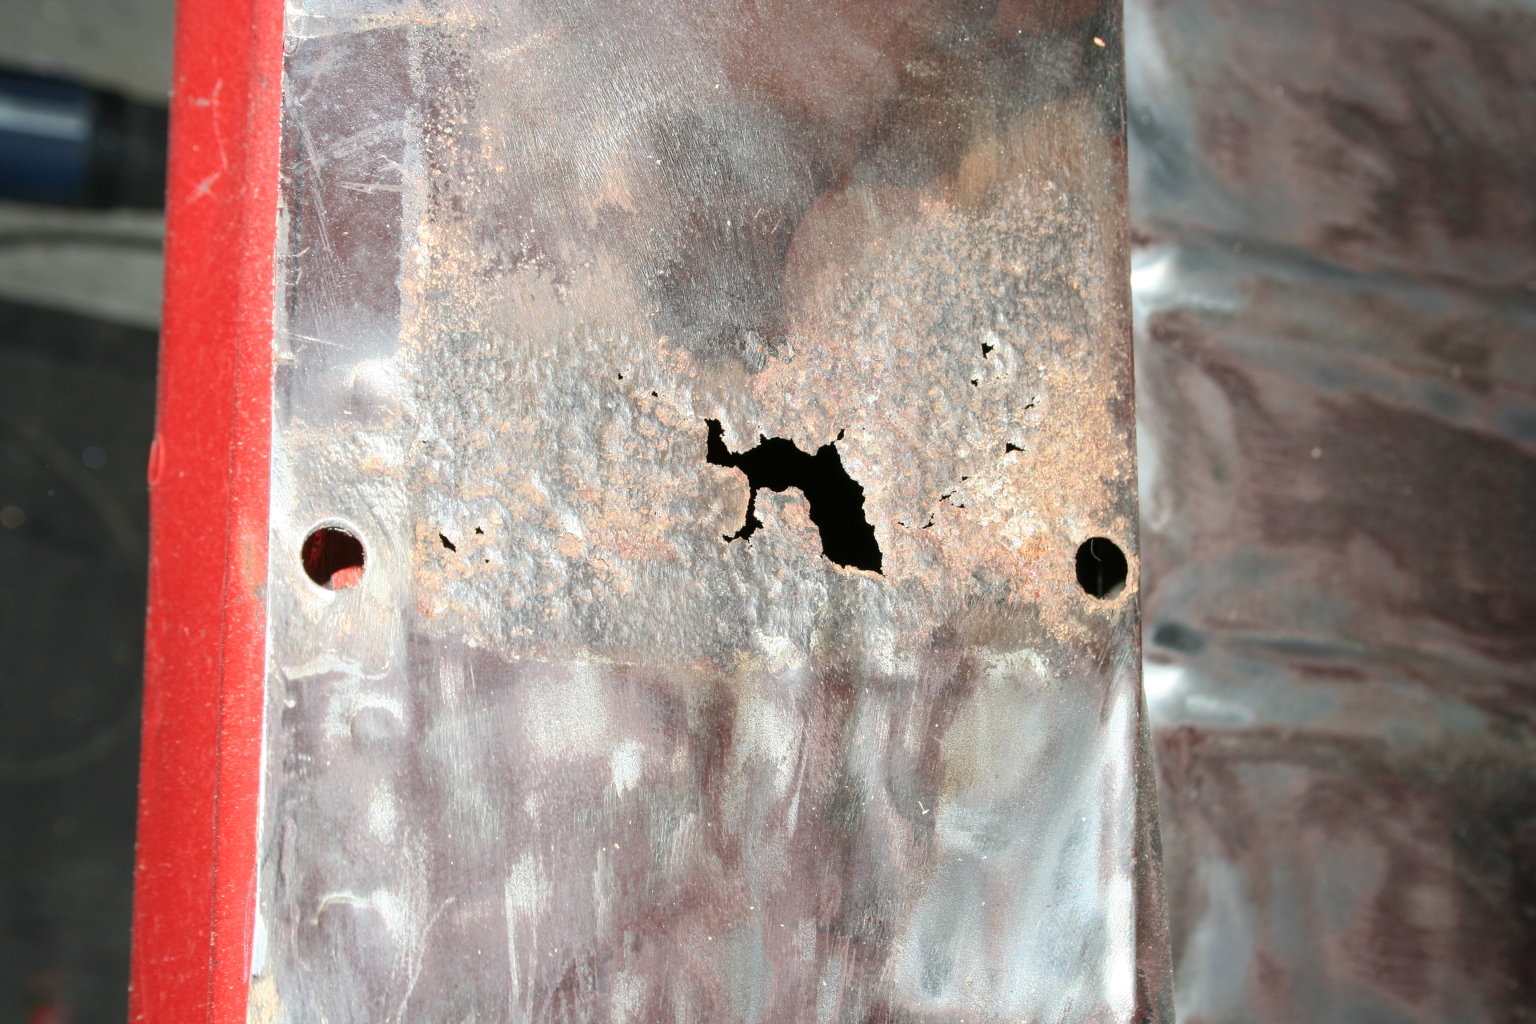 20th of August 2009 - my garage Here at the bodywork lies at the chassis and foamed rubber was used between the two constructional elements. Those stuff absorbs water and the result can be seen here at. Use greased tape instead - it keeps water away! 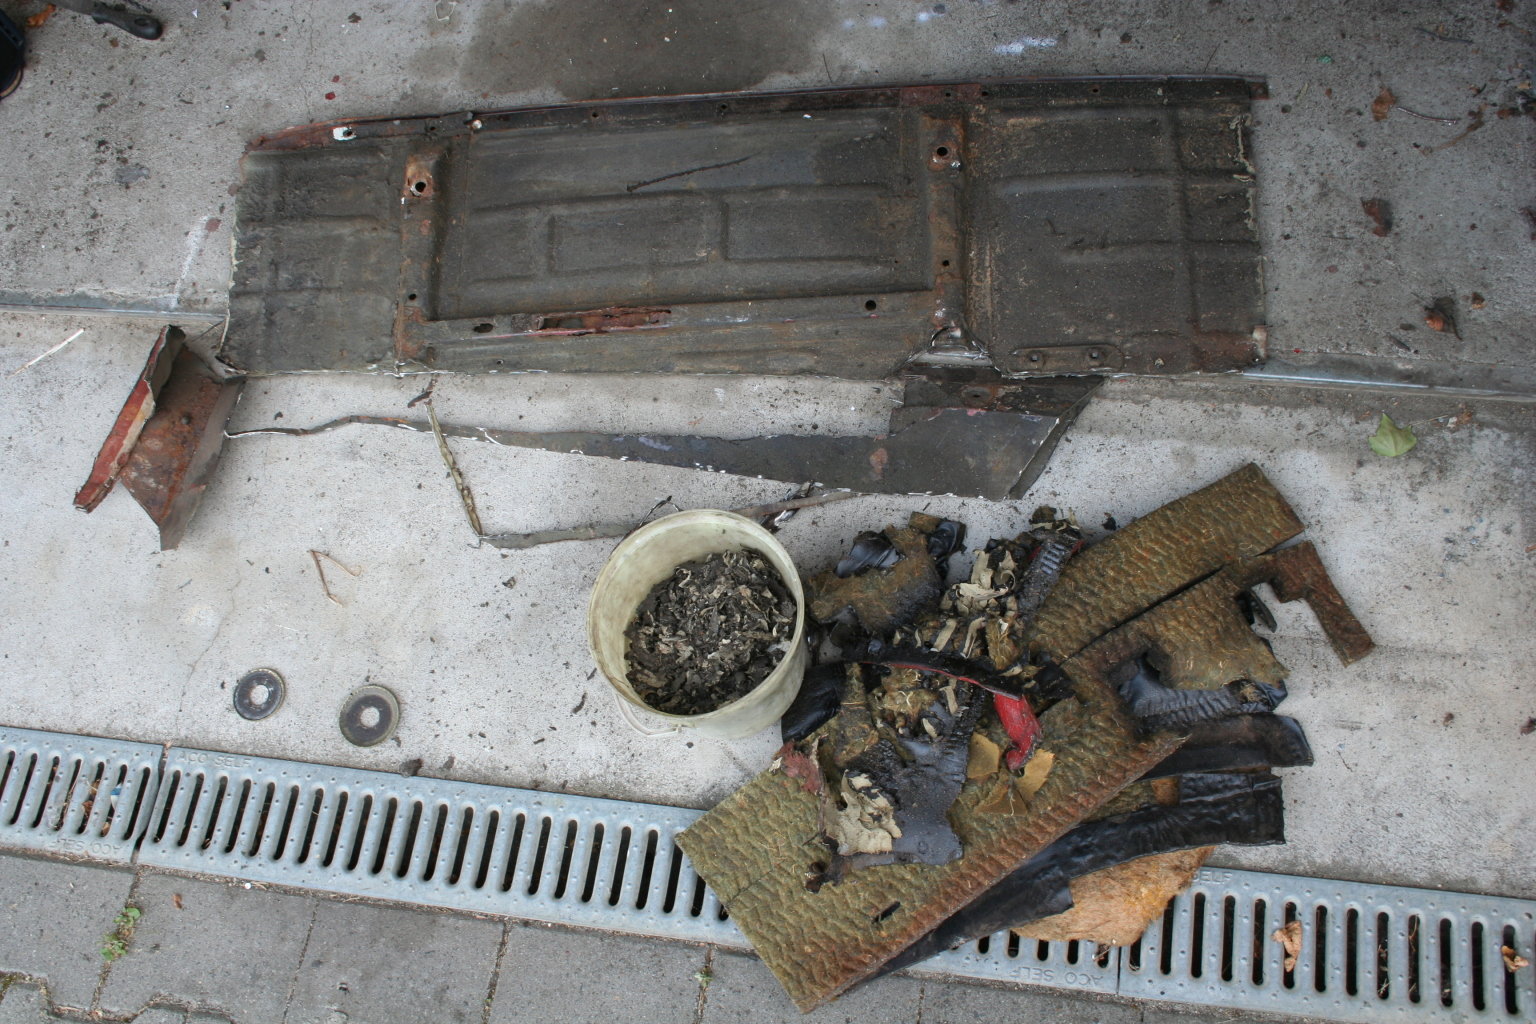 20th of August 2009 - my garage At finishing time I had a look at the effect of the elapsed day: One bottom plate of the passenger's side and leftover parts of the footwell. Some more 'reparing plates' of a previous owner are still at the old chassis - that's where he welded them! Inside the bucket you can see teh underbody coating - the leftovers are scattered around my garage. To remove the insulating material of the footwell you can warm up the metal plates from the outside. Just silghtly otherwise it starts stinking enormous. The diamaters of two cutting-off wheels shrinked dramatically. Like always there was more damage to be seen, the more dirt was removed. My number two is in a more bad condition than my number one ever was. If this would have been my first restauration object, I would have capitulated and probably these lines would never have been written... ---------------------------------------------------------------------------------------------  21th of August 2009 - my garage New day, new work. The dirt at few good plates of the rear part has to be removed. It was easy to realize that this part of the car was extremely rusted and botched and so I planned to modify my number 2. Conceived as an AK-styled car at first, I now like to build a station wagon by now. Because of that, most of the bodywork will be replaced at the rear. 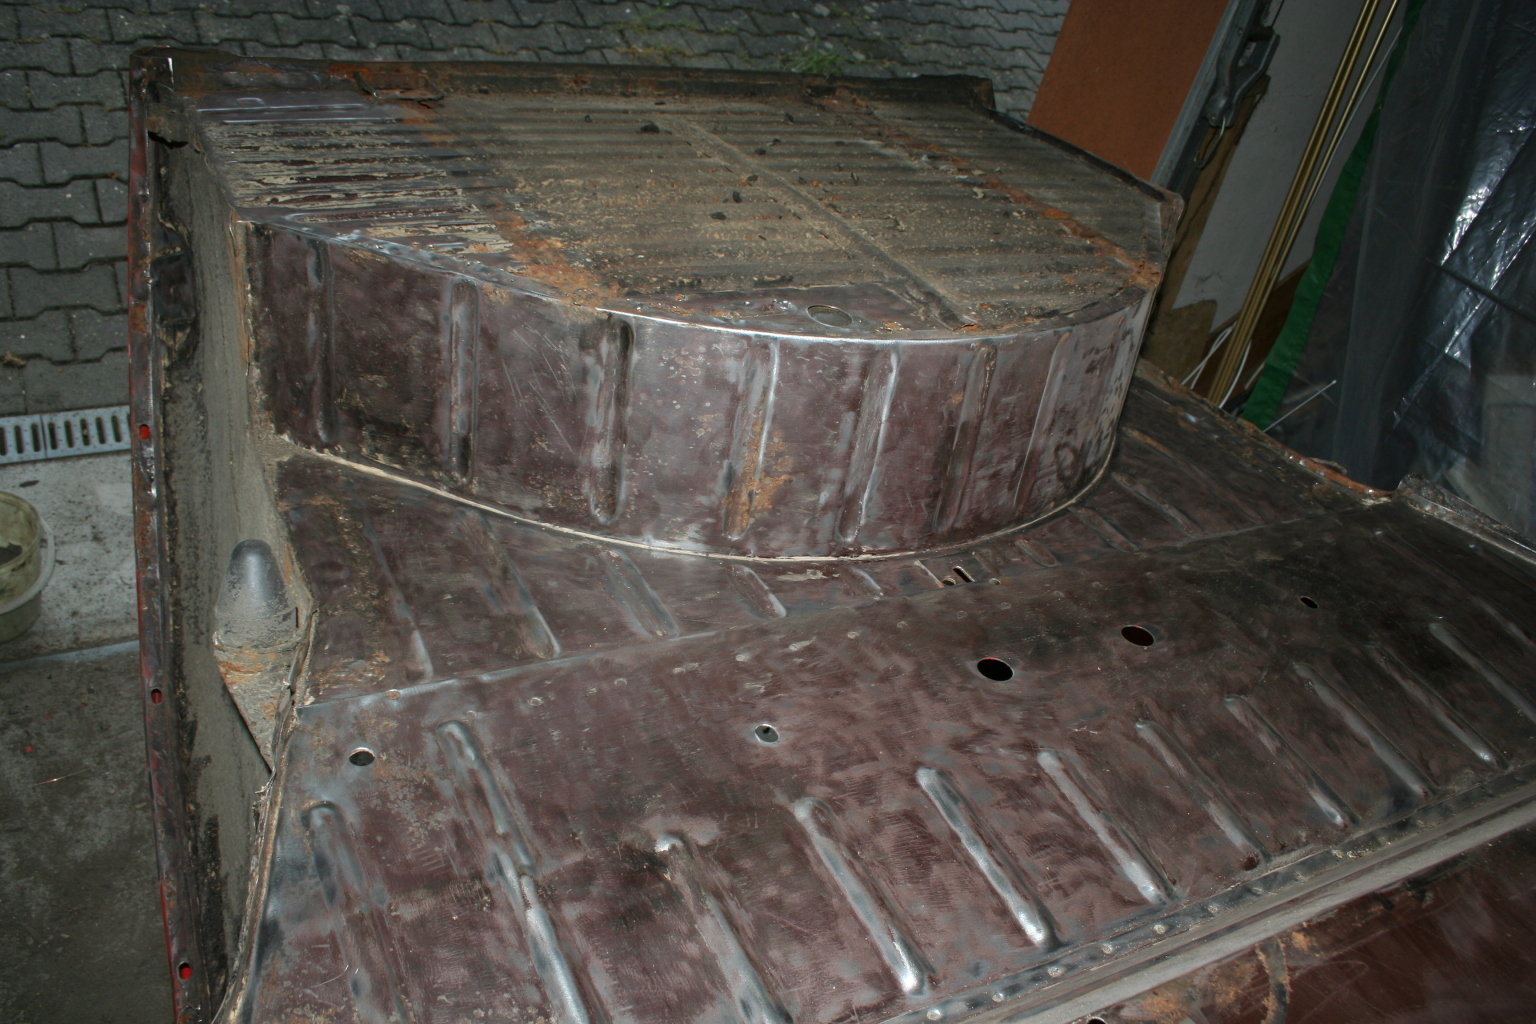 21th of August 2009 - my garage Three hours later the work is complete and I could take a closer look.  21th of August 2009 - my garage This hole was not rusted. It is needed as a drain to remove water from the trunk. One of the previous owners did not know about that and sealed the hole...  21th of August 2009 - my garage The fixings of the rubber blocks at the rear fenders have been poorly repaired once before and the whole edge of the fender is rusty.  21th of August 2009 - my garage Here you can see, that wrong welding technics can damage goot metal, too (red arrows). The metal is bent because of the heat and the burned underbody coating was not renewed. 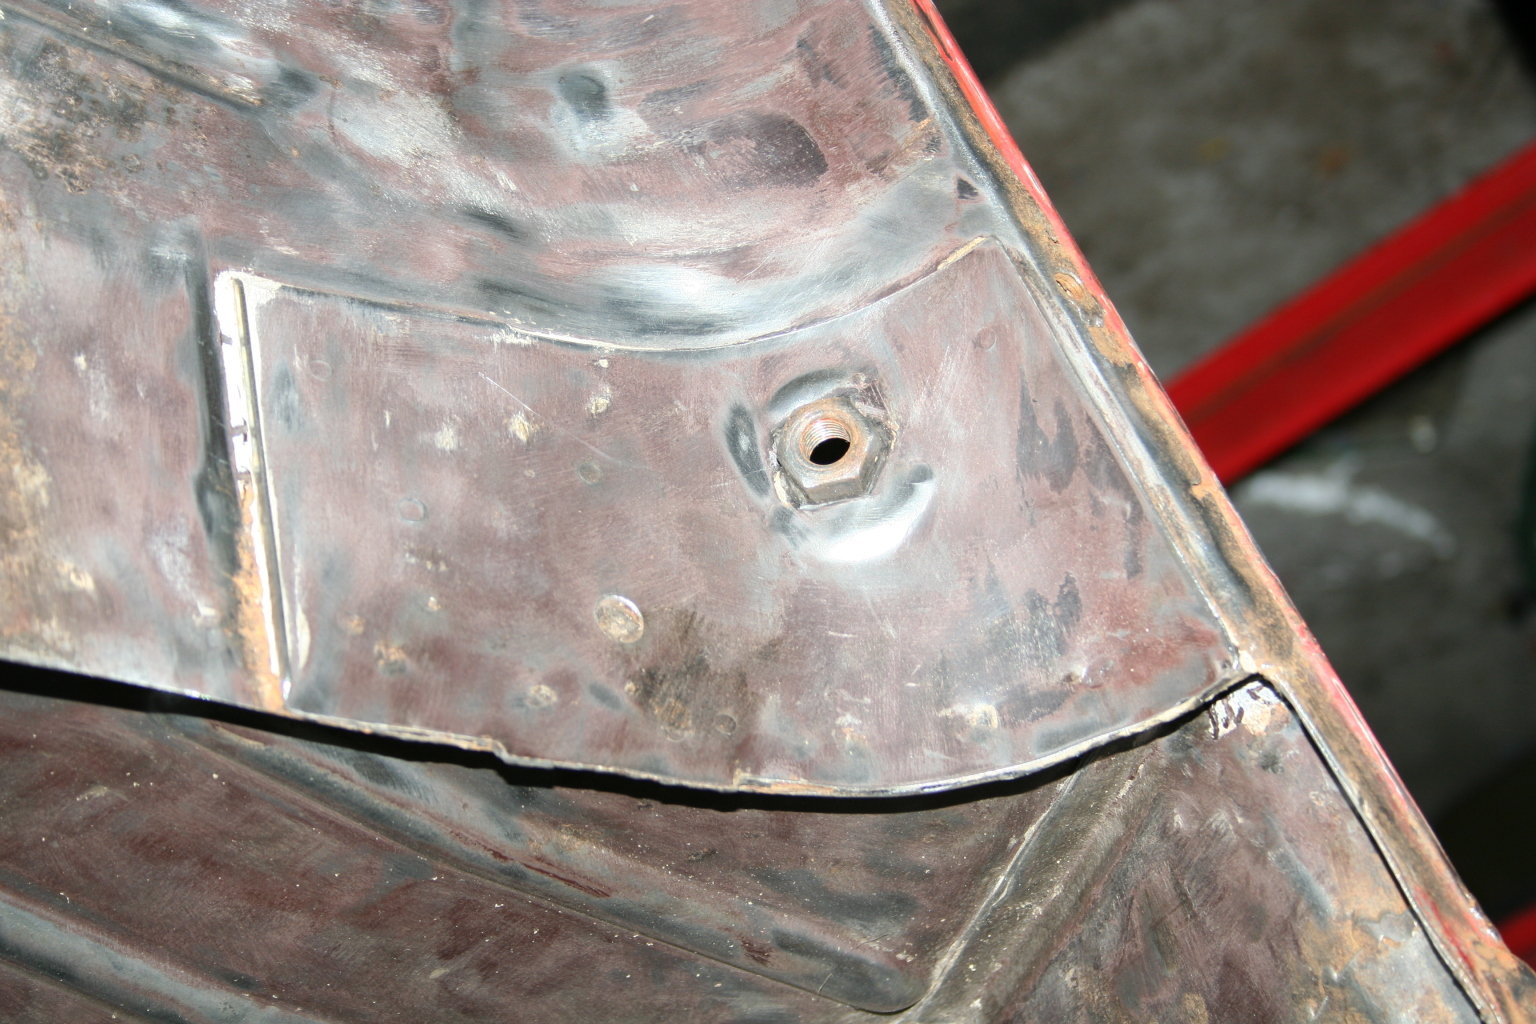 21th of August 2009 - my garage Sometimes (but just rarely) you are surprised in a positive way. The fasteners of the seat belts are still like new. 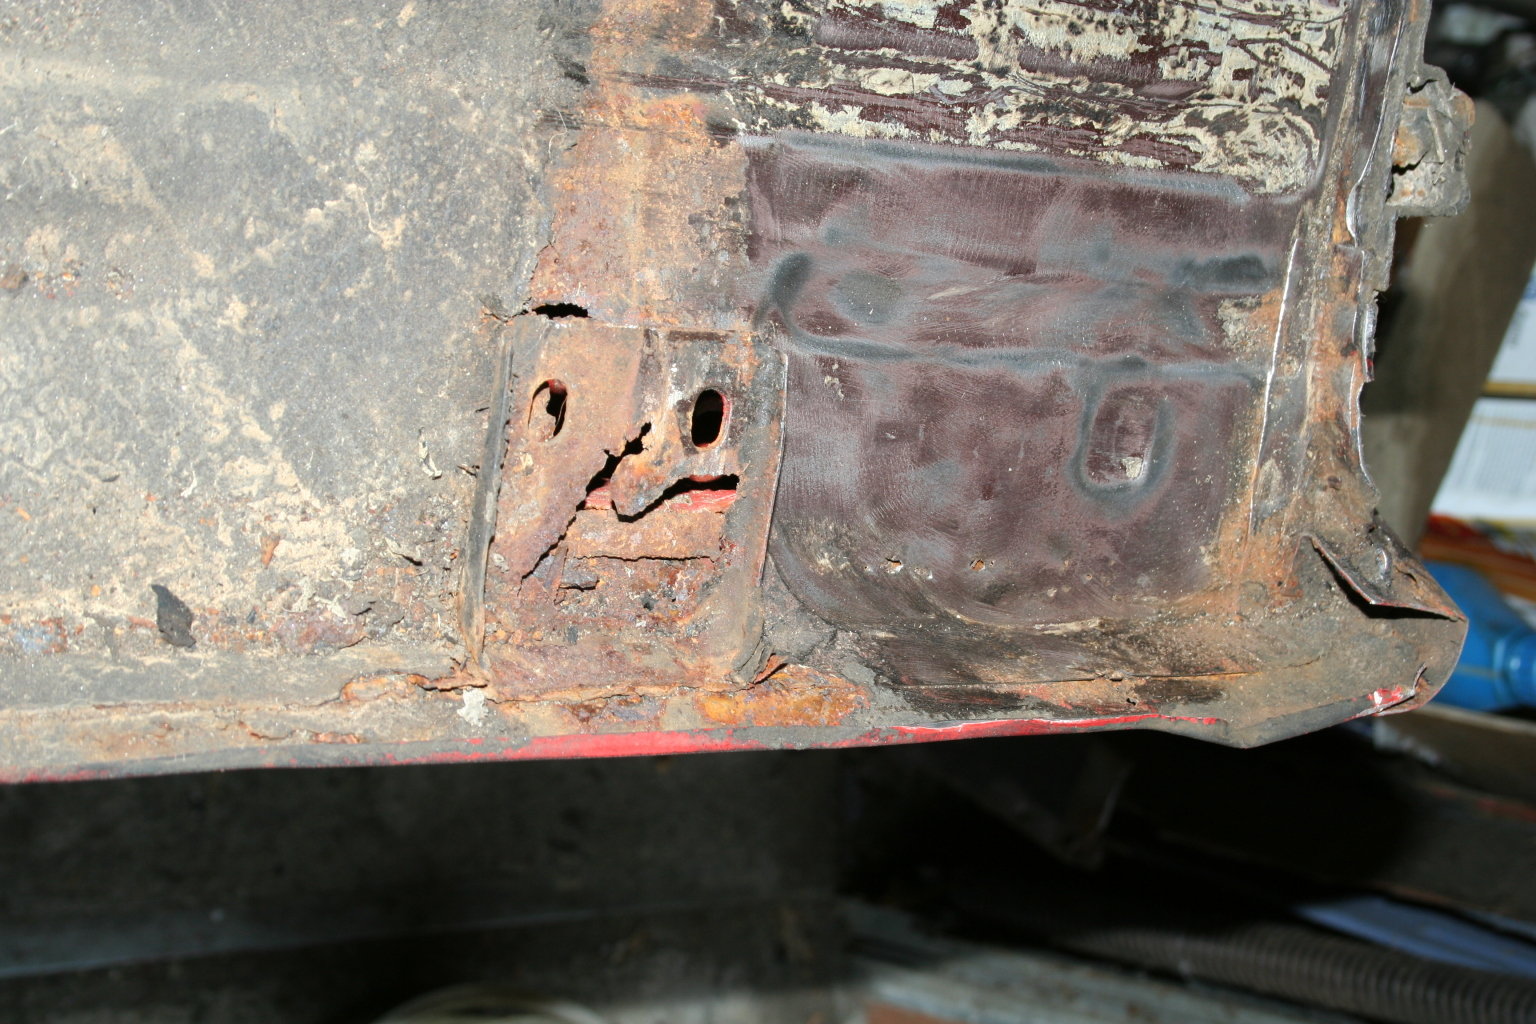 21th of August 2009 - my garage Will be removed because of the planned conversion: The hopelessly rusted rear part. 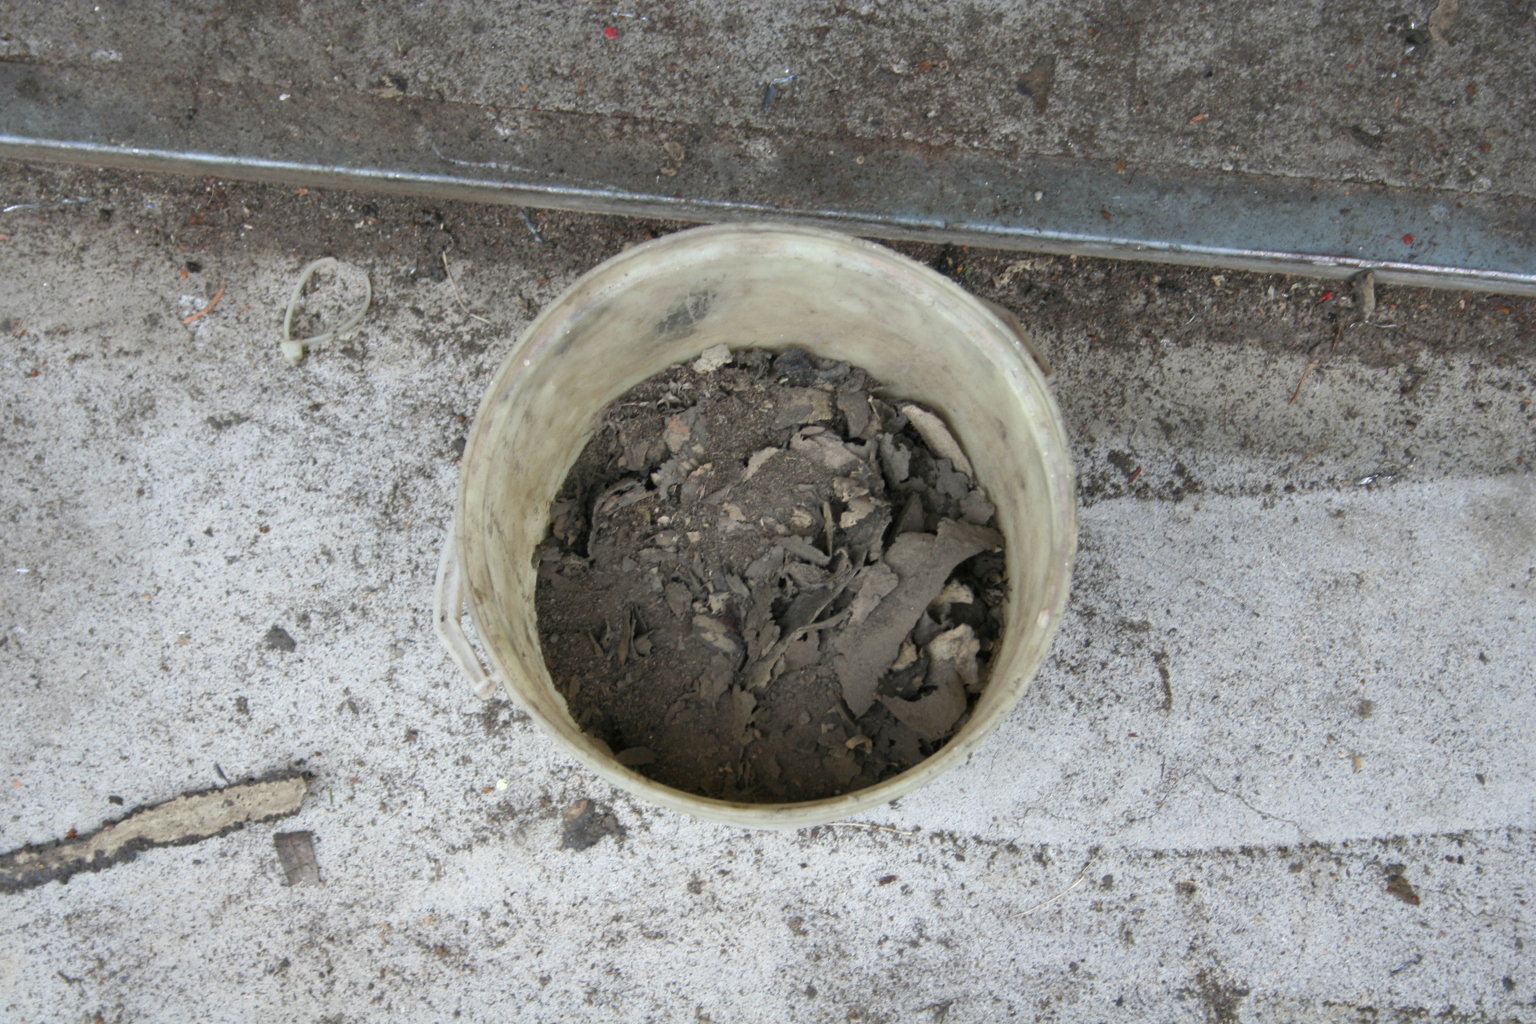 21th of August 2009 - my garage The haul of this (short) day is smaller than those of the day before. 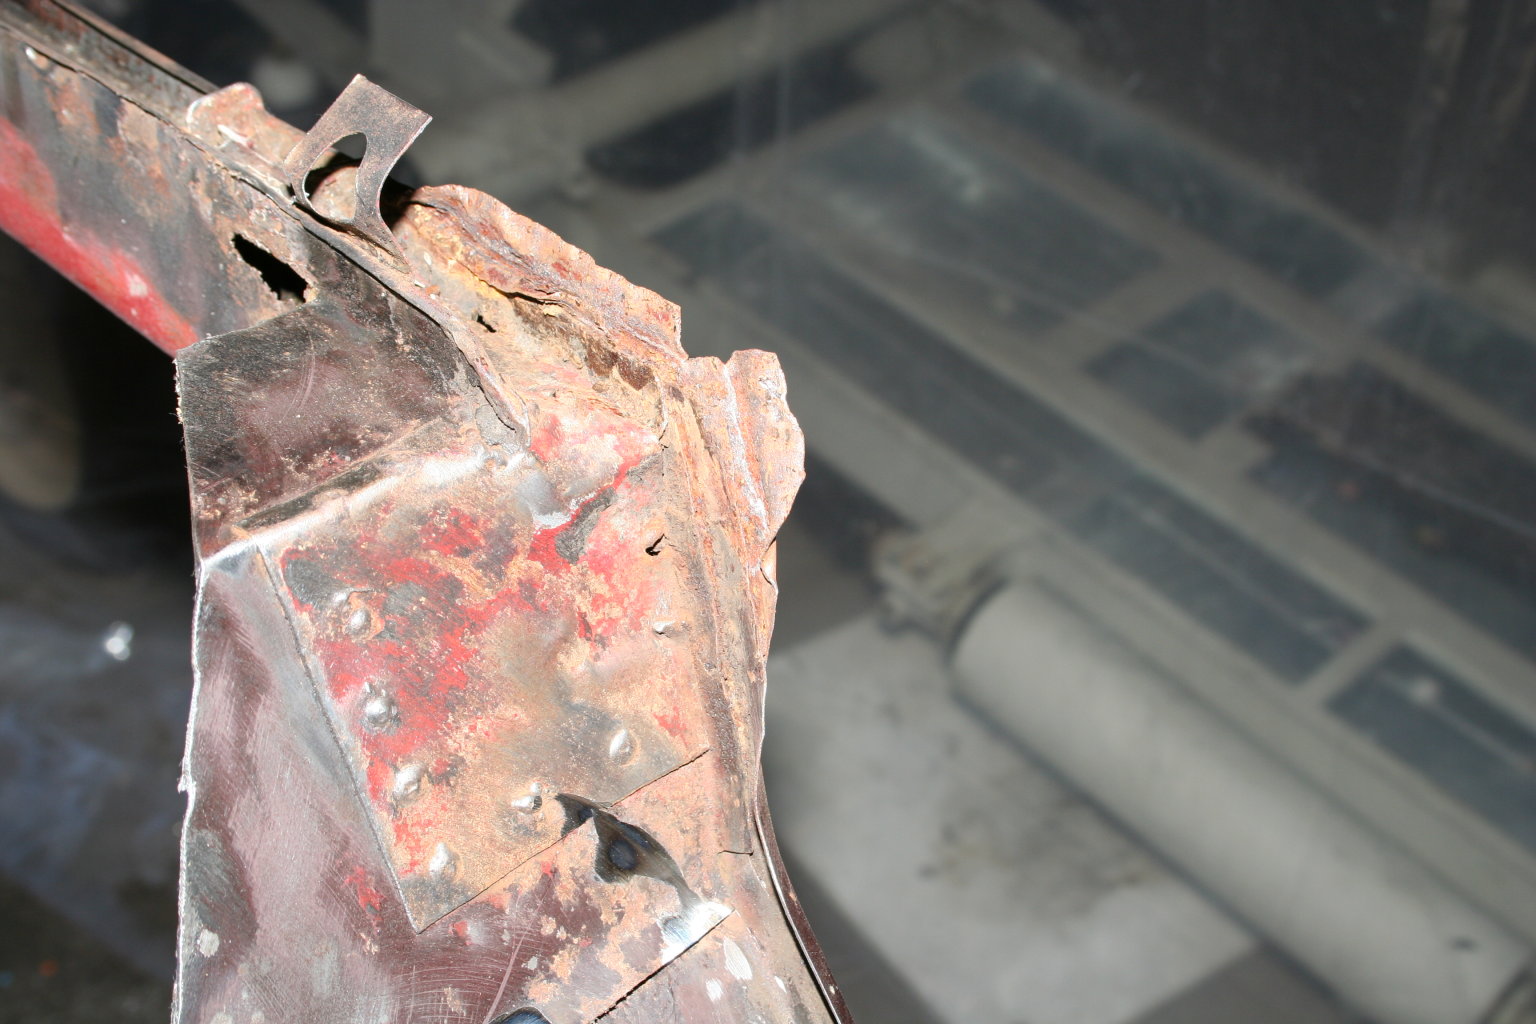 21th of August 2009 - my garage The scrap metal of the passenger's front had to be removed. 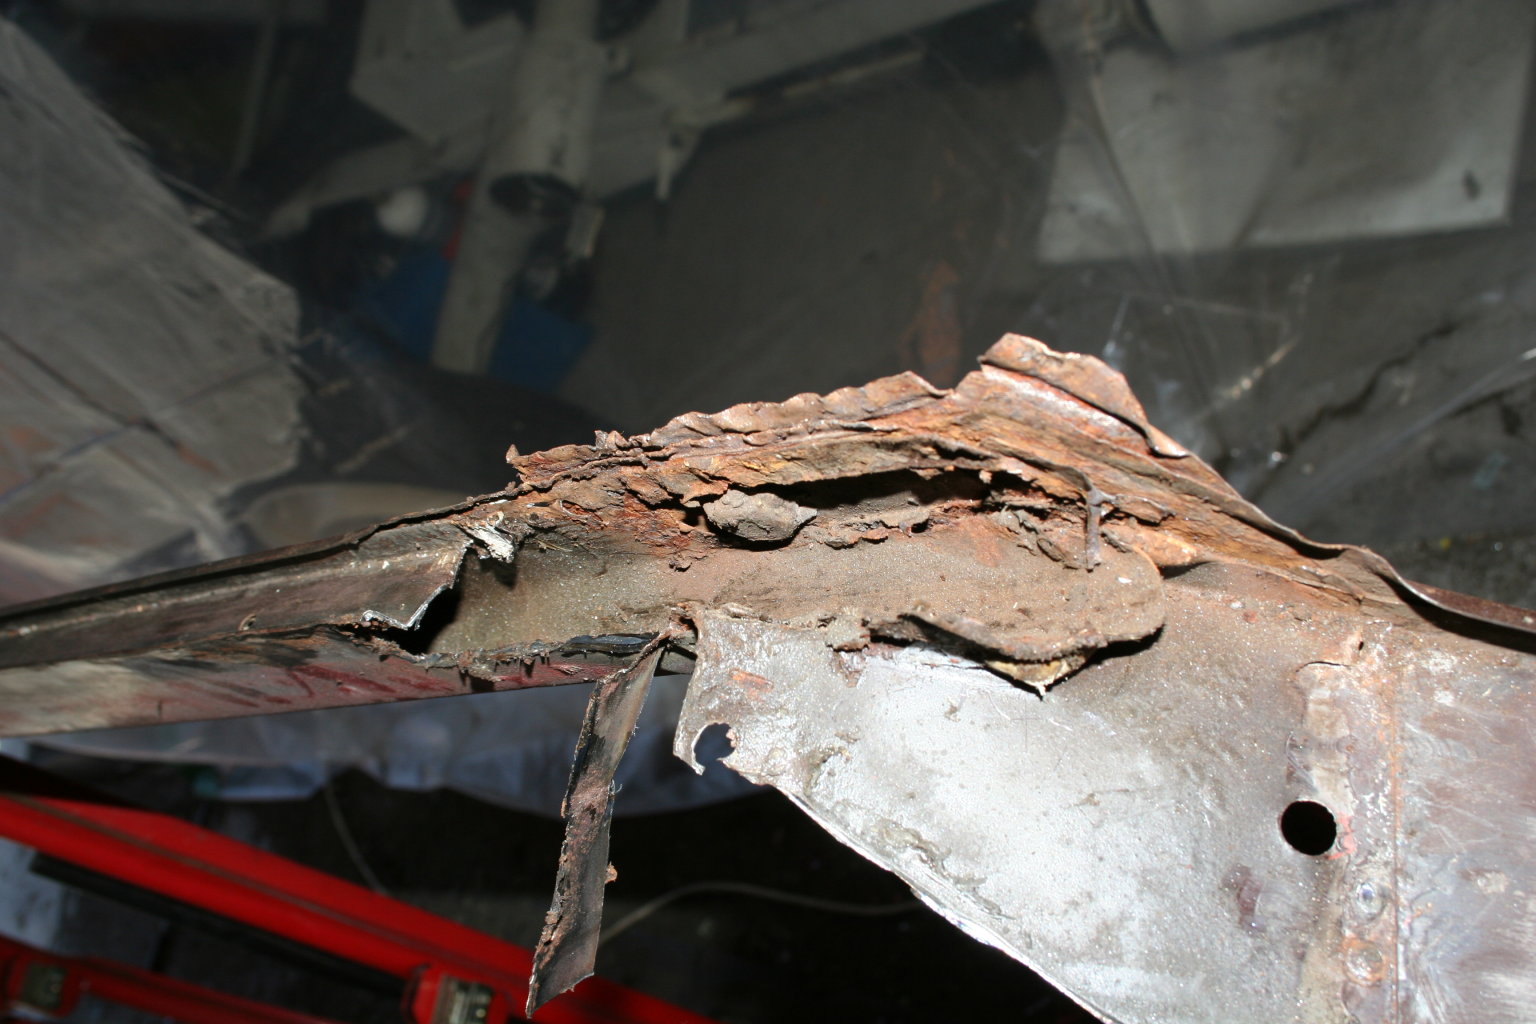 21th of August 2009 - my garage Like an onion the metal plates were peeled. Some welding spots have been drilled out with the help of a cordless screwdriver and a 5mm drill. 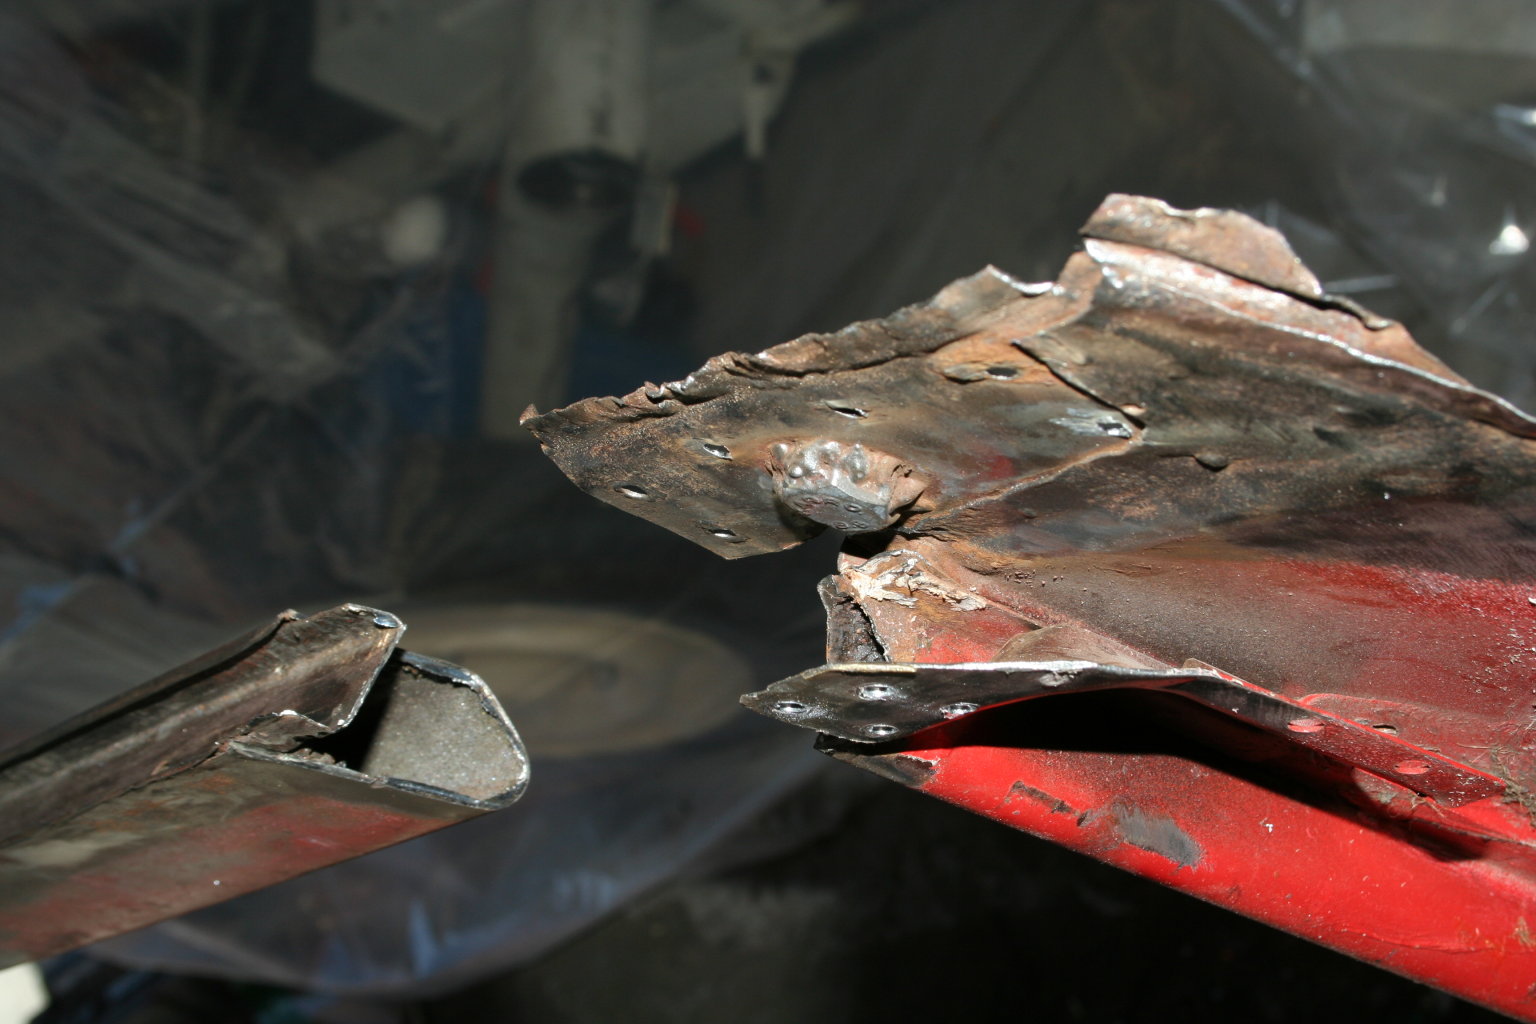 21th of August 2009 - my garage Sometimes everything is cleaned. Back to replacing wheel bearings Forward to welding |