|
|
Back to removing rust Forward to redesigning back of the car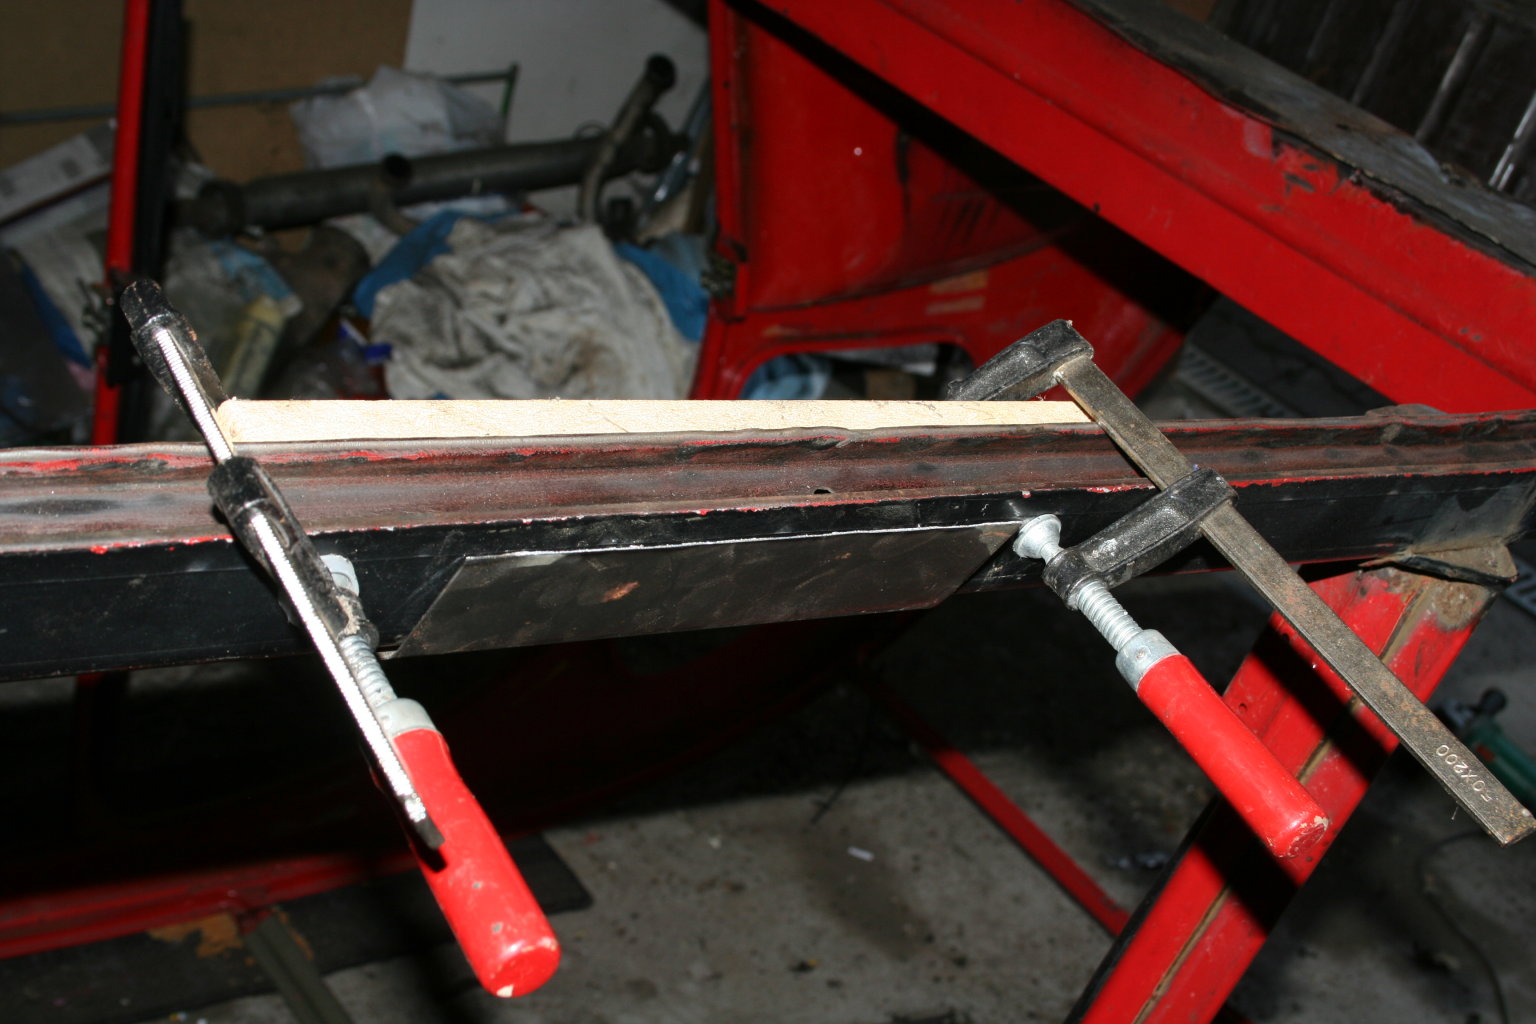 1st of September 2009 - my garage For bending the new sillboard plates, an undamaged part is used as guideline. 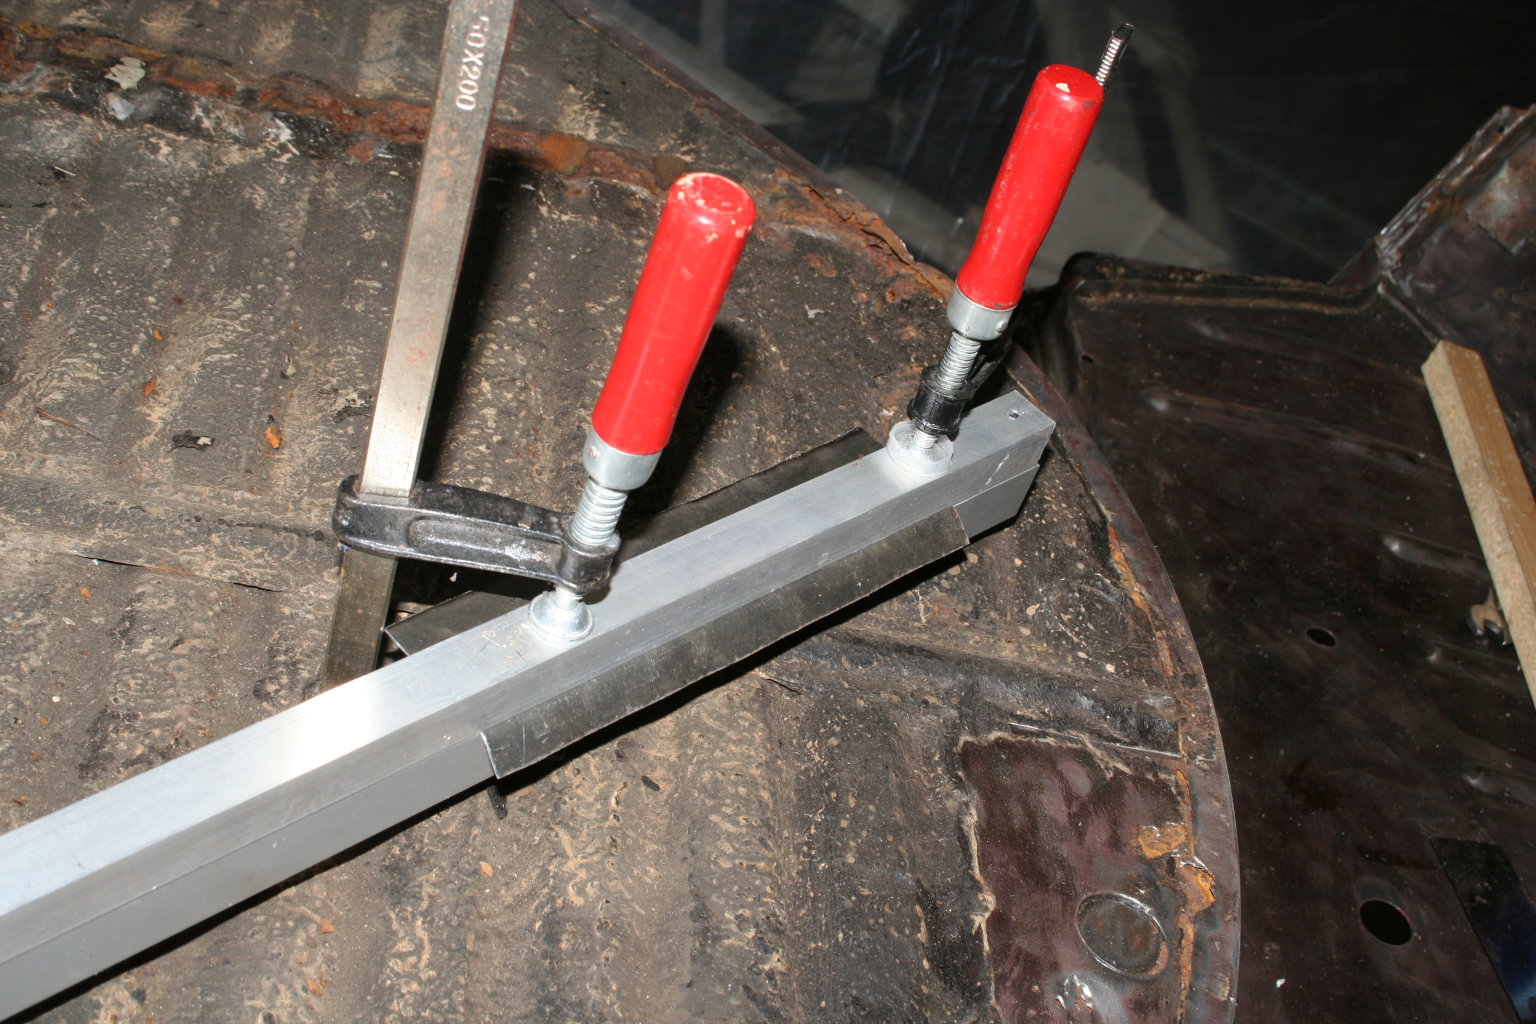 1st of September 2009 - my garage The "poor man's folding machine" consists of two aluminim bars and two bar clamps. How to do welding is described at many webpages. I updated the column 'links'. As a rookie I did many exercises with old metal plates until I was satisfied with the result. I had to open the gas supply completely (?), besides the fact that there is no draft inside my garage. Good-humored I tried to weld the first plate at my car and was stopped by an opening pop valve. The pressure reducer was broken because of the long storage time. With the help of the spare part I can adjust the volume of gas perfectly now. 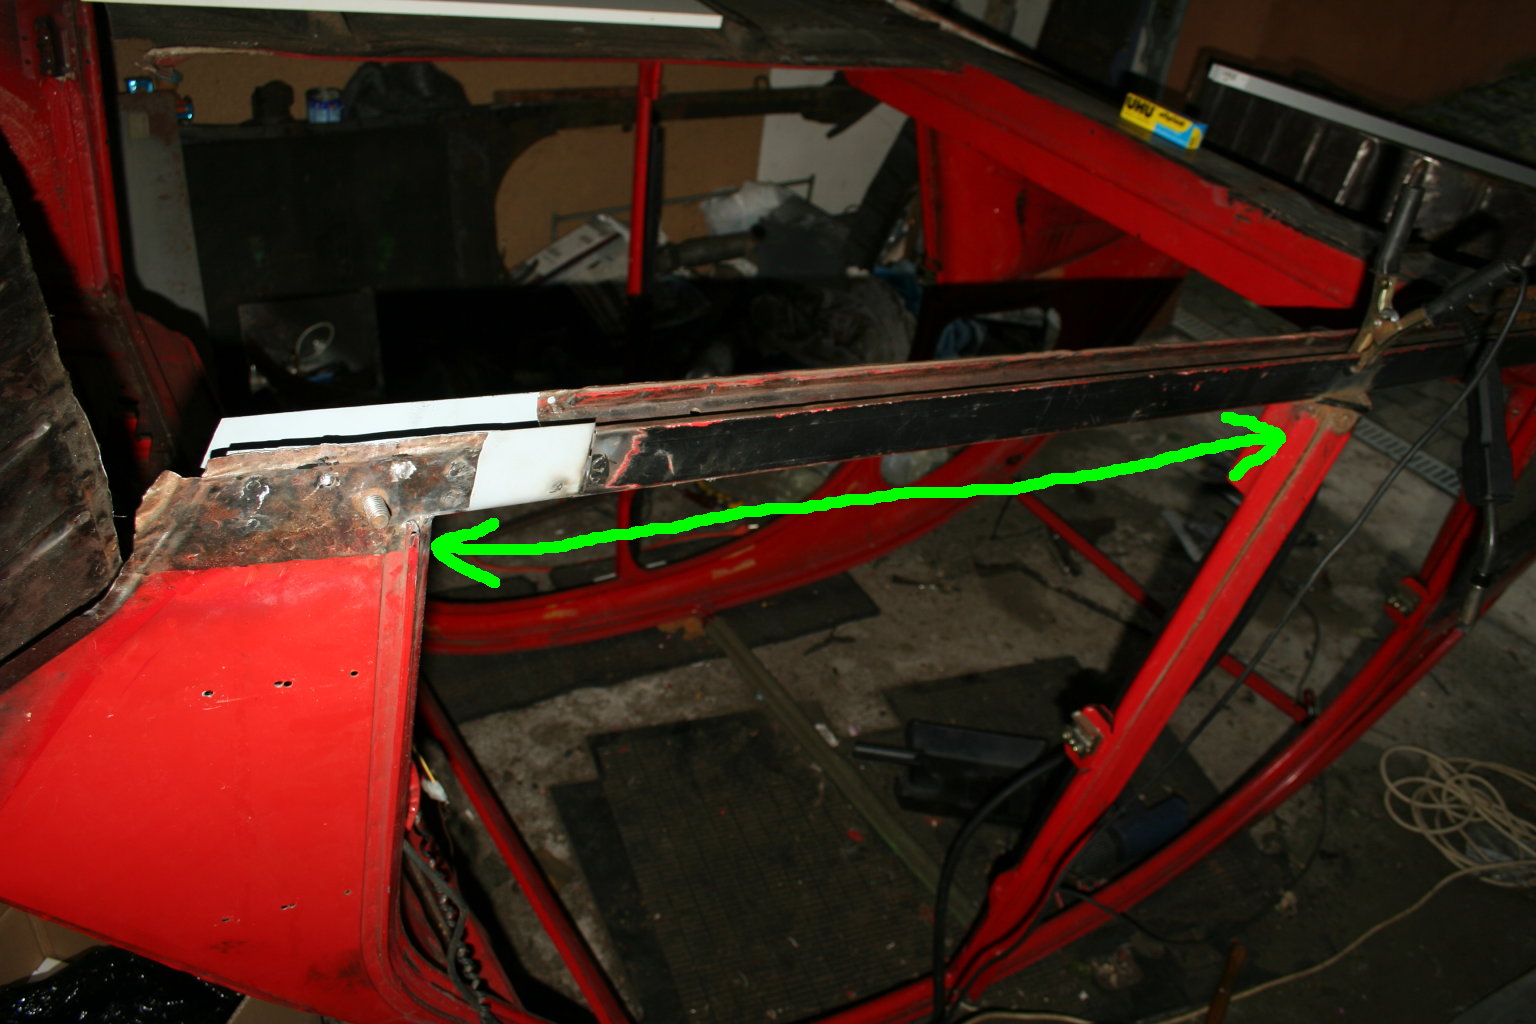 4th of September 2009 - my garage Pay attention to weld the sillboard really straight and consider the gauge of the door, because you can bend the whole body slightly if the sillboard is cut off. If you replace the whole sillboard at once, you can weld an auxiliary frame out of bars before removing. 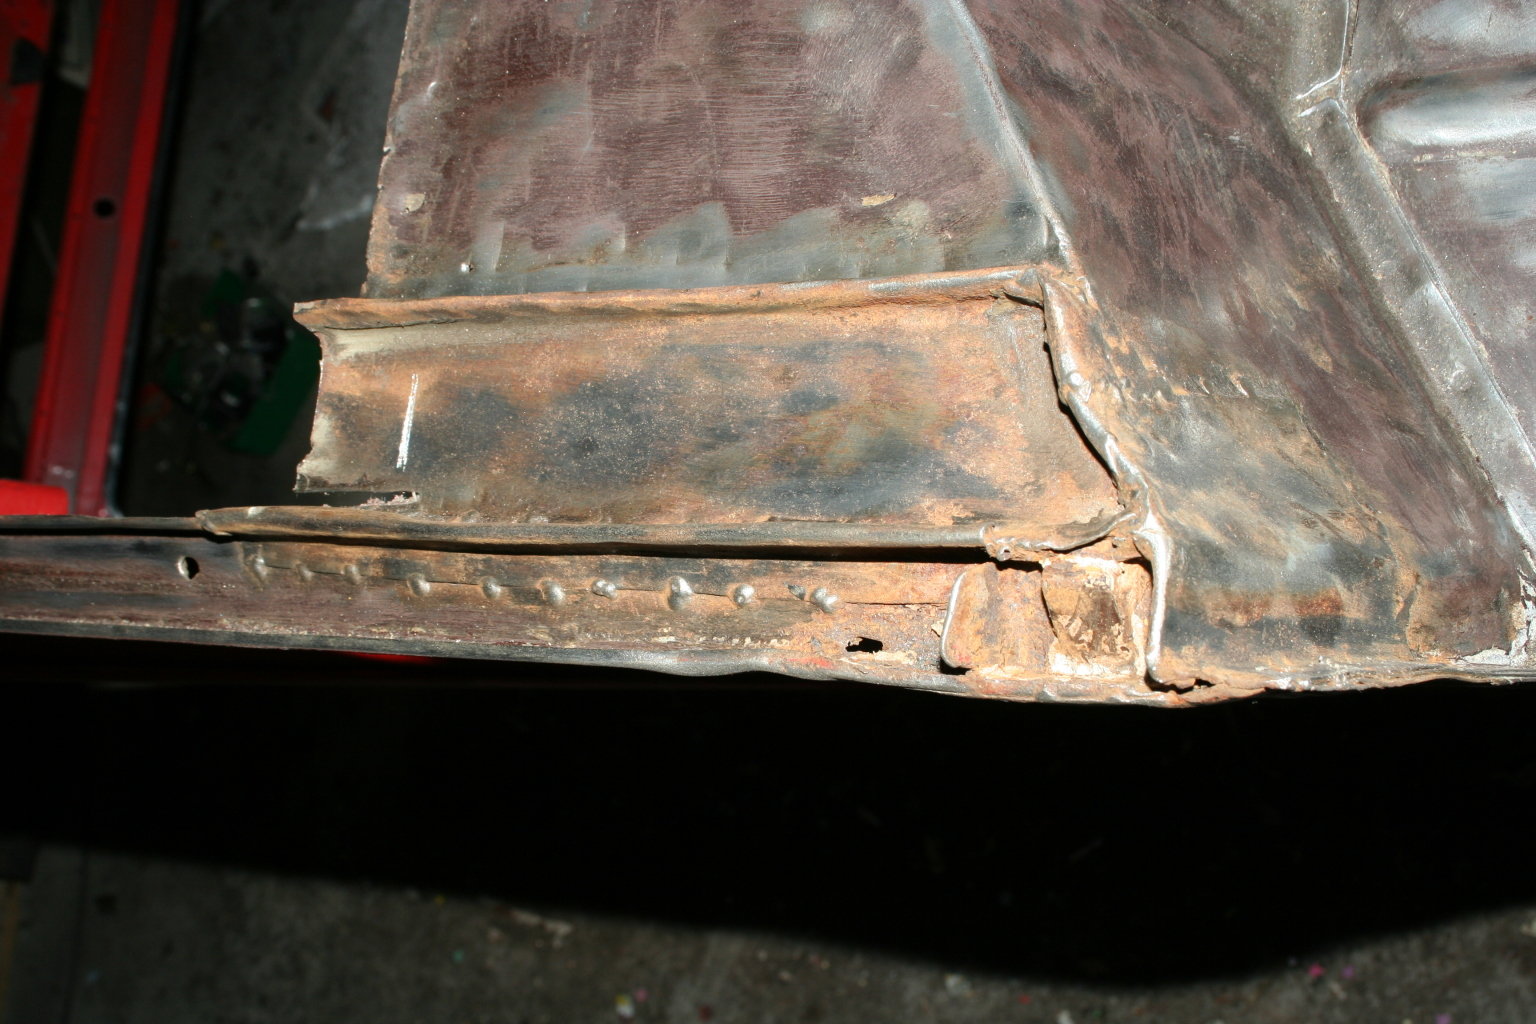 4th of September 2009 - my garage As the next step I inspected the reparings done at the rear of the passenger's side. They did not look too bad, but I decided to remove them after a closer look. 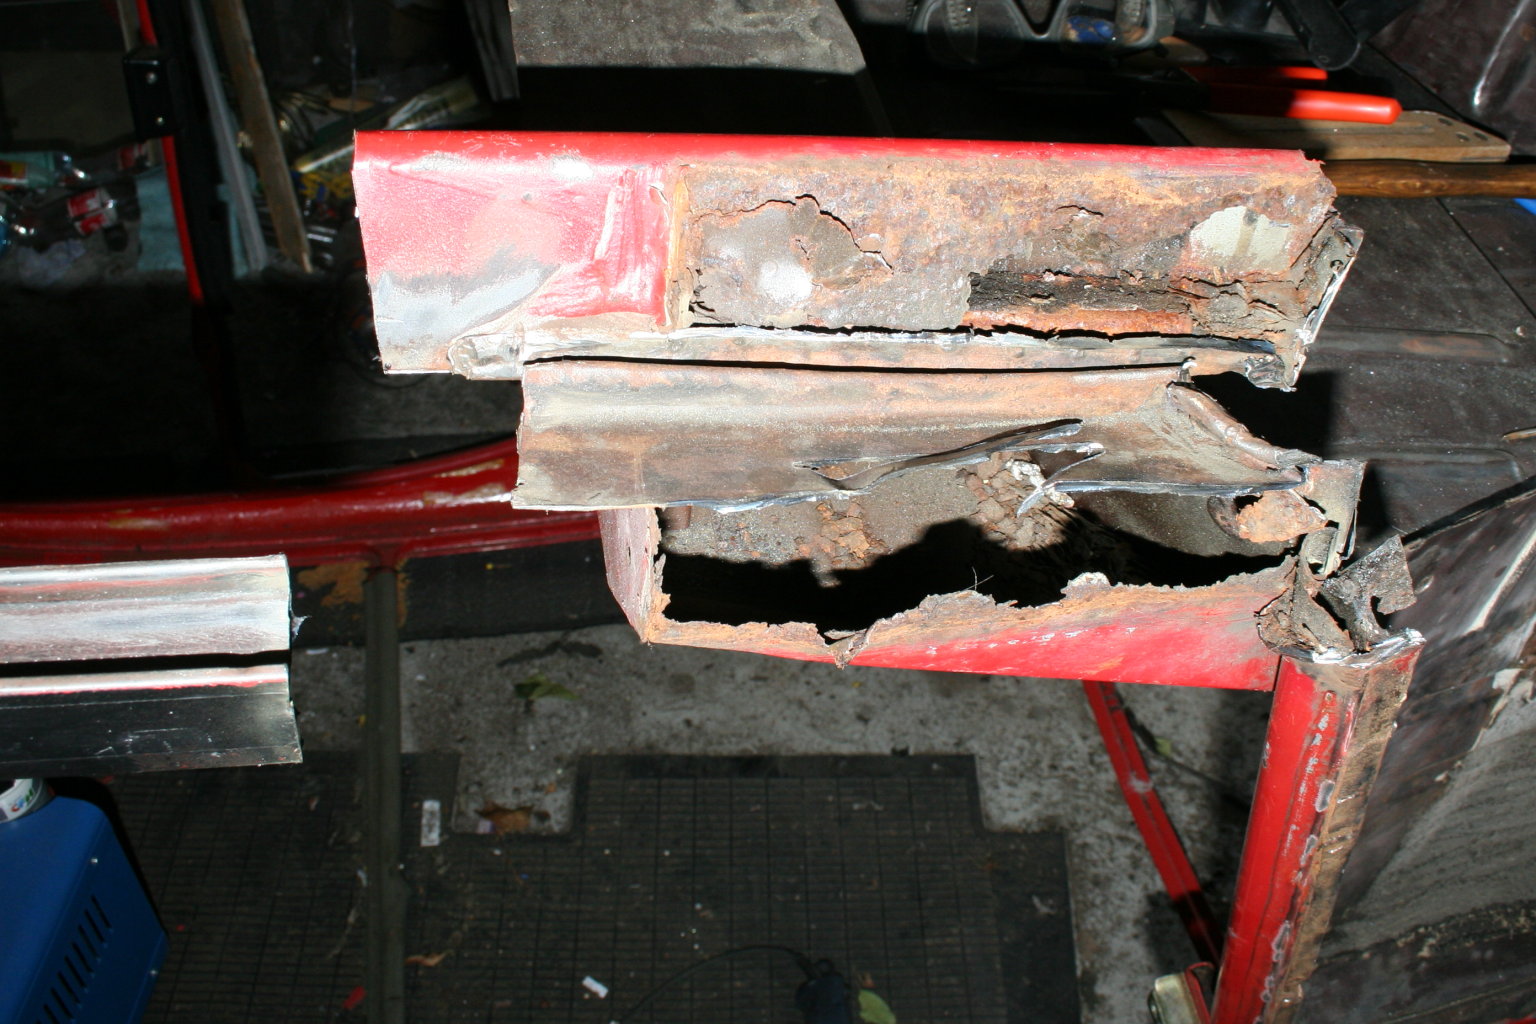 4th of September 2009 - my garage Reparing plates should never be mounted to cover rust. Even if it hurts to remove more metal than intended first: Only if you remove the whole rust, the reparing will last for a long time! 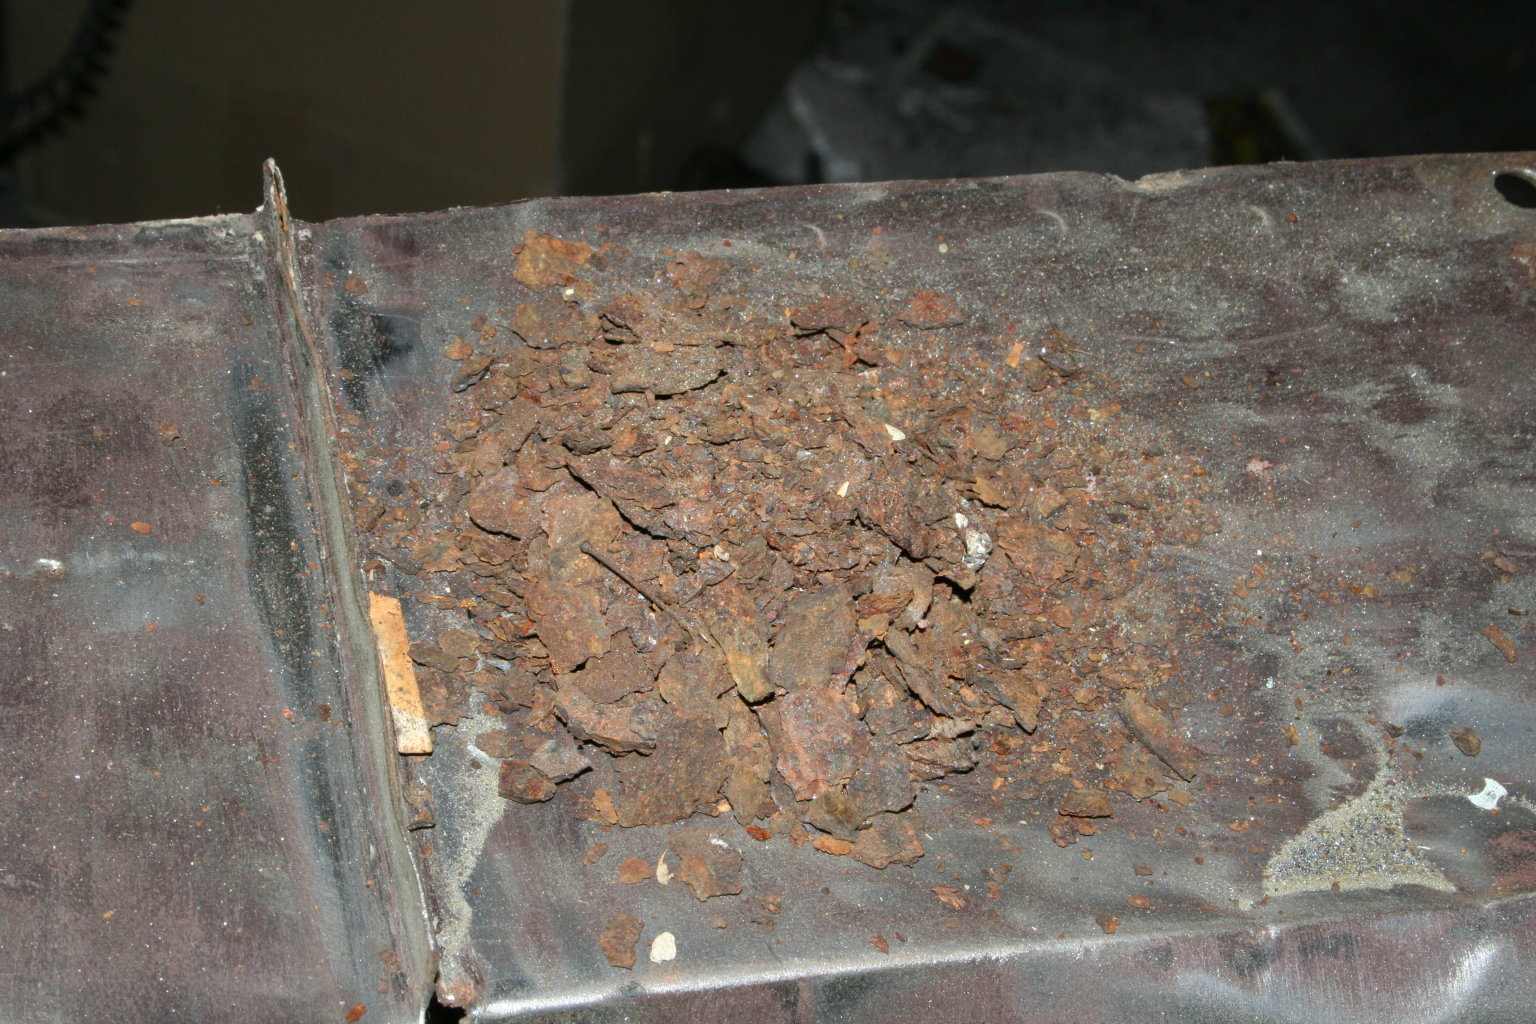 4th of September 2009 - my garage Instead of body cavity protection I found a hand full of rust inside... 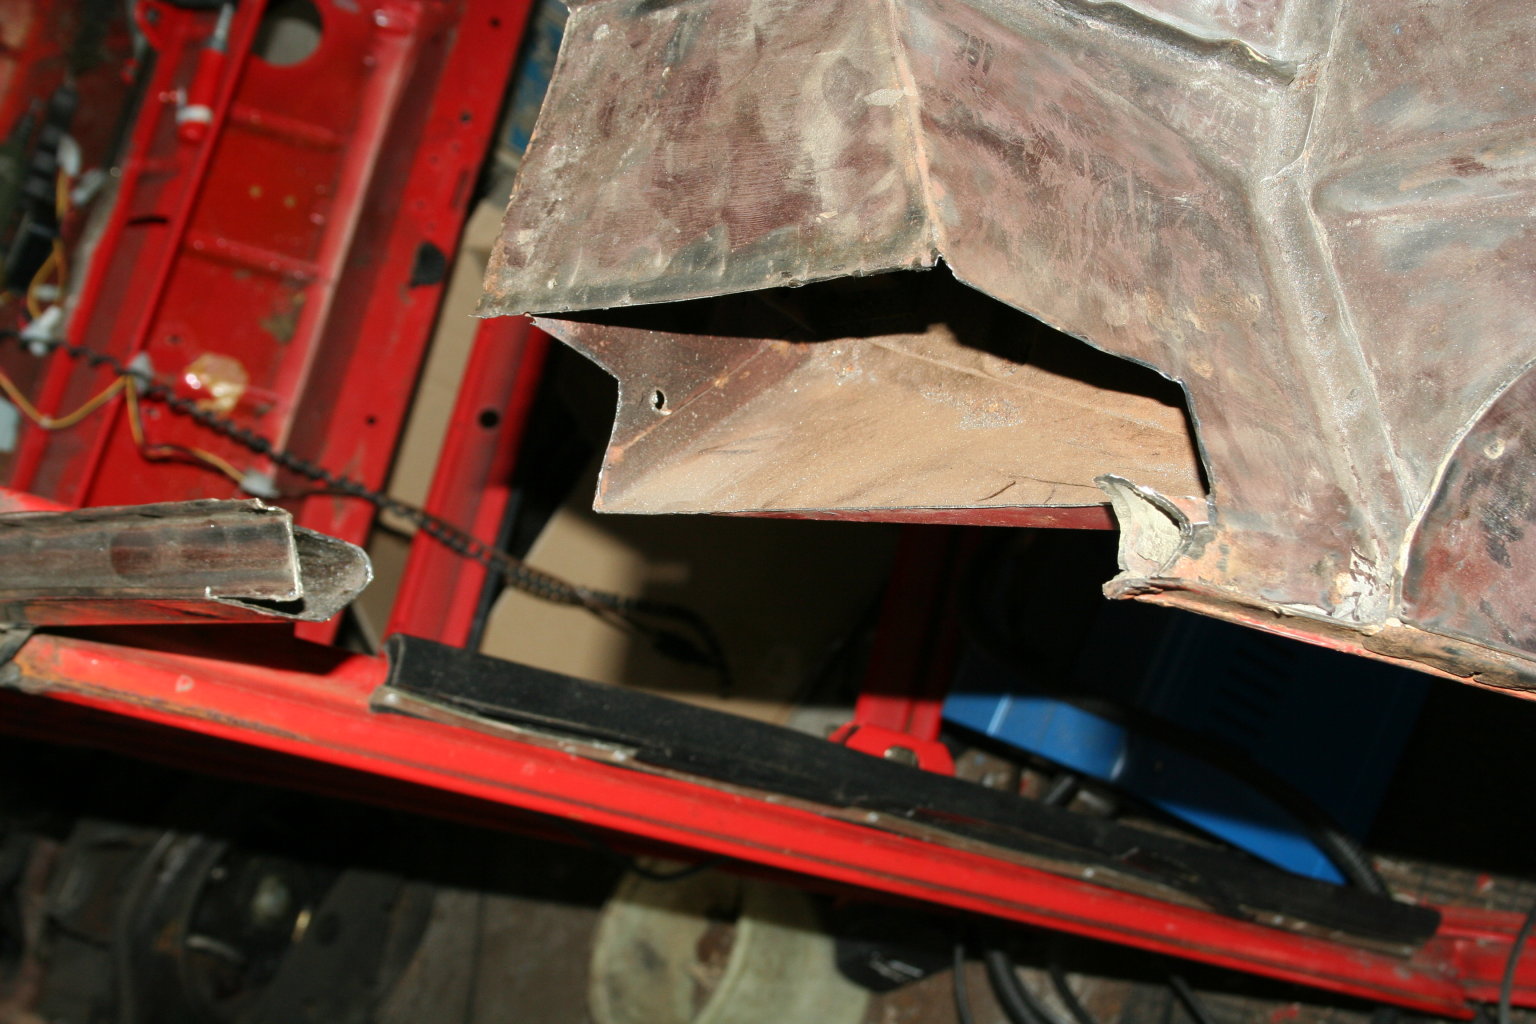 4th of September 2009 - my garage Rusty metal is removed. 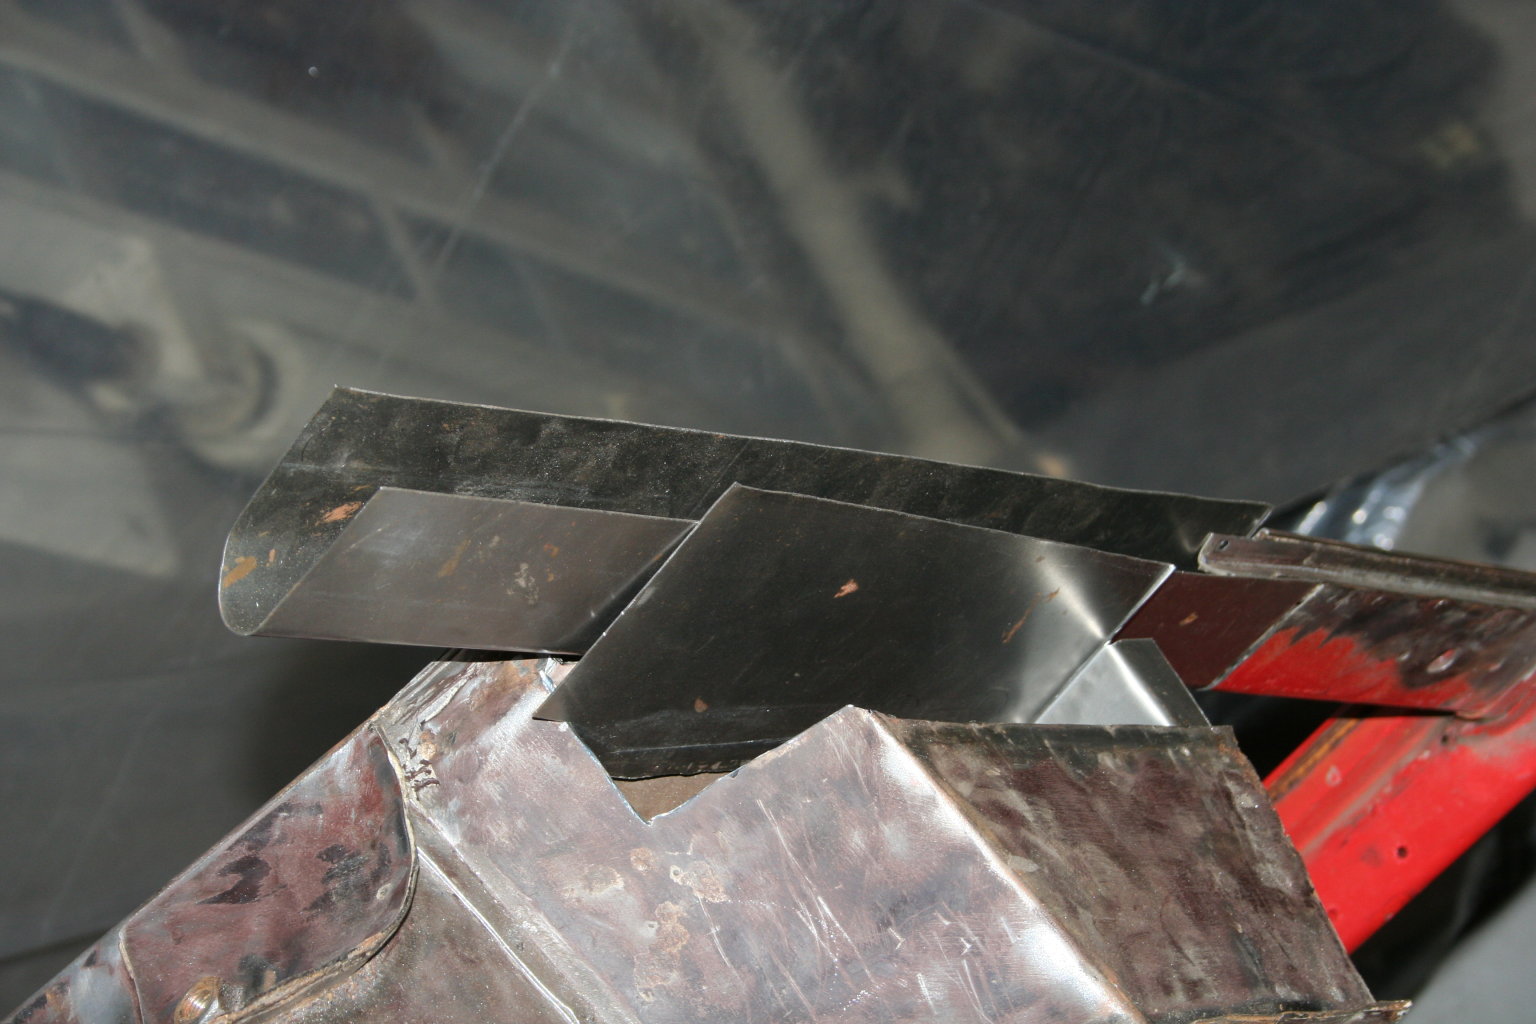 5th of September 2009 - my garage It took me the whole saturday to clone the cut-off metal and to weld some (not all) of the parts. 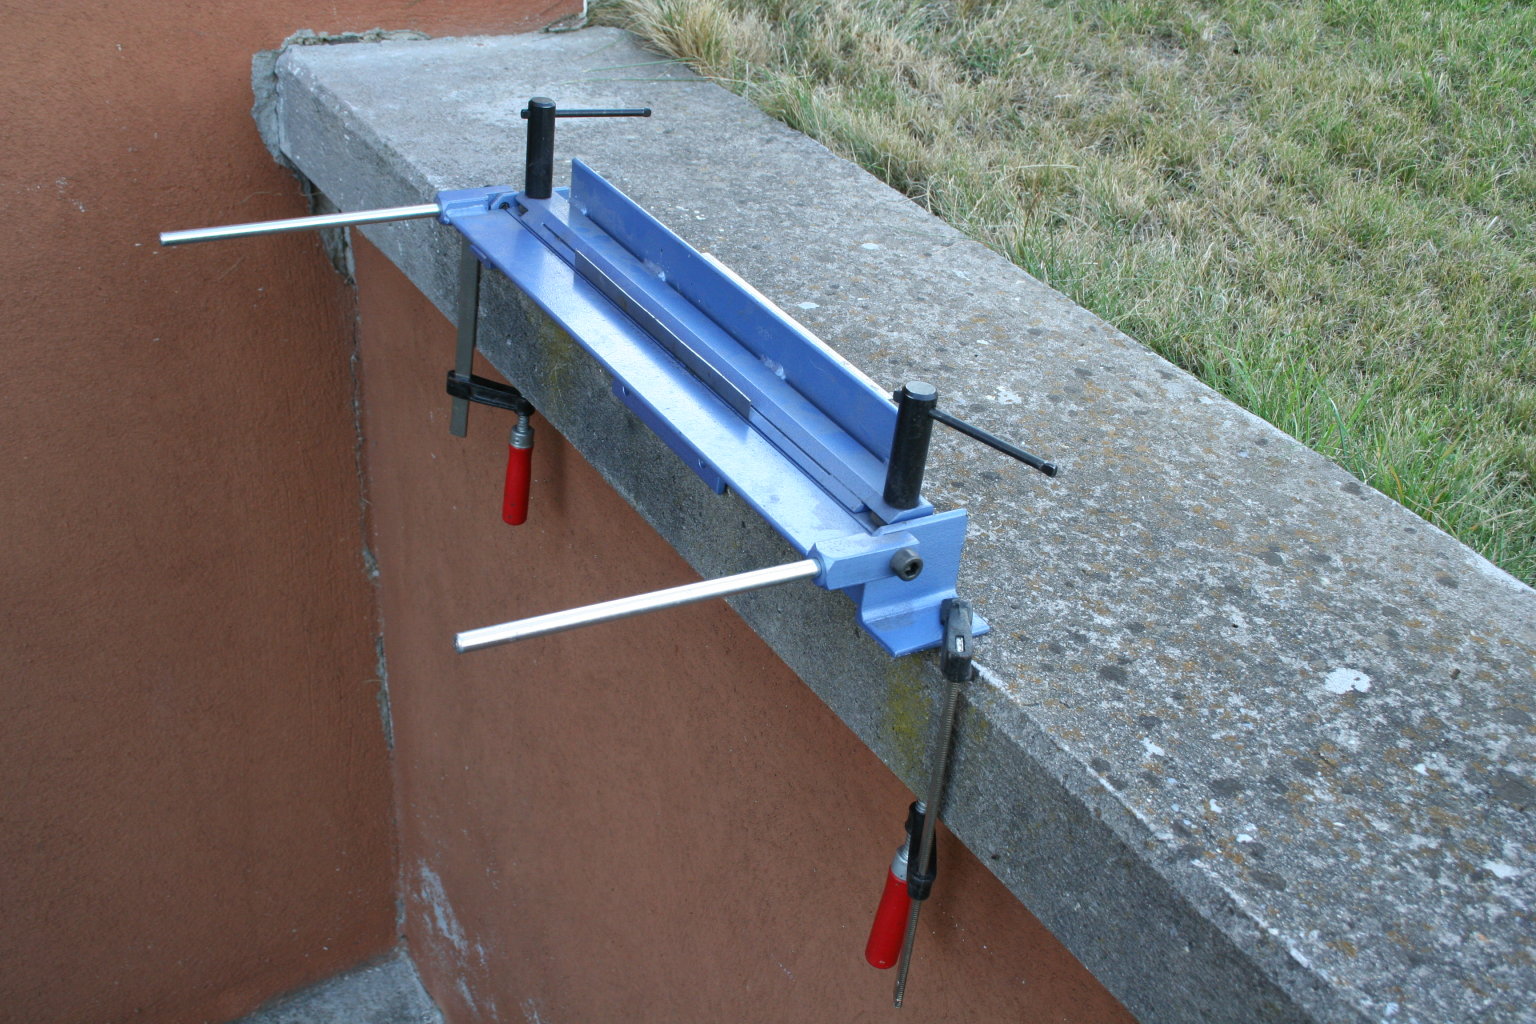 5th of September 2009 - my garage The "poor man's folding machine" animated an observant of my homepage to lend me his more comfortable modell - thank you Frank!  5th of September 2009 - my garage Saturday evening it looked like this. 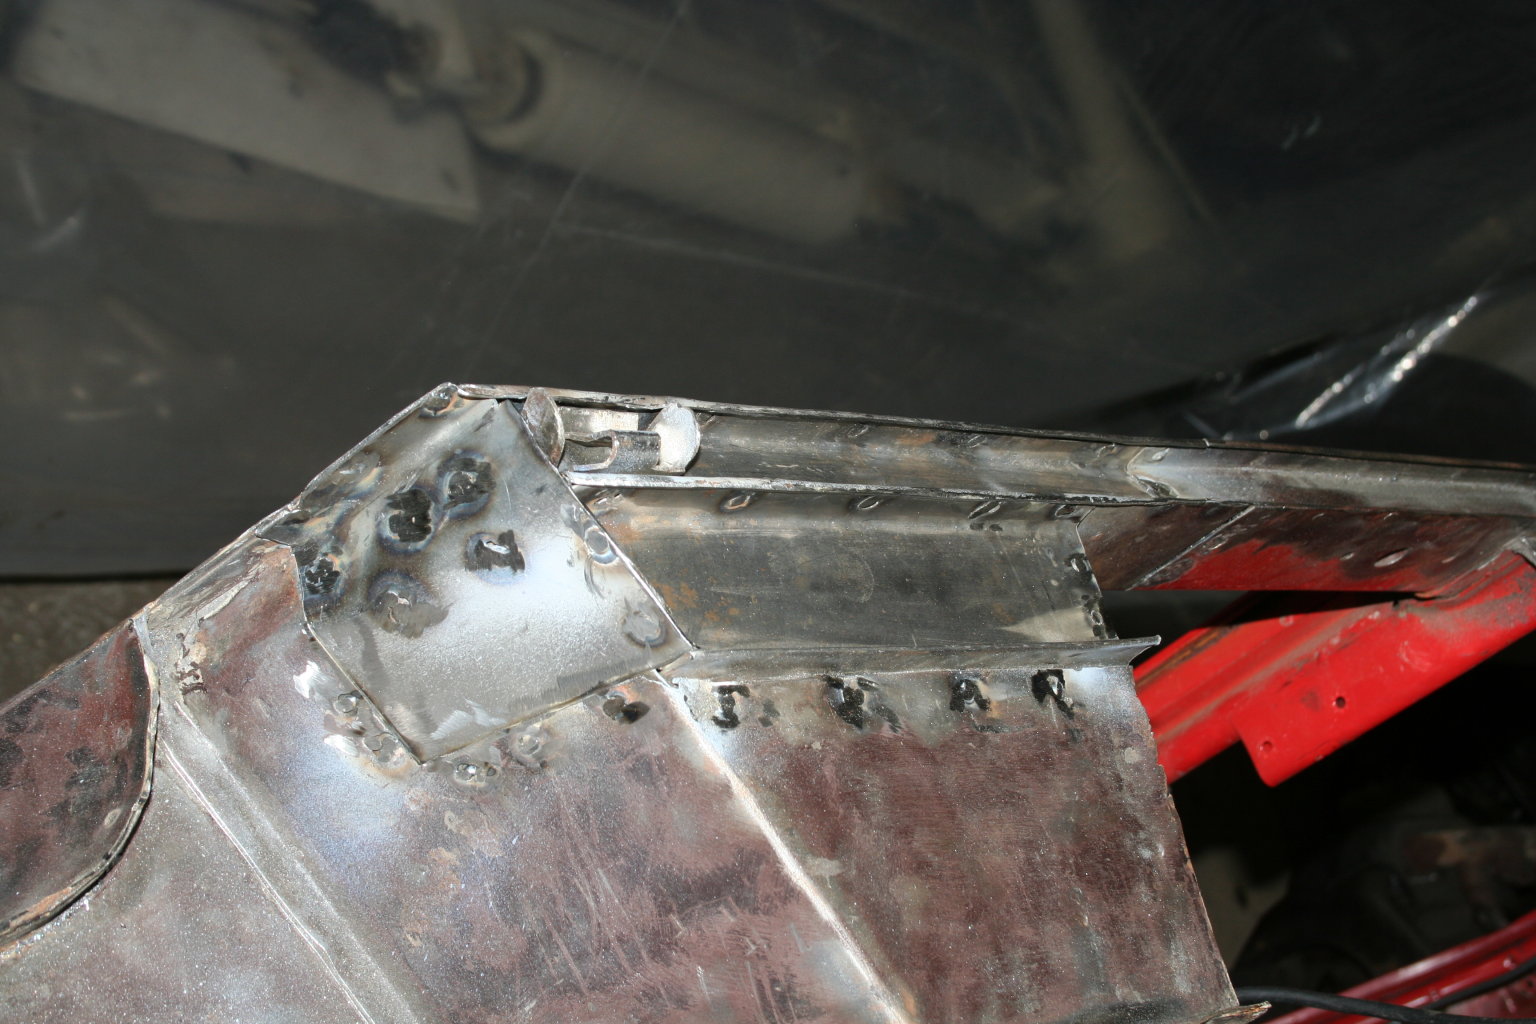 8th of September 2009 - my garage After about 15 hours of work (cutting off - bending - welding) the corner looked like this. 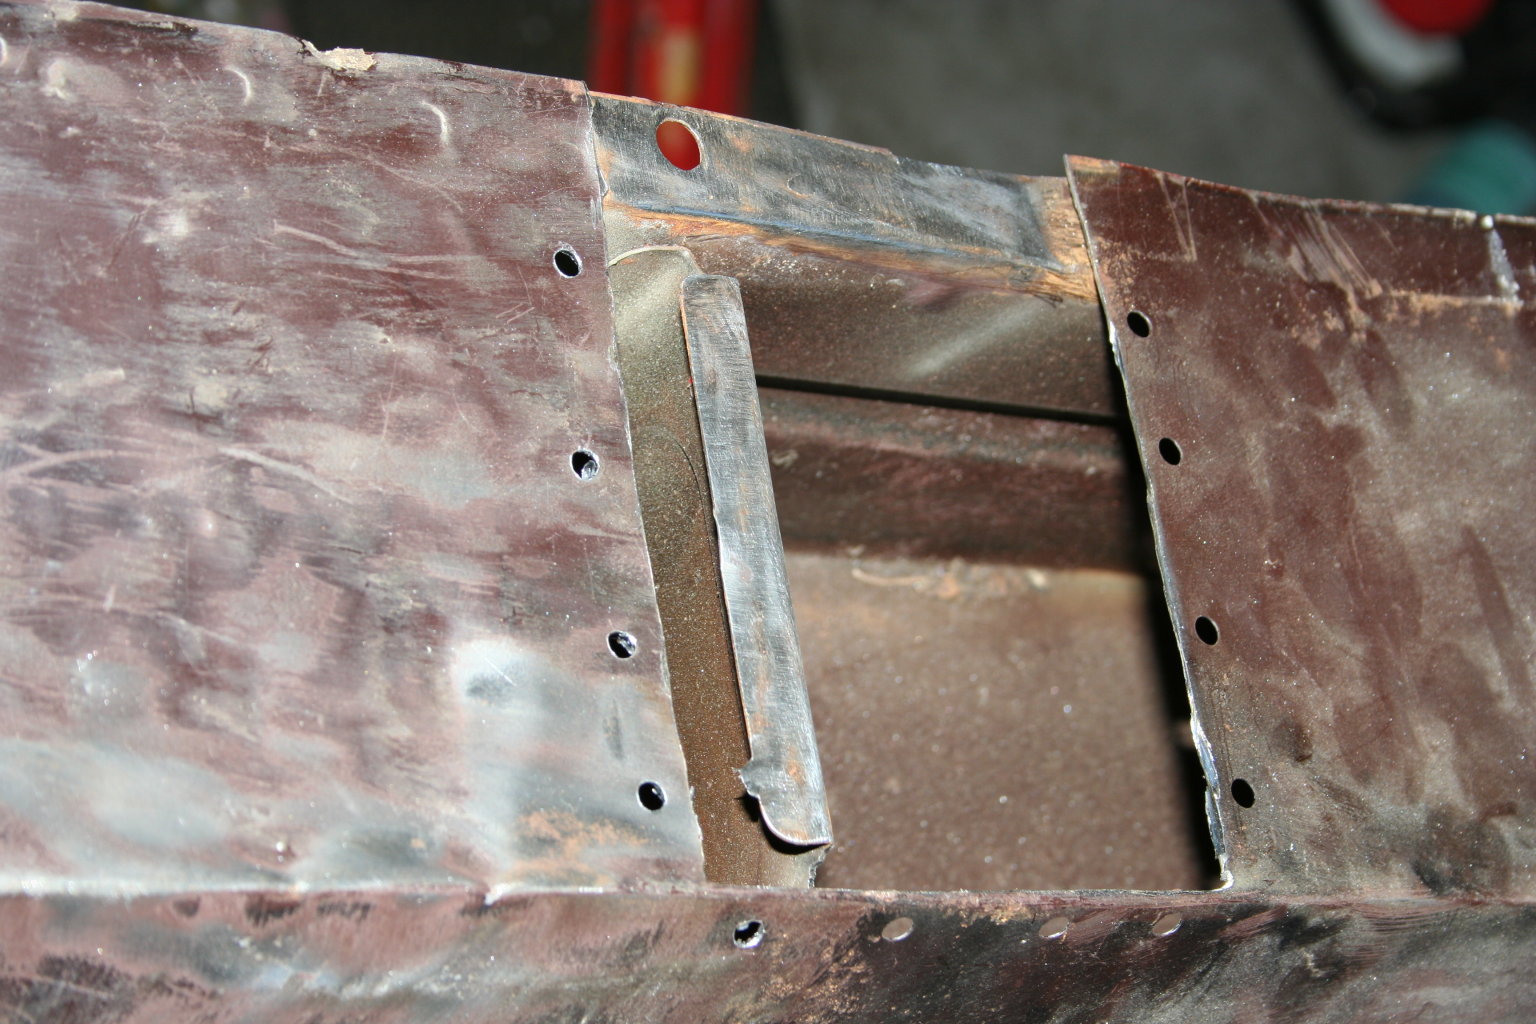 8th of September 2009 - my garage The bodys contact surface of the chassis was the next metal to be replaced.  8th of September 2009 - my garage About (just) one hour later it was cloned. 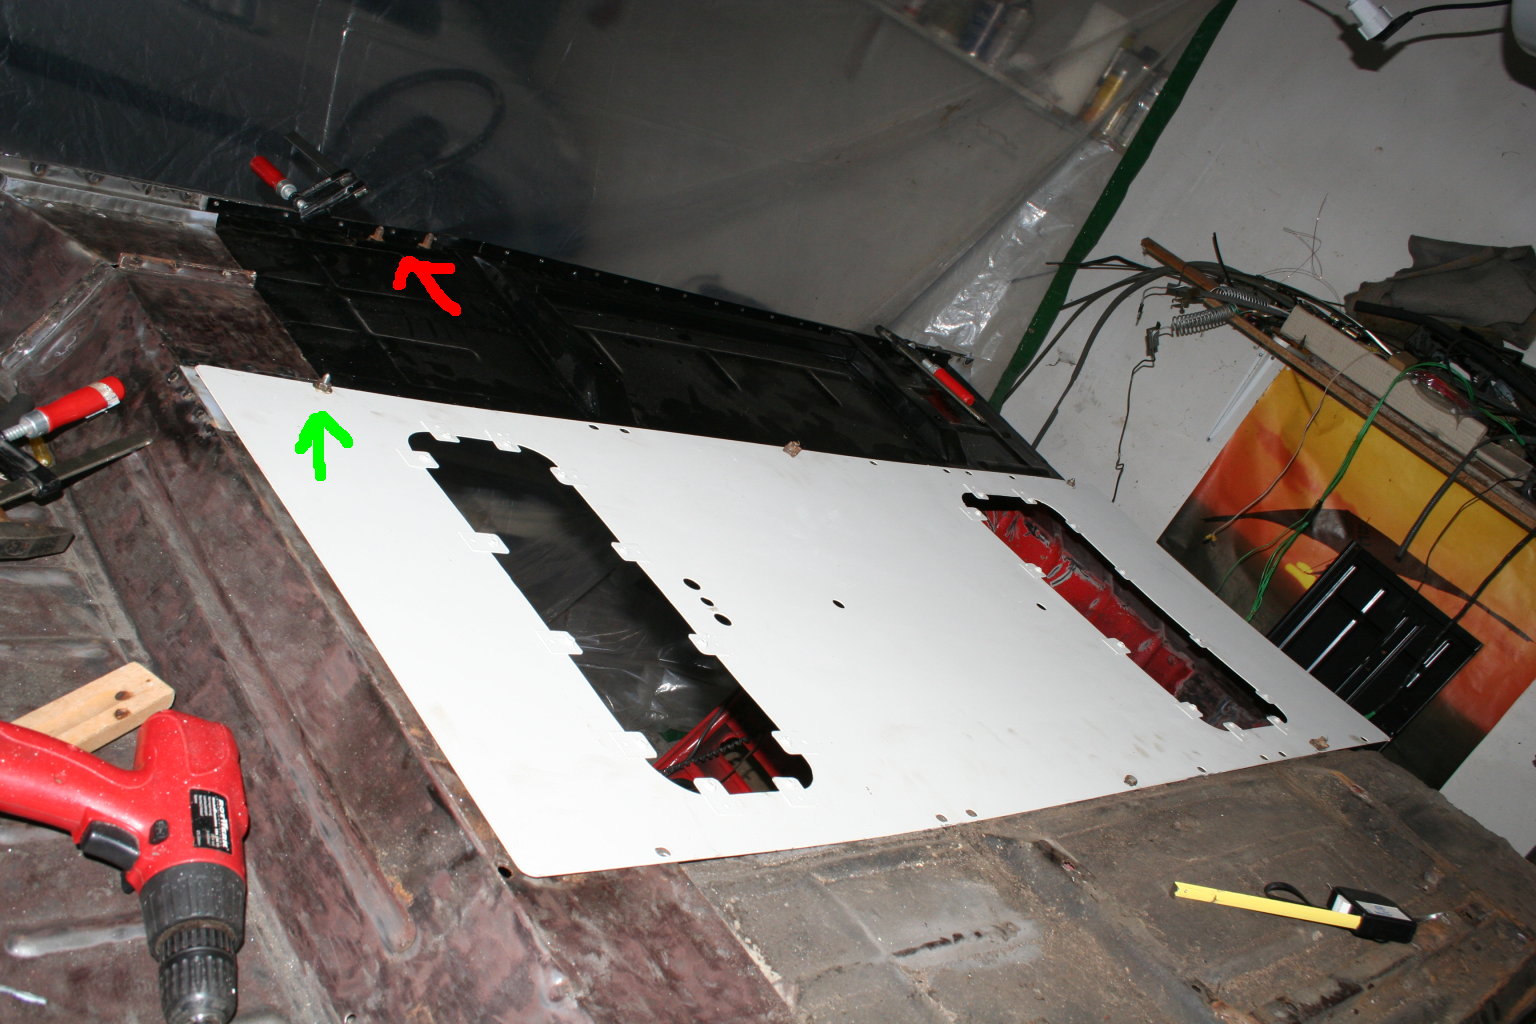 8th of September 2009 - my garage The floor panel of the passenger's side has to be adjusted exactly, so that the screw holes fit to those of the chassis. One fixpoint is the angle plate for the seatbelt (red arrow), another one the screw hole at the rear seat (green arrow). The new chassis I bought, has a removable cover plate and I used it to fix all of the holes. It is utile to cut off the second plate after the first one is fixed again. 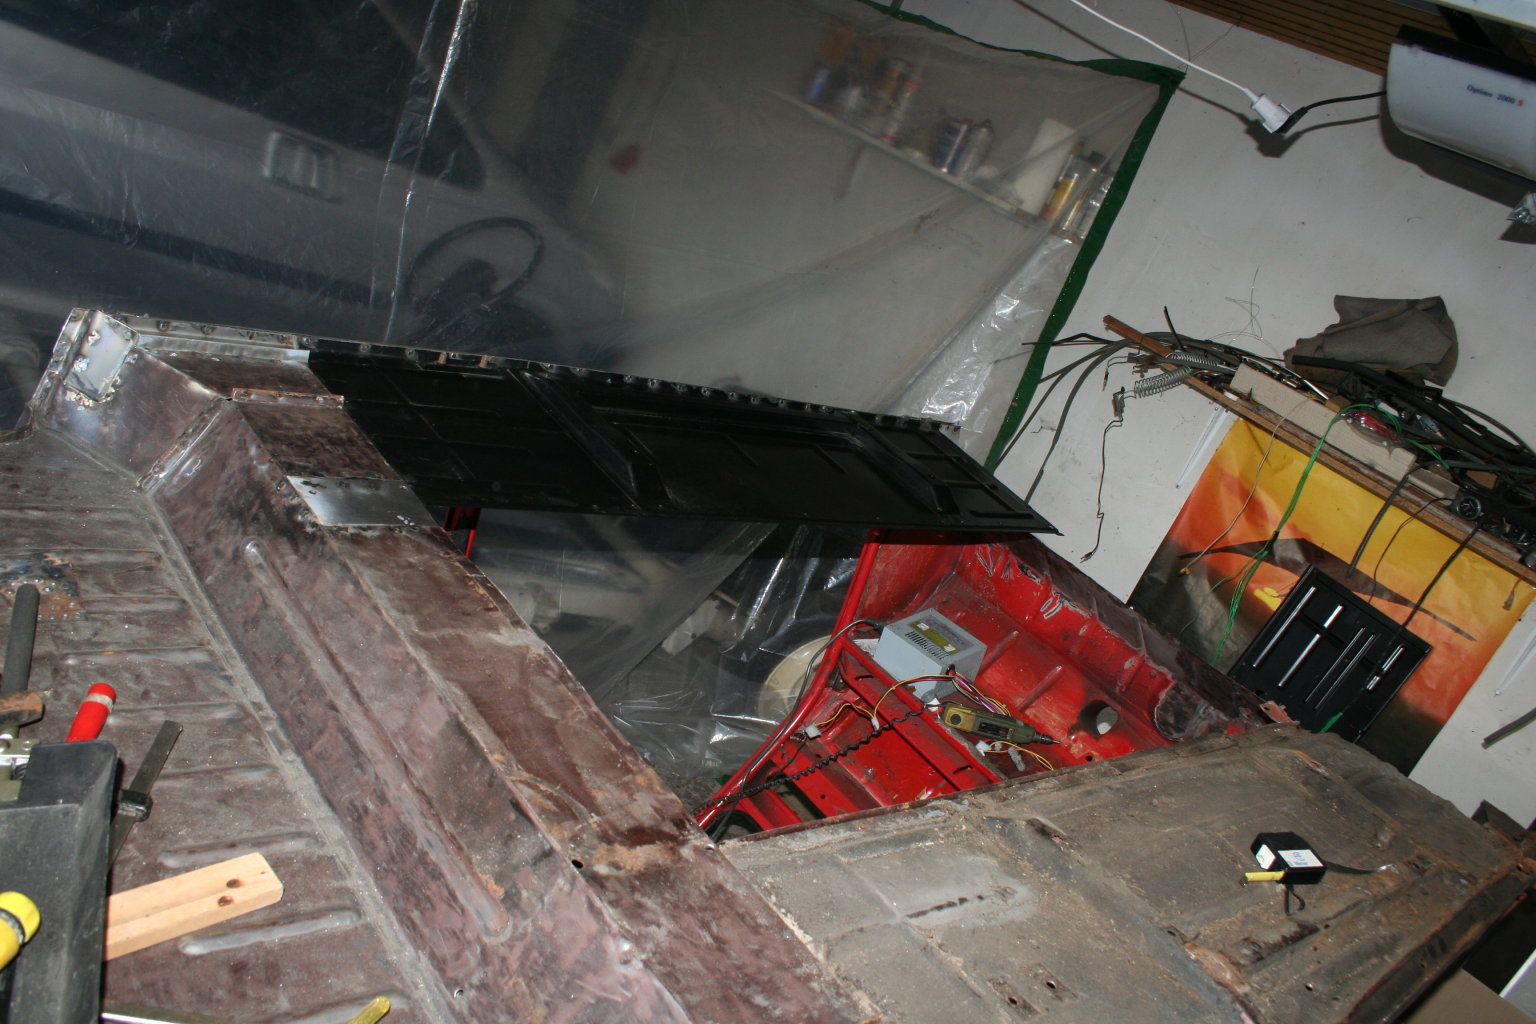 8th of September 2009 - my garage One more hour later, the plate was welded. 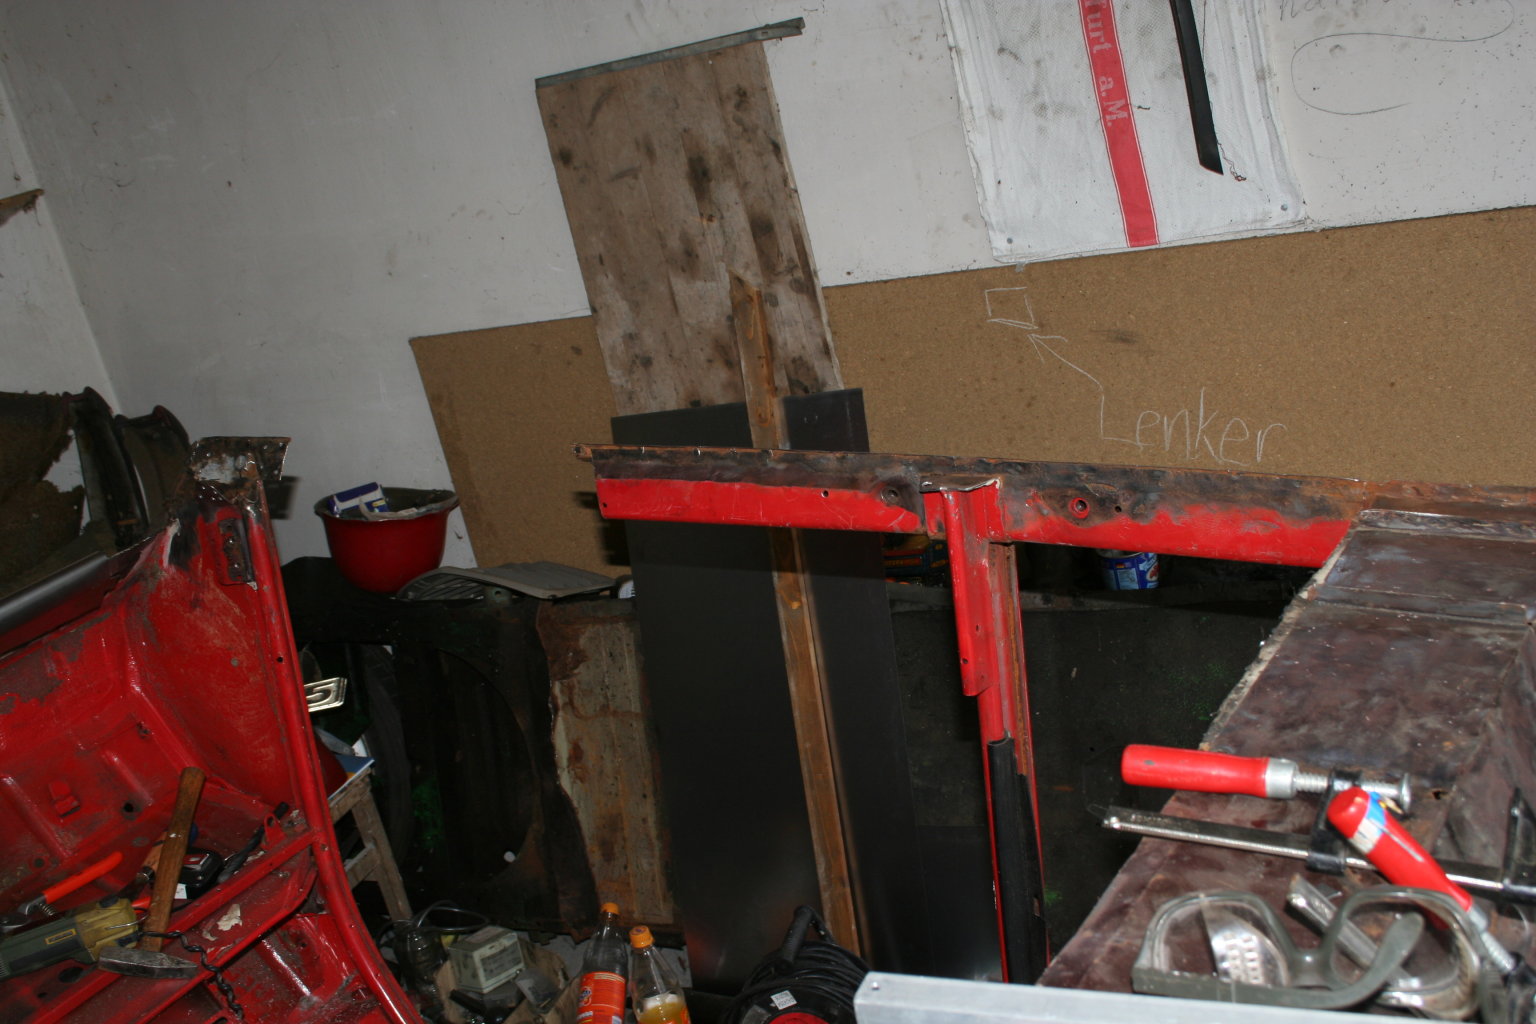 9th of September 2009 - my garage Let's overhaul the driver's side and cut off the floorplate. The front of the sillboard was more rusted and so a longer part of it had to be cut off. 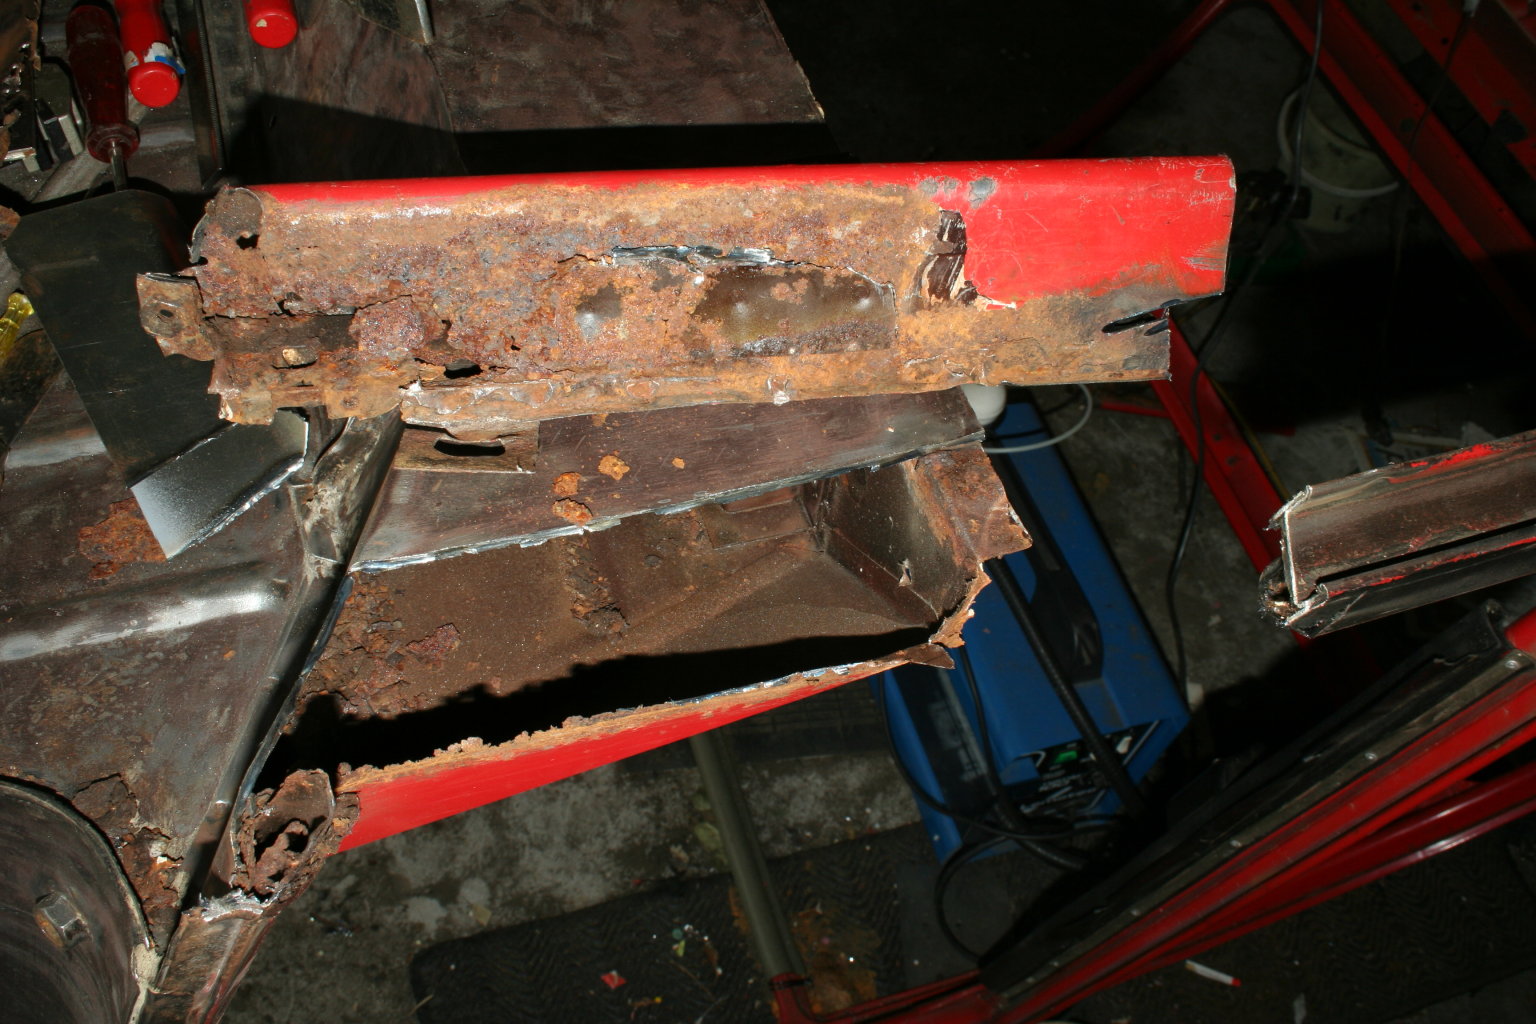 9th of September 2009 - my garage Seeing all those rust did not impress me that much as it did at the passenger's side. 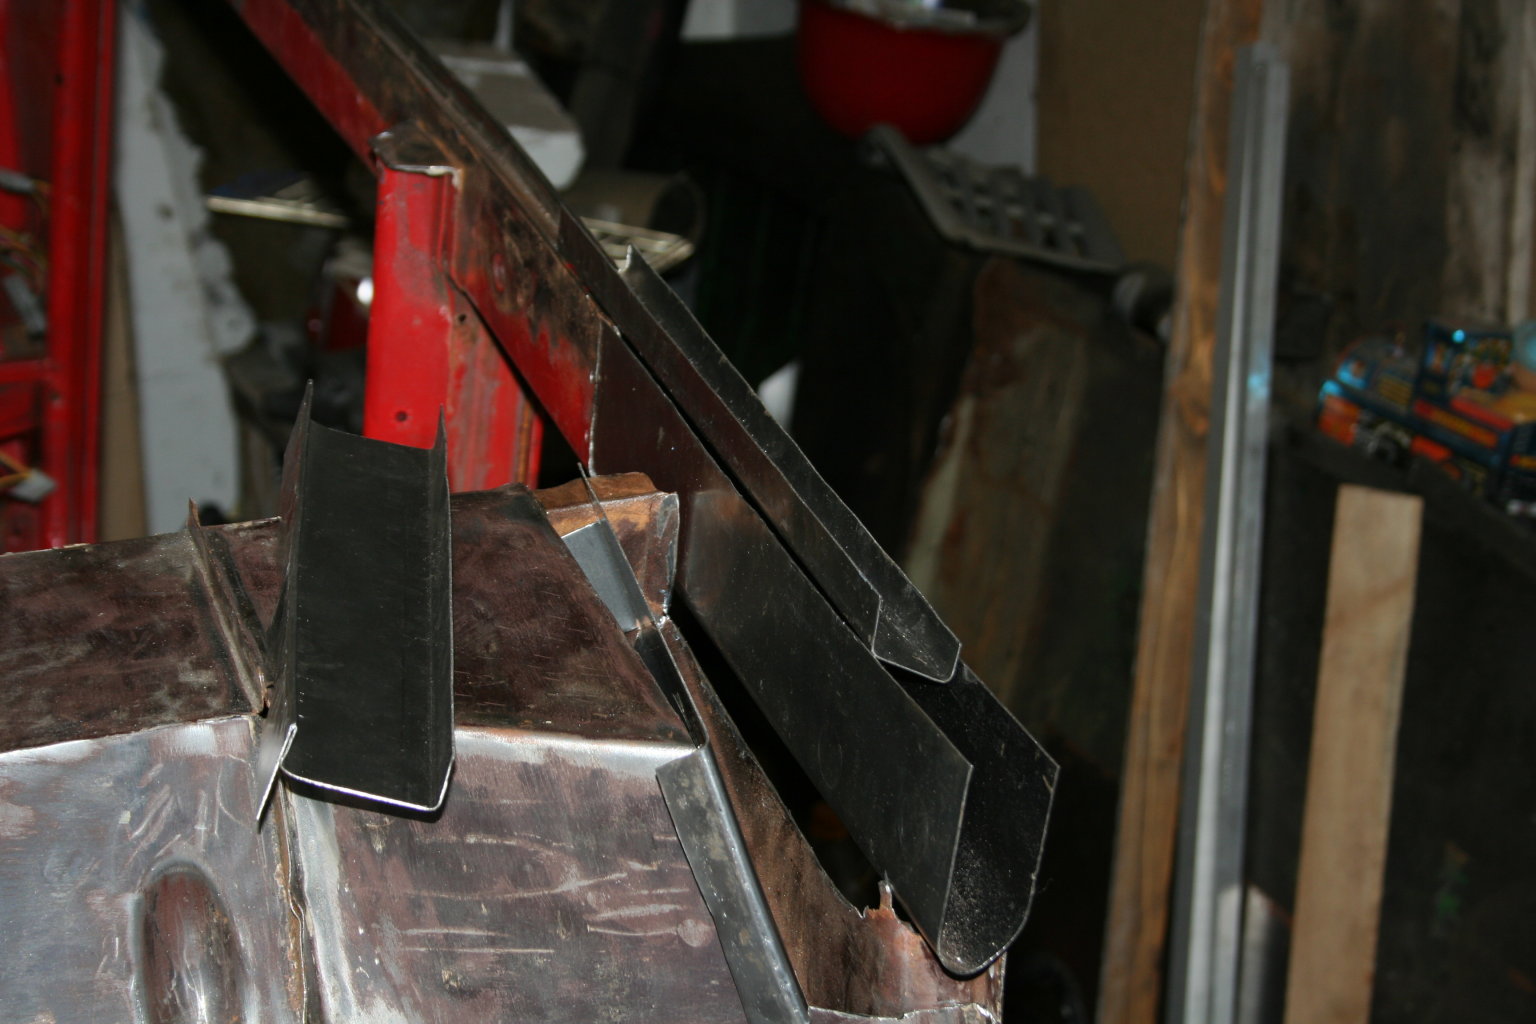 9th of September 2009 - my garage I become experienced in bending and cutting metal plates and because of that, most of the removed bodyparts were already cloned at the evening of the day. 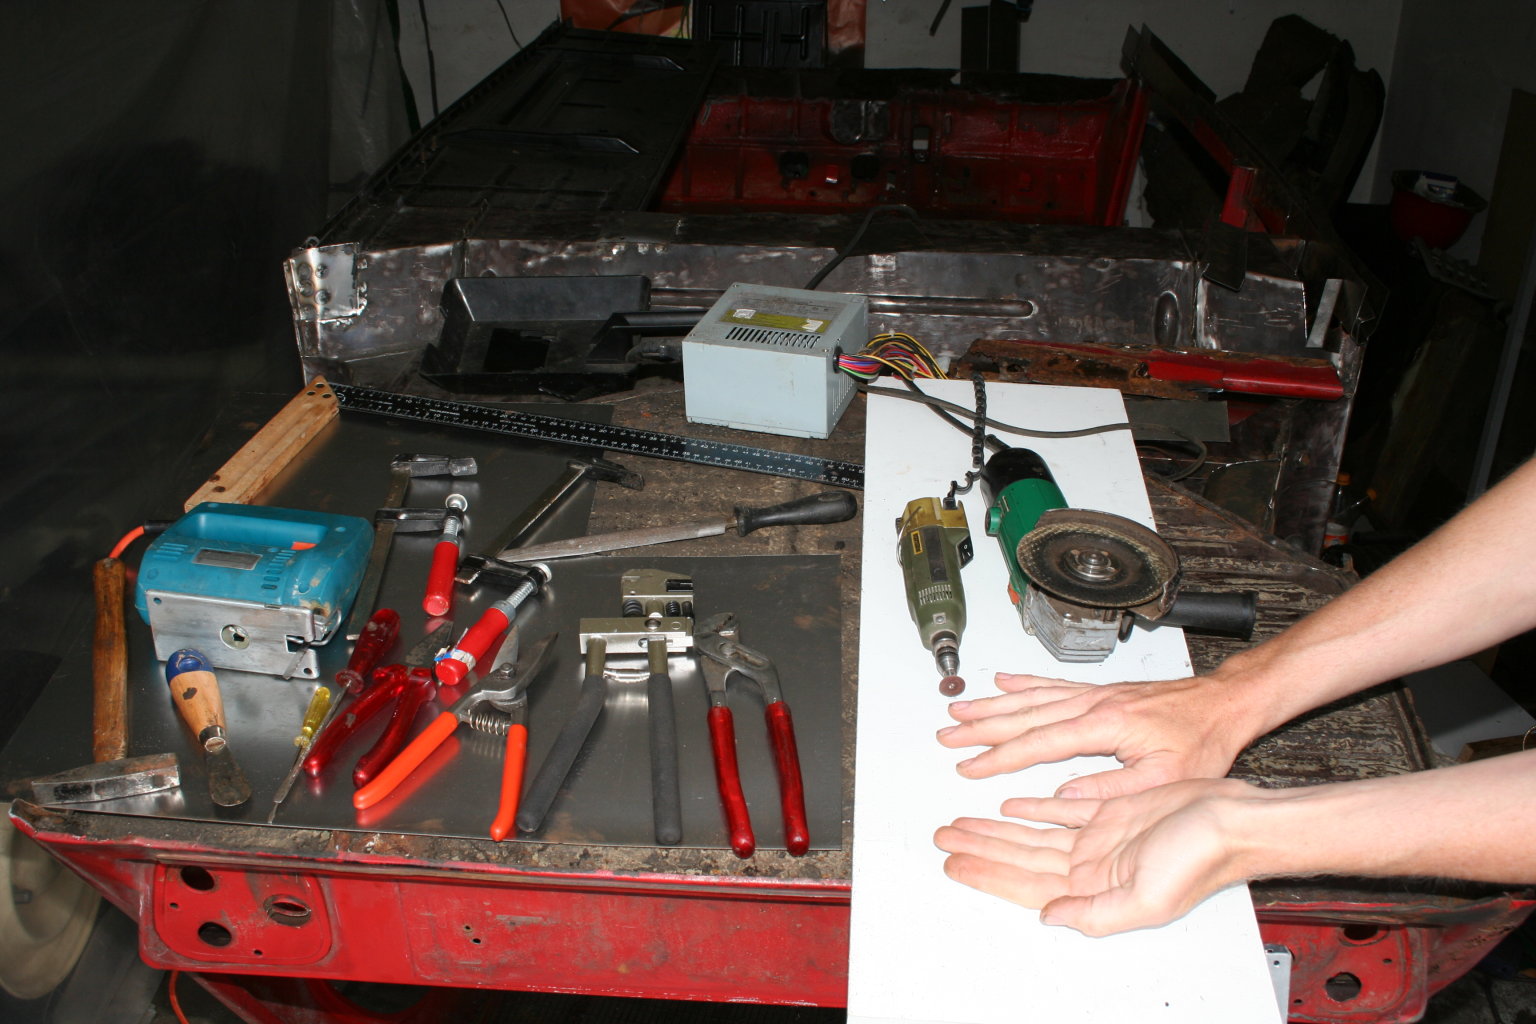 10th of September 2009 - my garage I have been asked, what kind of tools I use to clone the rotten metal. Here is an overview of my arsenal: The tools operate selectively with one or two hands... Angle grinder, metal shears, gripper, scrapper and at inapproachable places a little angle grinder (Dremel) are used to remove the rusted metal plates. 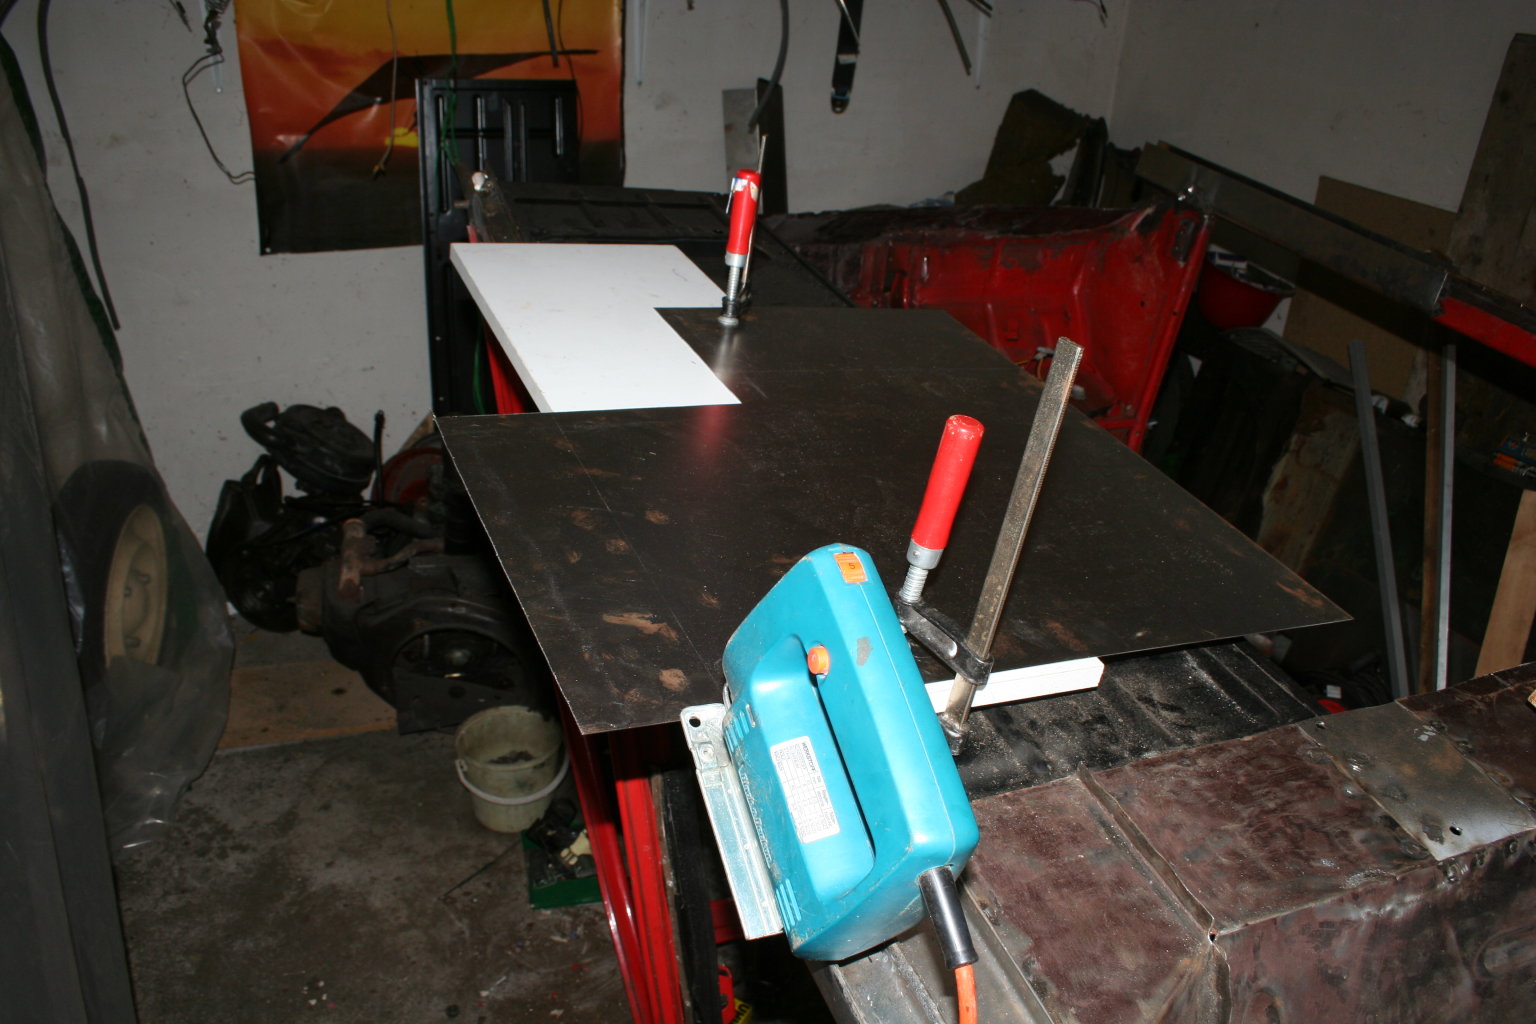 10th of September 2009 - my garage New plates are cut with the help of a jigsaw. To avoid the vibrating of the metal plate, I fixed it as close as possible near the cutting line at a wooden plate. I don't have a workbench inside my garage and so I used the floorplate of the bodywork as a table...  10th of September 2009 - my garage The oversized sheet is trimmed at the bodywork. You can see at this phots that the sillboard is still too long. 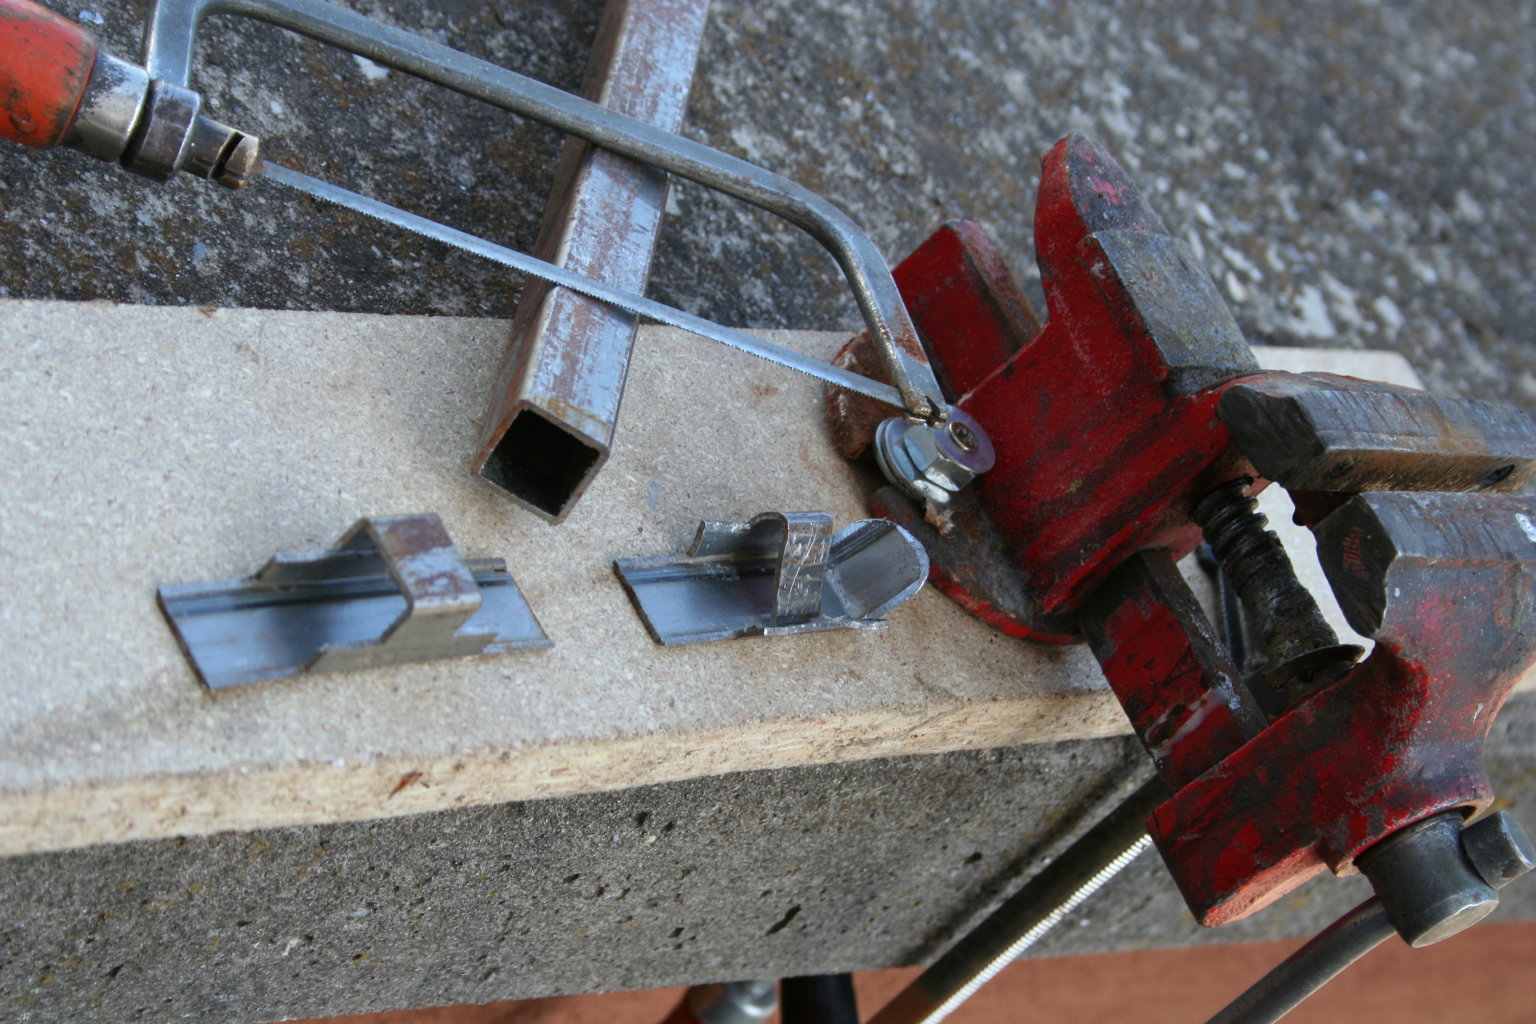 10th of September 2009 - my garage The reinforcements for the jacking equipment are built of square tubes. Used tools are the bench vise, frame saw... 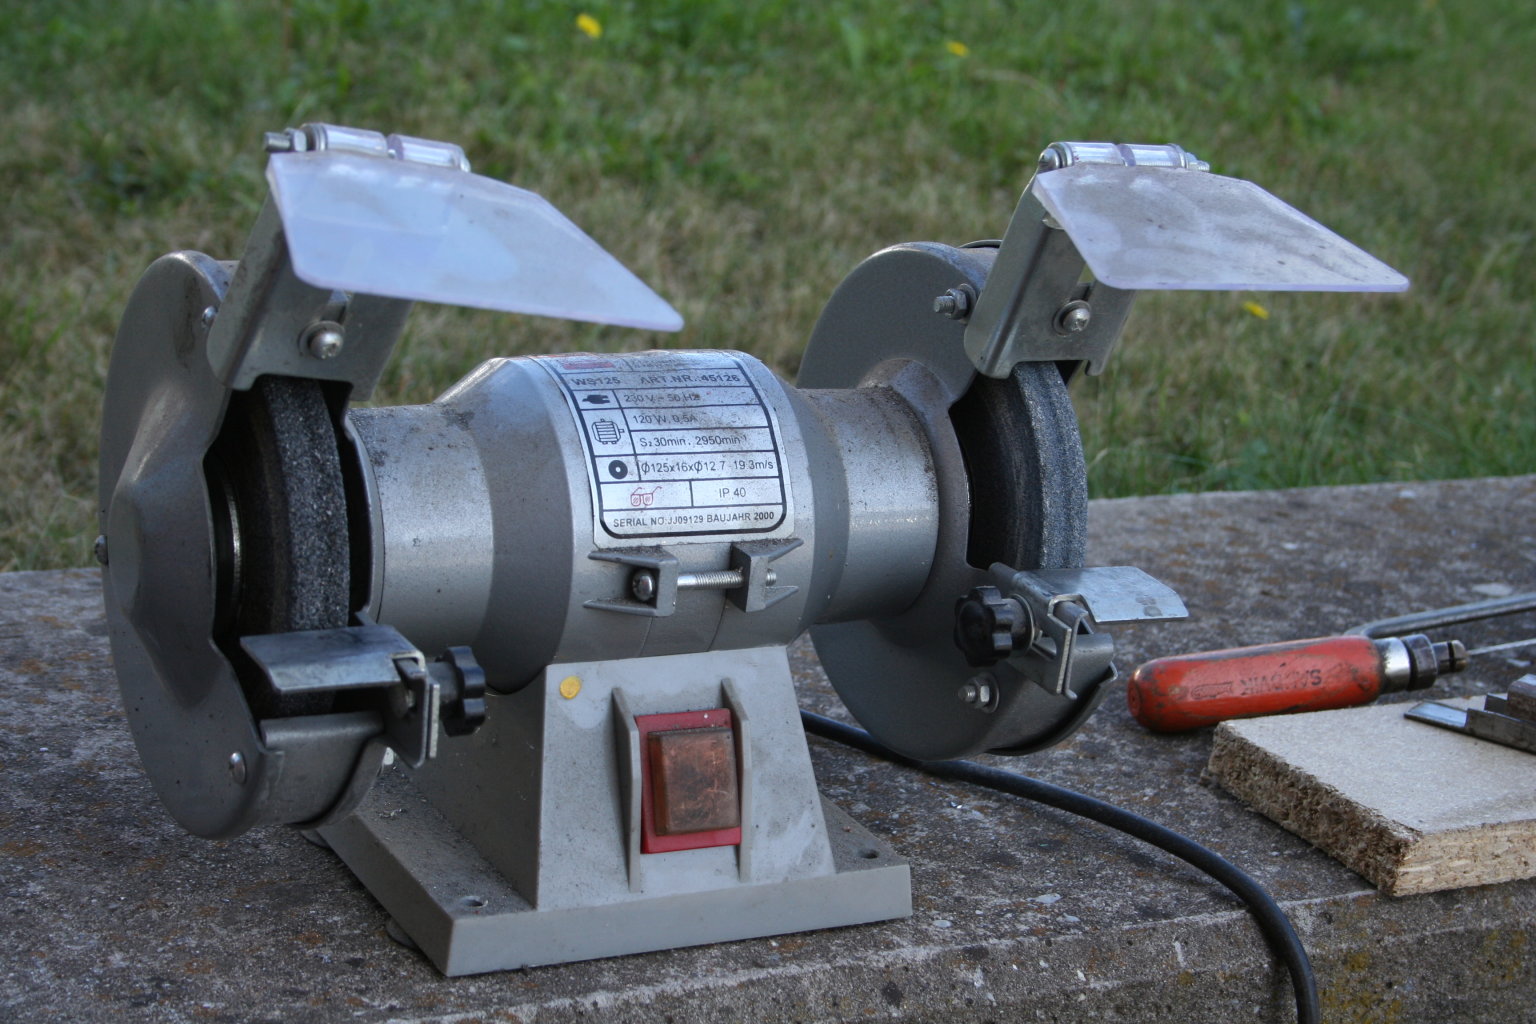 10th of September 2009 - my garage ...and an electric grinding stone.  10th of September 2009 - my garage Oversized pieces are cut off... 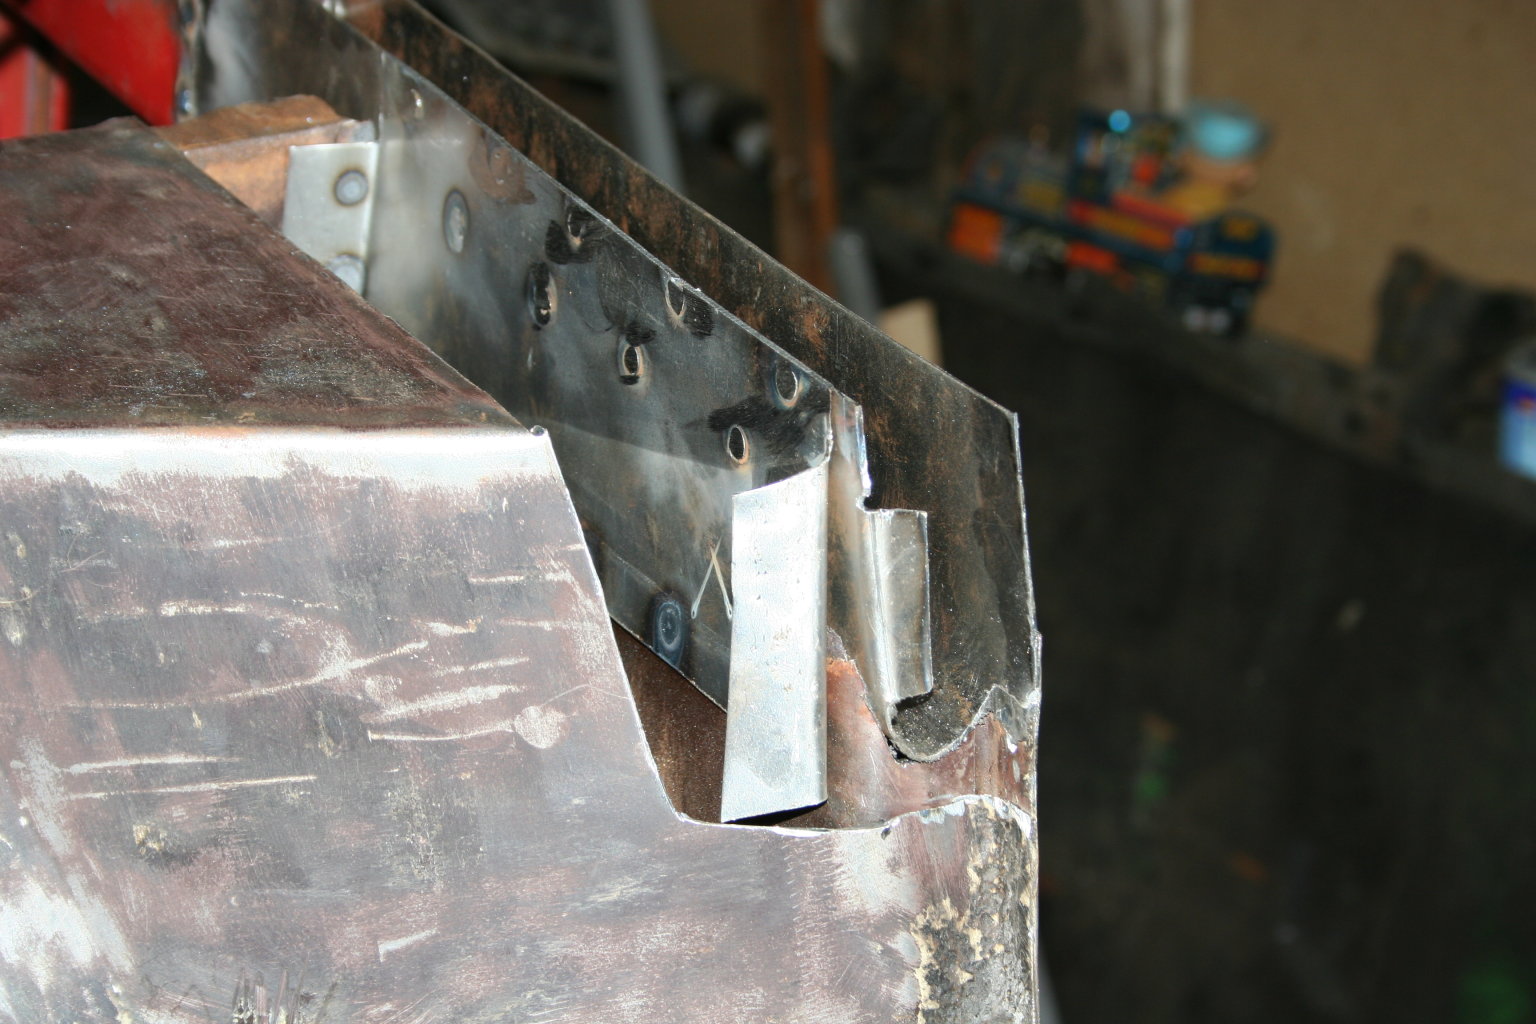 10th of September 2009 - my garage ...and formed. 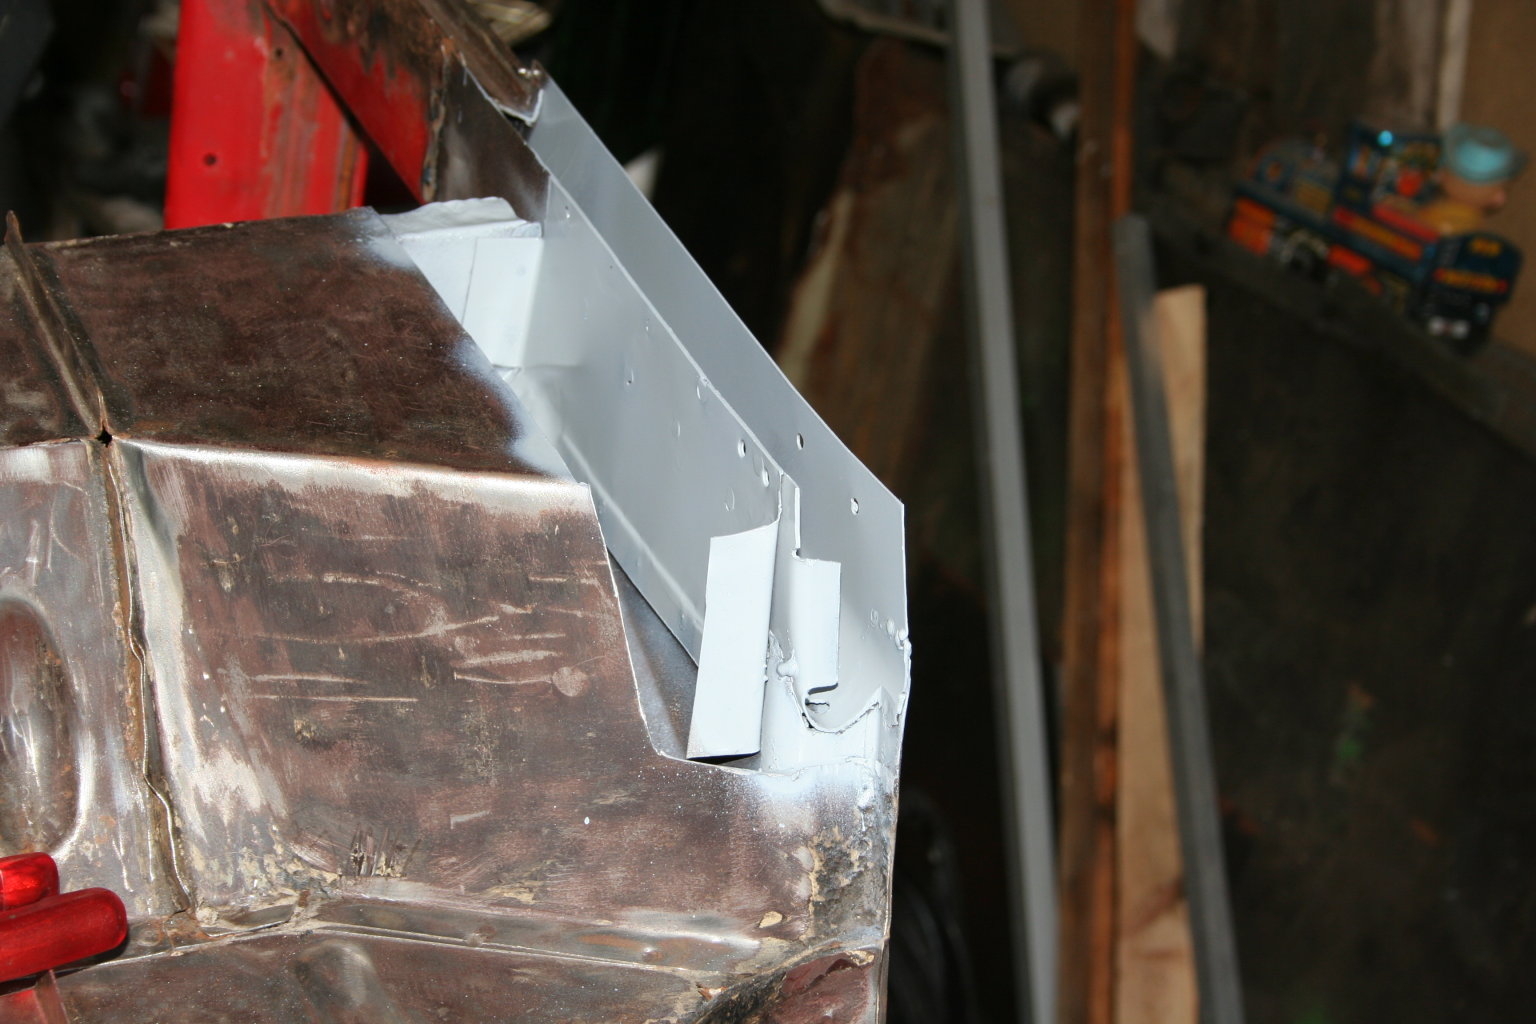 10th of September 2009 - my garage I used primer to cover the blank metal before closing the cavities. That should not be the only rust prevention, because later welded dots set at the outside, will vaporise the primer. When everything is finished, cavity wachs or grease has to be used here!  10th of September 2009 - my garage The next metal plate is formed. 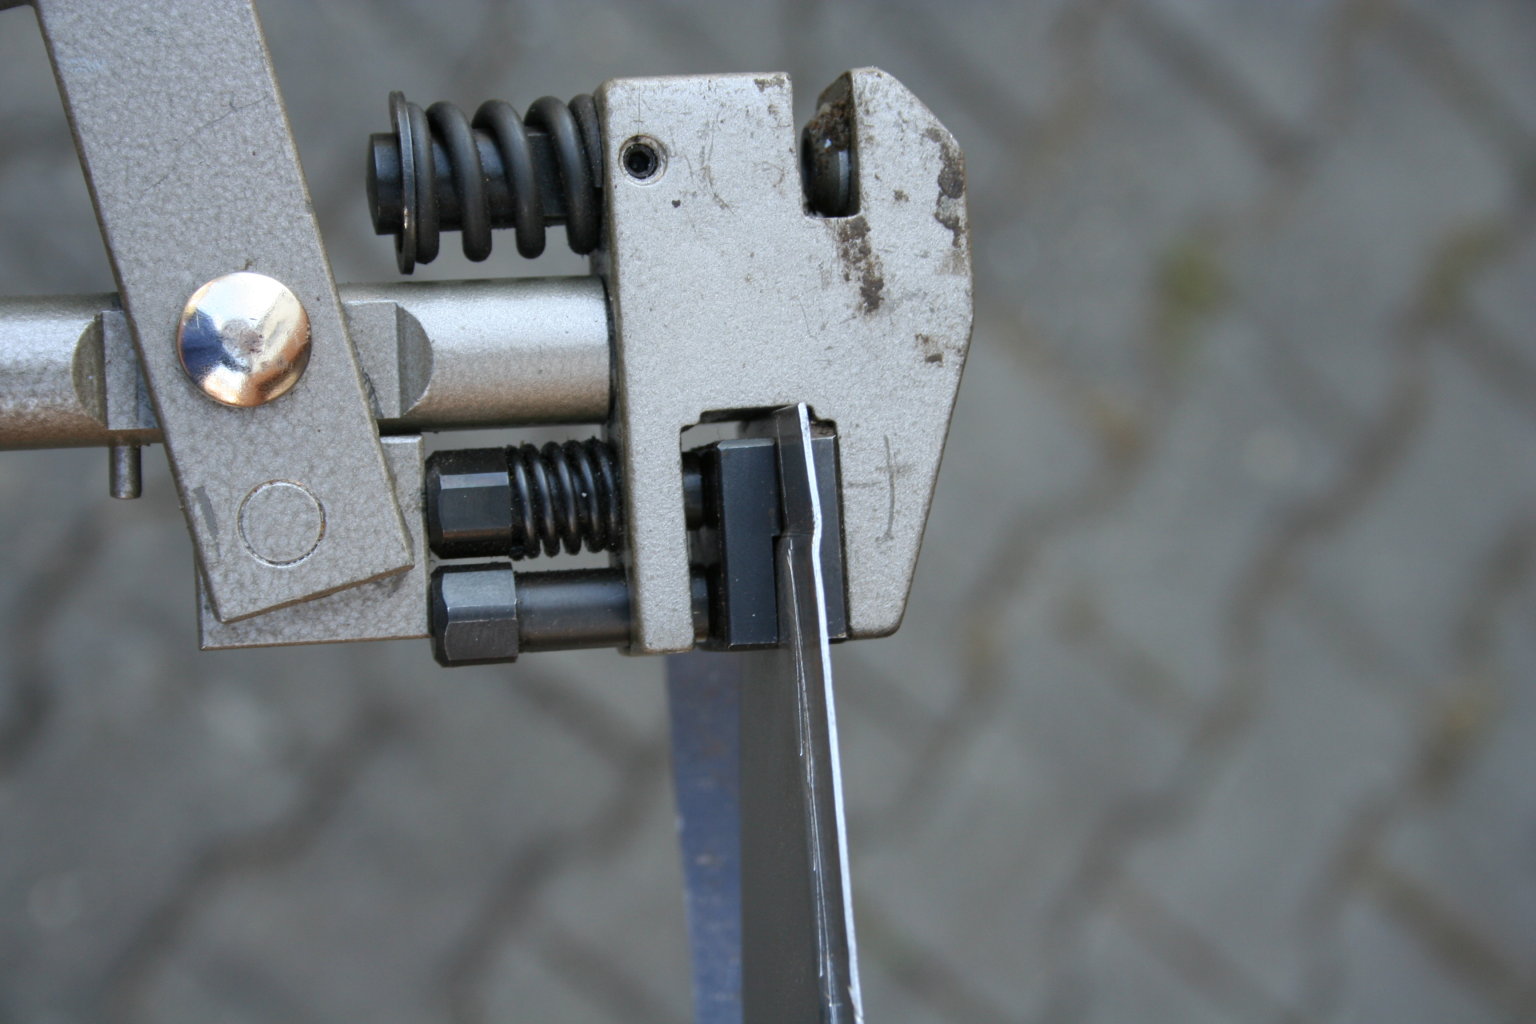 10th of September 2009 - my garage At the seam, the metal plates are bent with the help of a joggling tool. 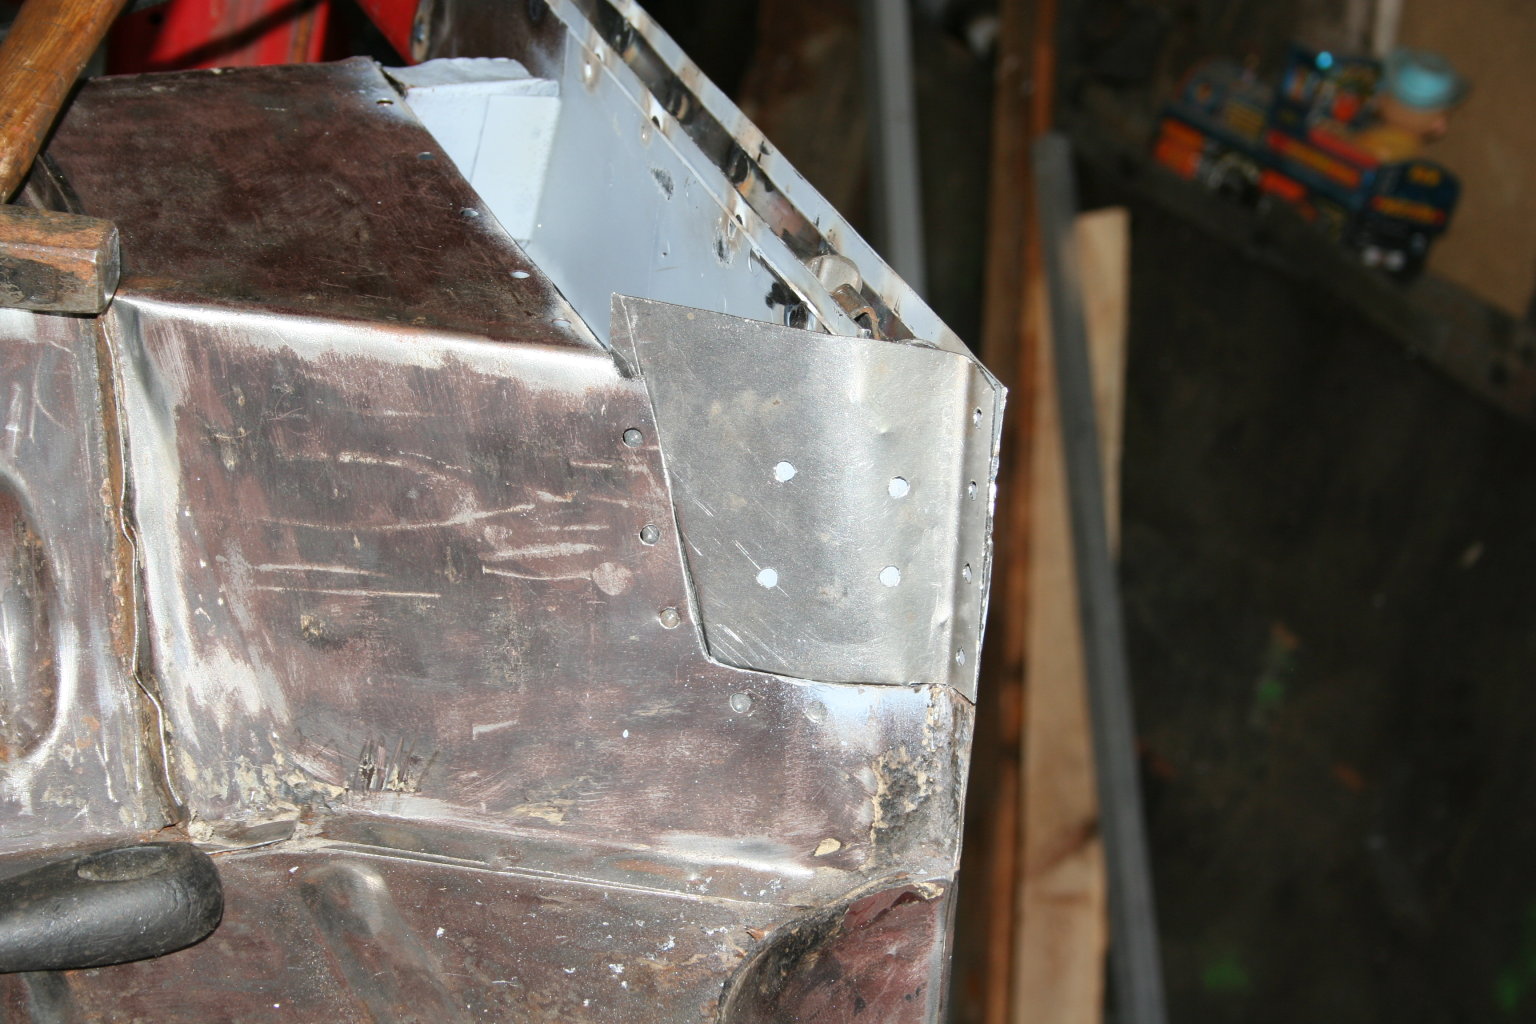 11th of September 2009 - my garage At the welding dots, the overlaying plates are punched with a special plier or a cordless screwdriver and a 5mm drill. 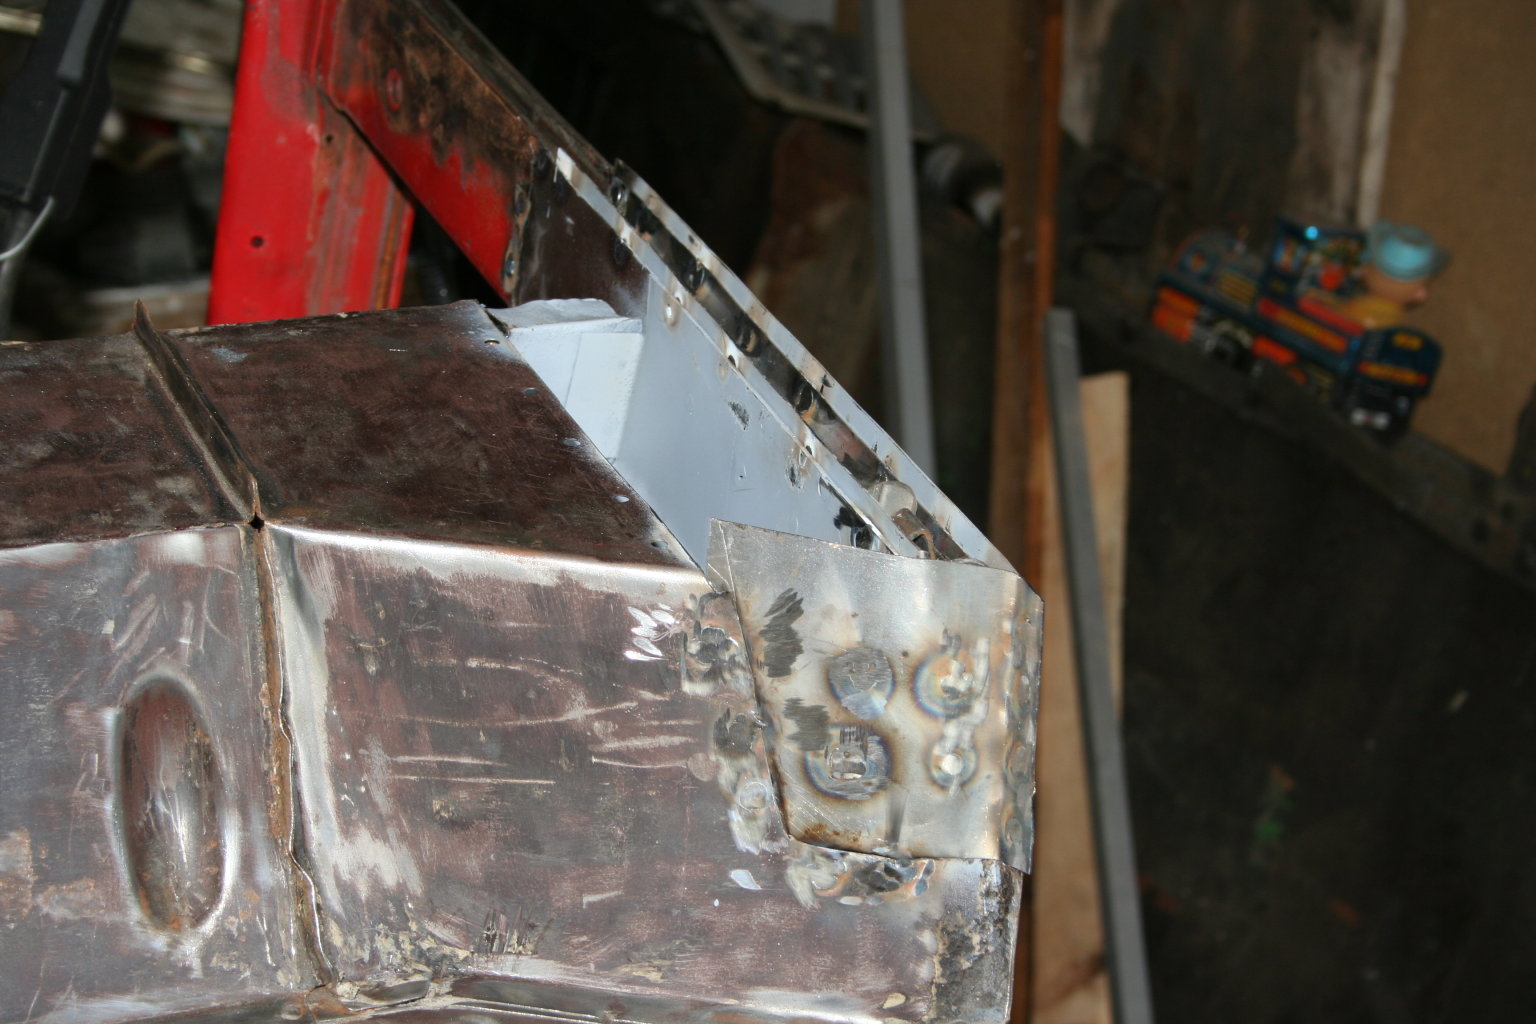 11th of September 2009 - my garage The punch holes are welded and the overlaying weld metal are grinded. 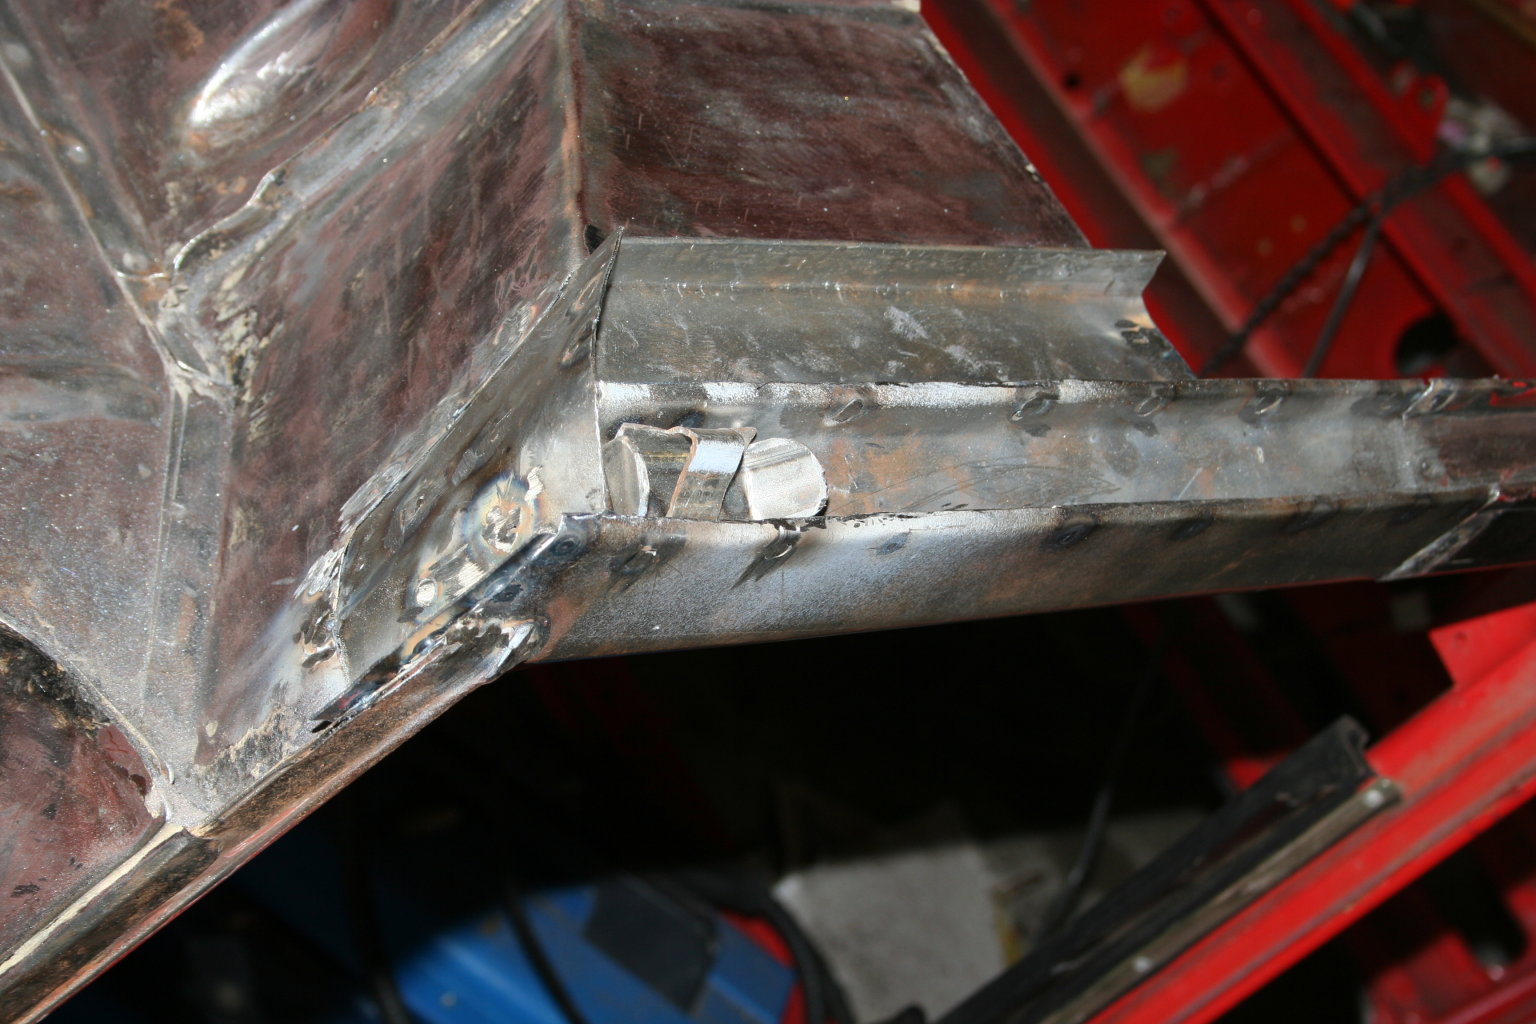 12th of September 2009 - my garage Somewhen it will look like this.  12th of September 2009 - my garage Or like this.  14th of September 2009 - my garage The floor pan is adjusted with the help of the removable cover plate of the chassis. 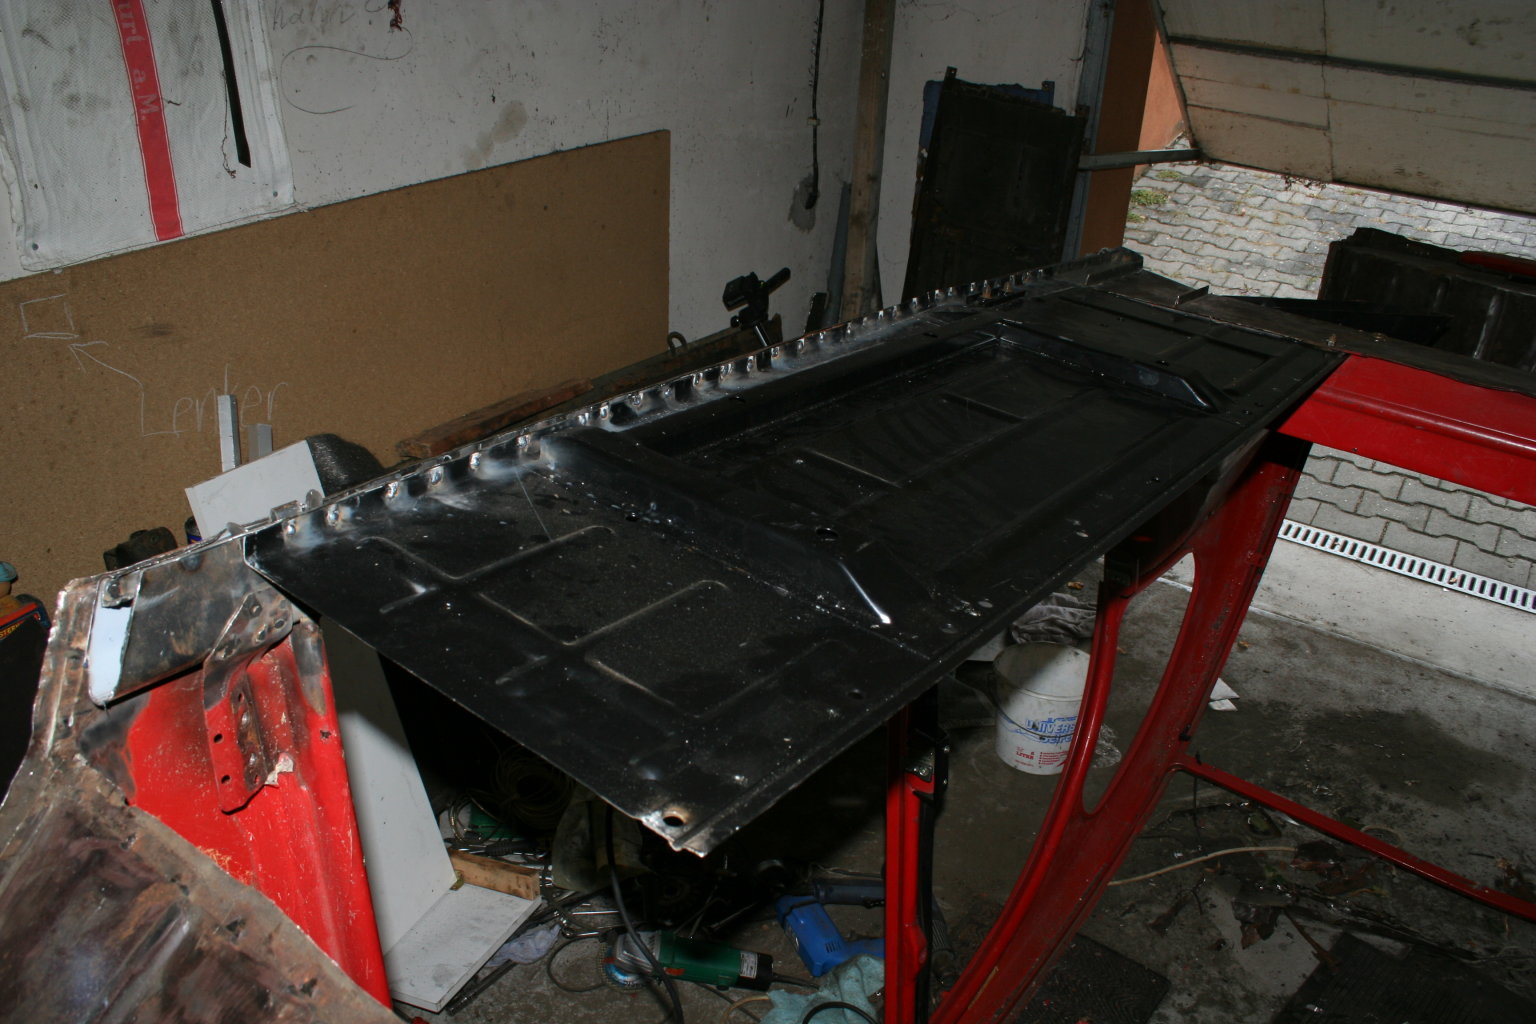 14th of September 2009 - my garage After some trimming work the plates are welded. 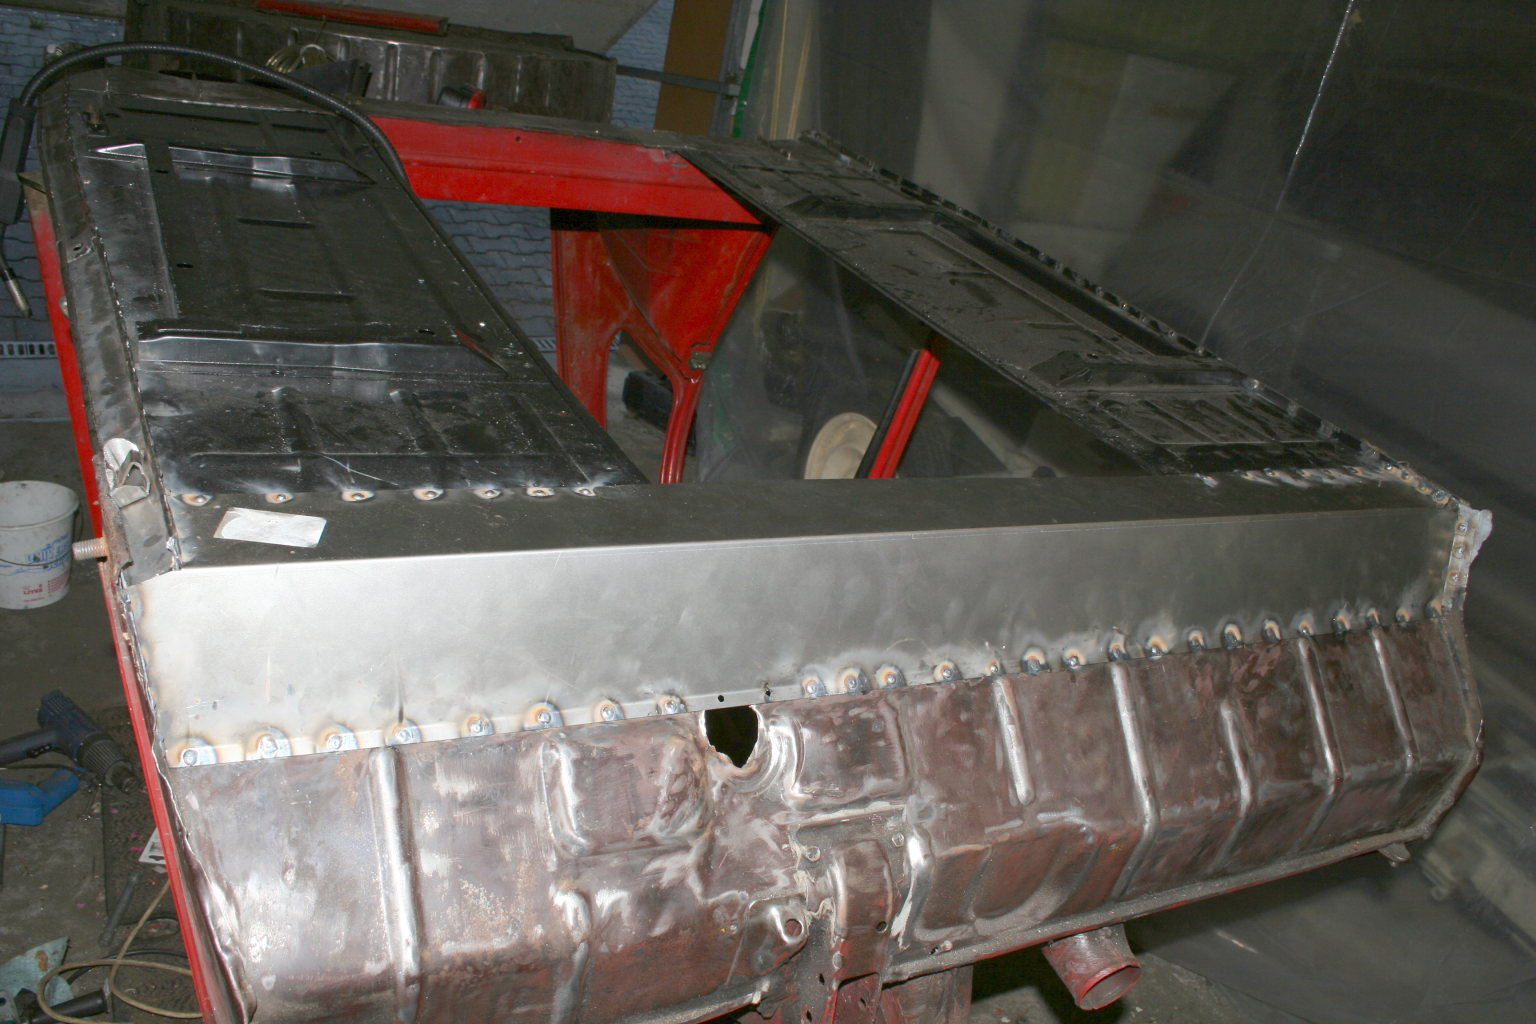 14th of September 2009 - my garage I bought the external plate of the footwell as a prefabricated part.  14th of September 2009 - my garage To be able to push the metal plates against each other, I traped a bar clamp at the oddments tray of the interior bodywork. Back to removing rust Forward to redesigning back of the car |