|
|
Back to roof Forward to still missing (1)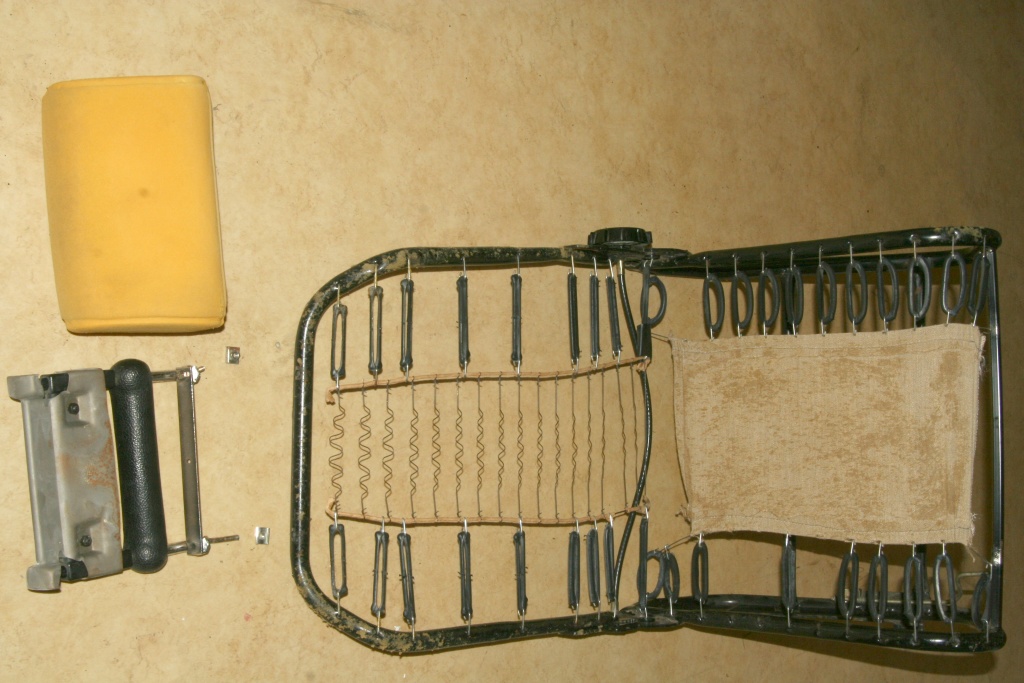 The driver's seat without coating. As you can see some rubber bands are missing and the remaining are not so good any longer. 48 of these rubber bands lends the duck-typical 'sofa quality' to the seat. 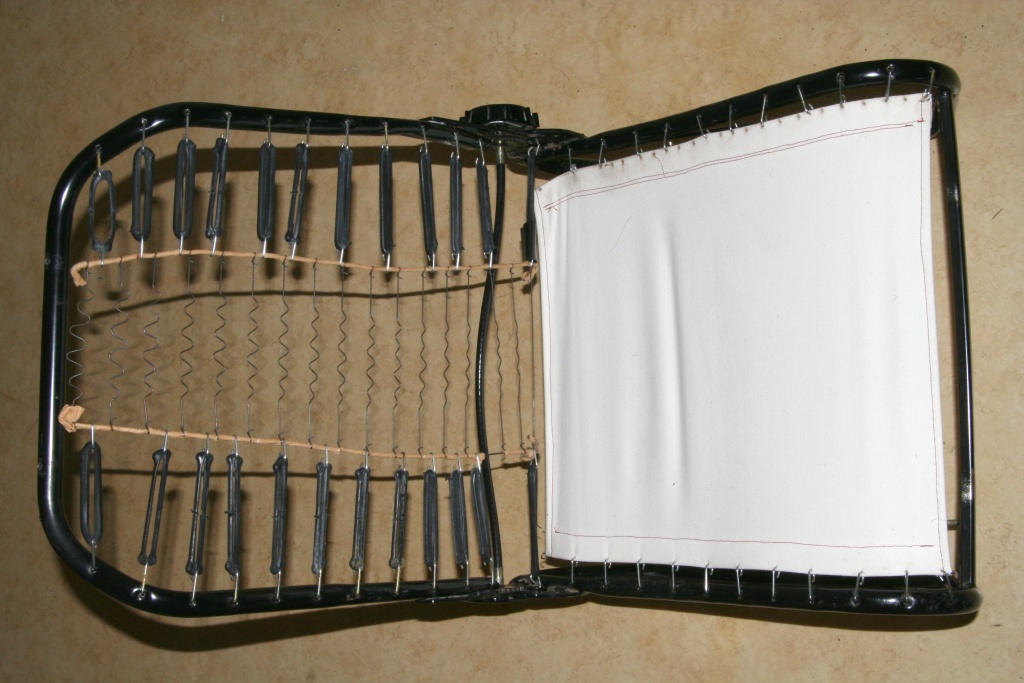 When restoring the driver's seat i didn't use these rubber bands and fastened the drapery just with the metal hooks. As material I used strong material (Jeans are made of) accordingly more broadly. Some later the drappery cracked because of the higher forces acting on it and I returned to the original fastening method with rubber bands. To tighten the "suspension" I used two rubber bands instead of just one at each hole. 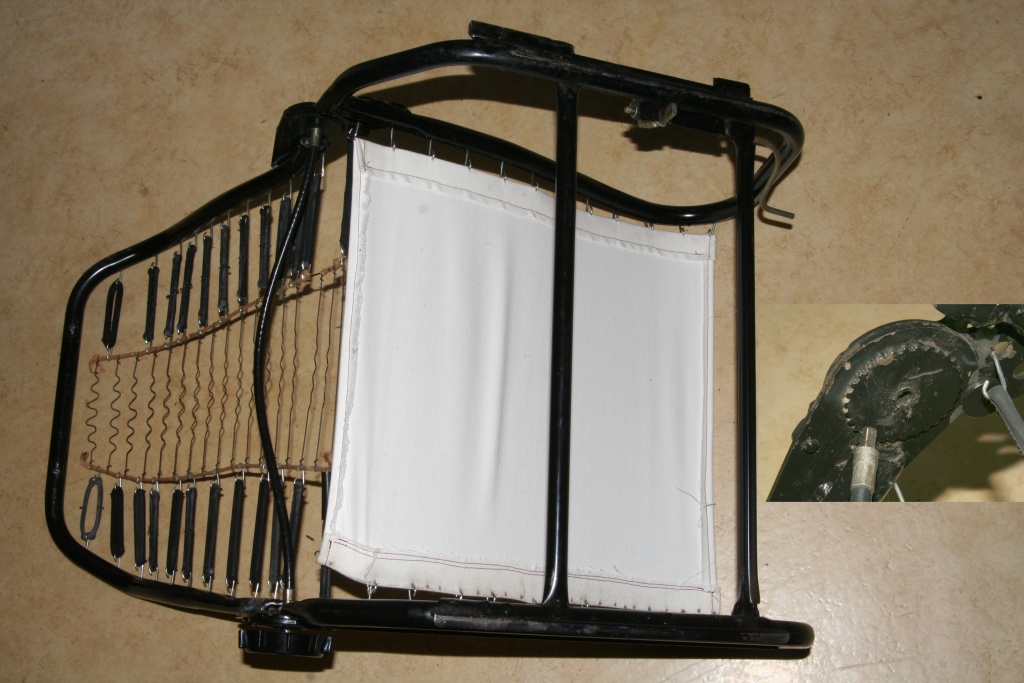 The seat from downside. If the backrest adjustment should wedge, it could be because of the fact that the connection from the handwheel to the opposite side slipped out (because a passenger in the back seat penetrated it). This backrest adjustment is only at the driver's side - the passenger seat comes along without.  The sewing machine of my mother still stood at her old place - thus dedusting and let's work. The material parts for the head restraint,... 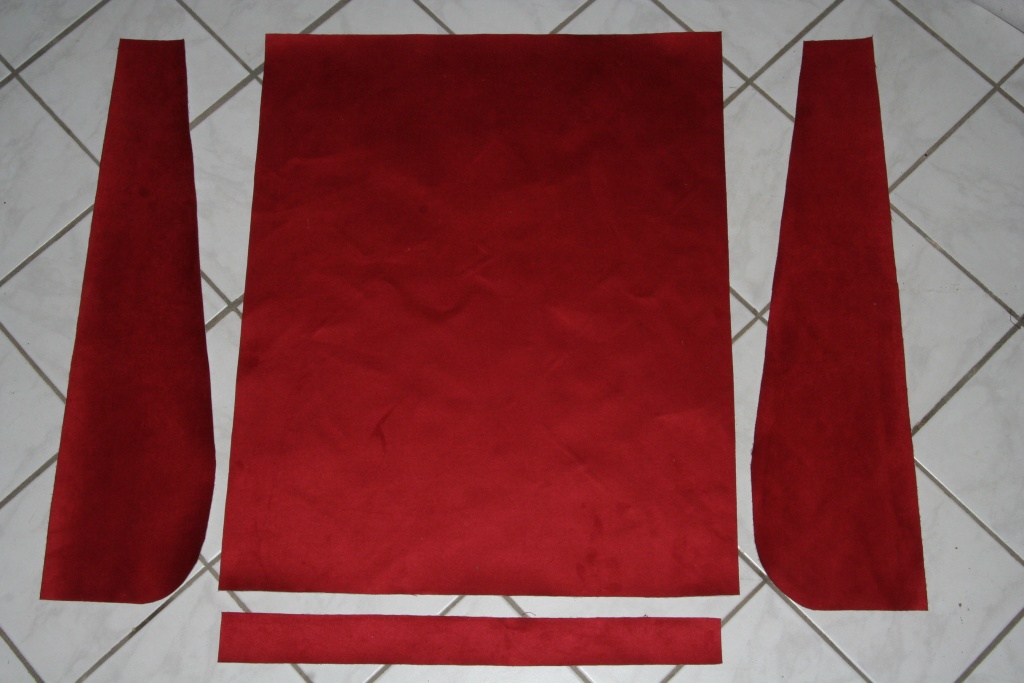 ...the seat face,... 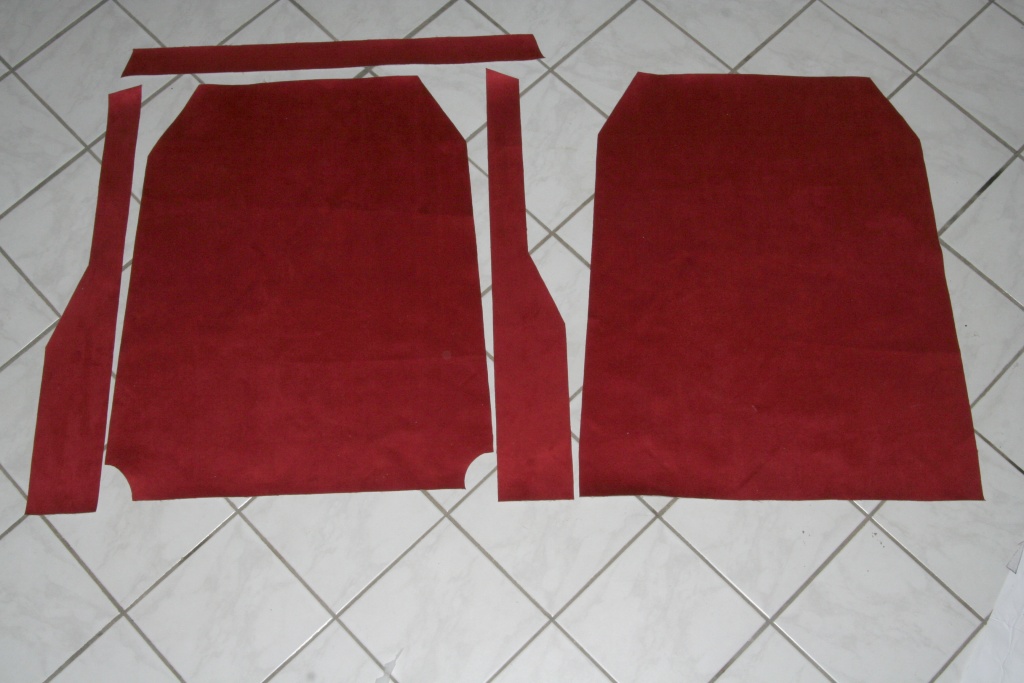 ...and the backrest.  For the seat comfort foam material plates of 2cm thickness and high specific gravity are used. At the backrest the appropriate plate is fixed with a cord above (original sticks together). On the seat face I used 2 of these plates one above the other, since I did not use the rubber bands. The lower plate is somewhat smaller and can't be seen therefore at the photo. Contrary to the original purchase I implemented the purchase two-piece. The seat face is gotten jammed with 3 steel bars in front and the sides and in the back with pushbuttons (originals with metal clips).  The attachment of the head restraint takes place with two M6 nuts. 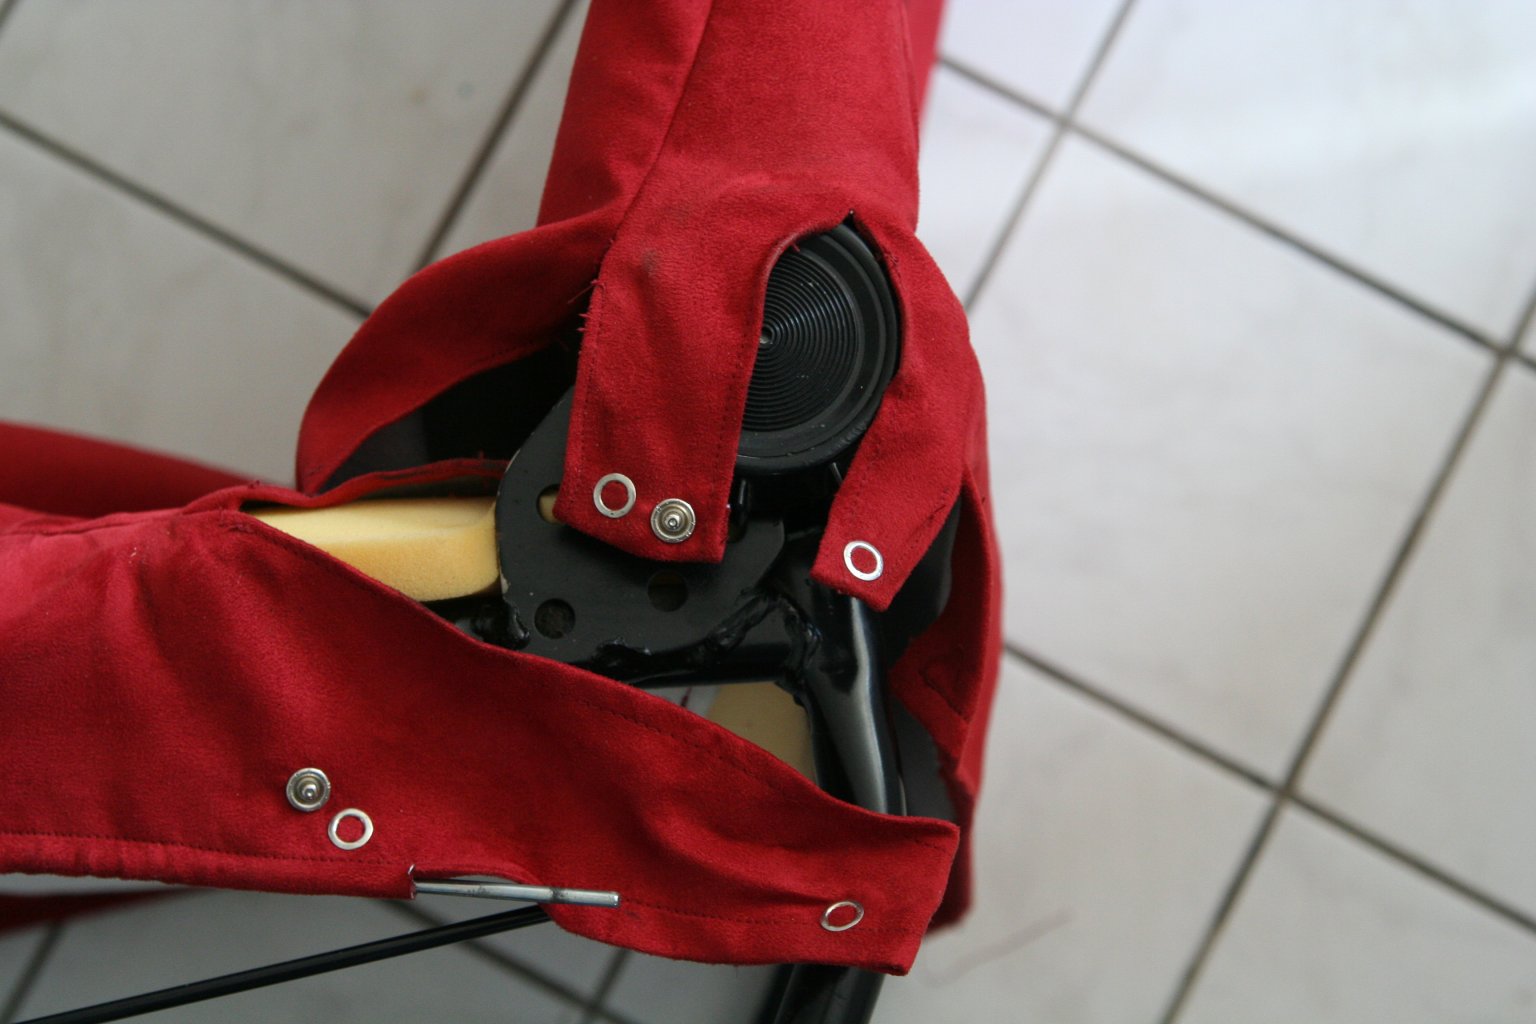 Attachment with pushbuttons. 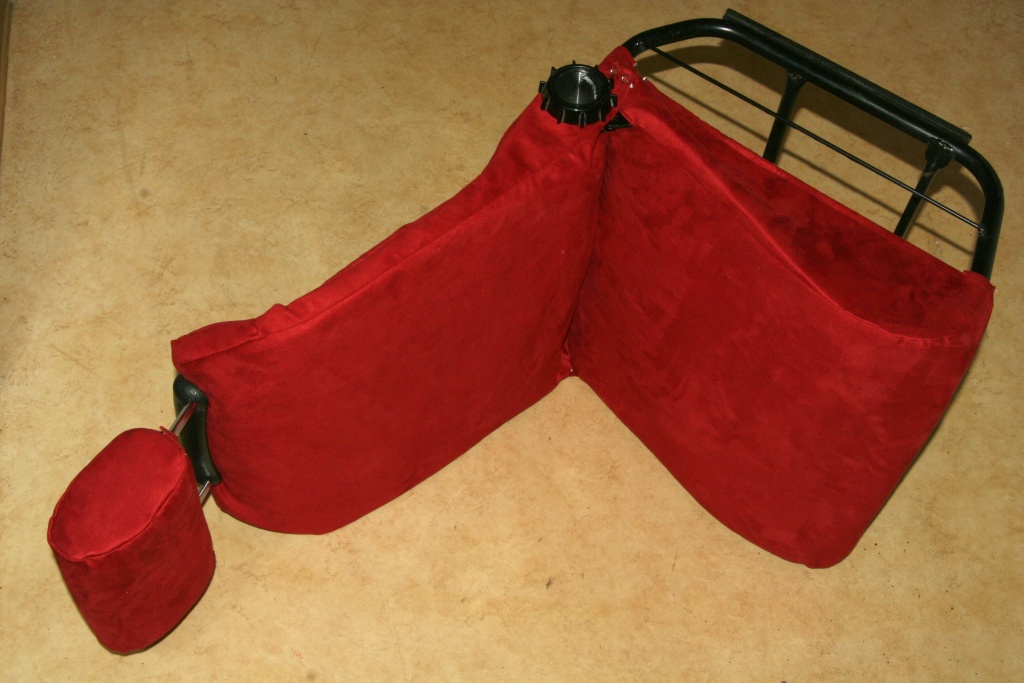 And in such a way my version looks finished. Meanwhile I've been driving more than 1000km on the seat and may notify that this somewhat amended underbody is extremely comfortable. The source of supply of the materials used by me can be found in the column 'links'. 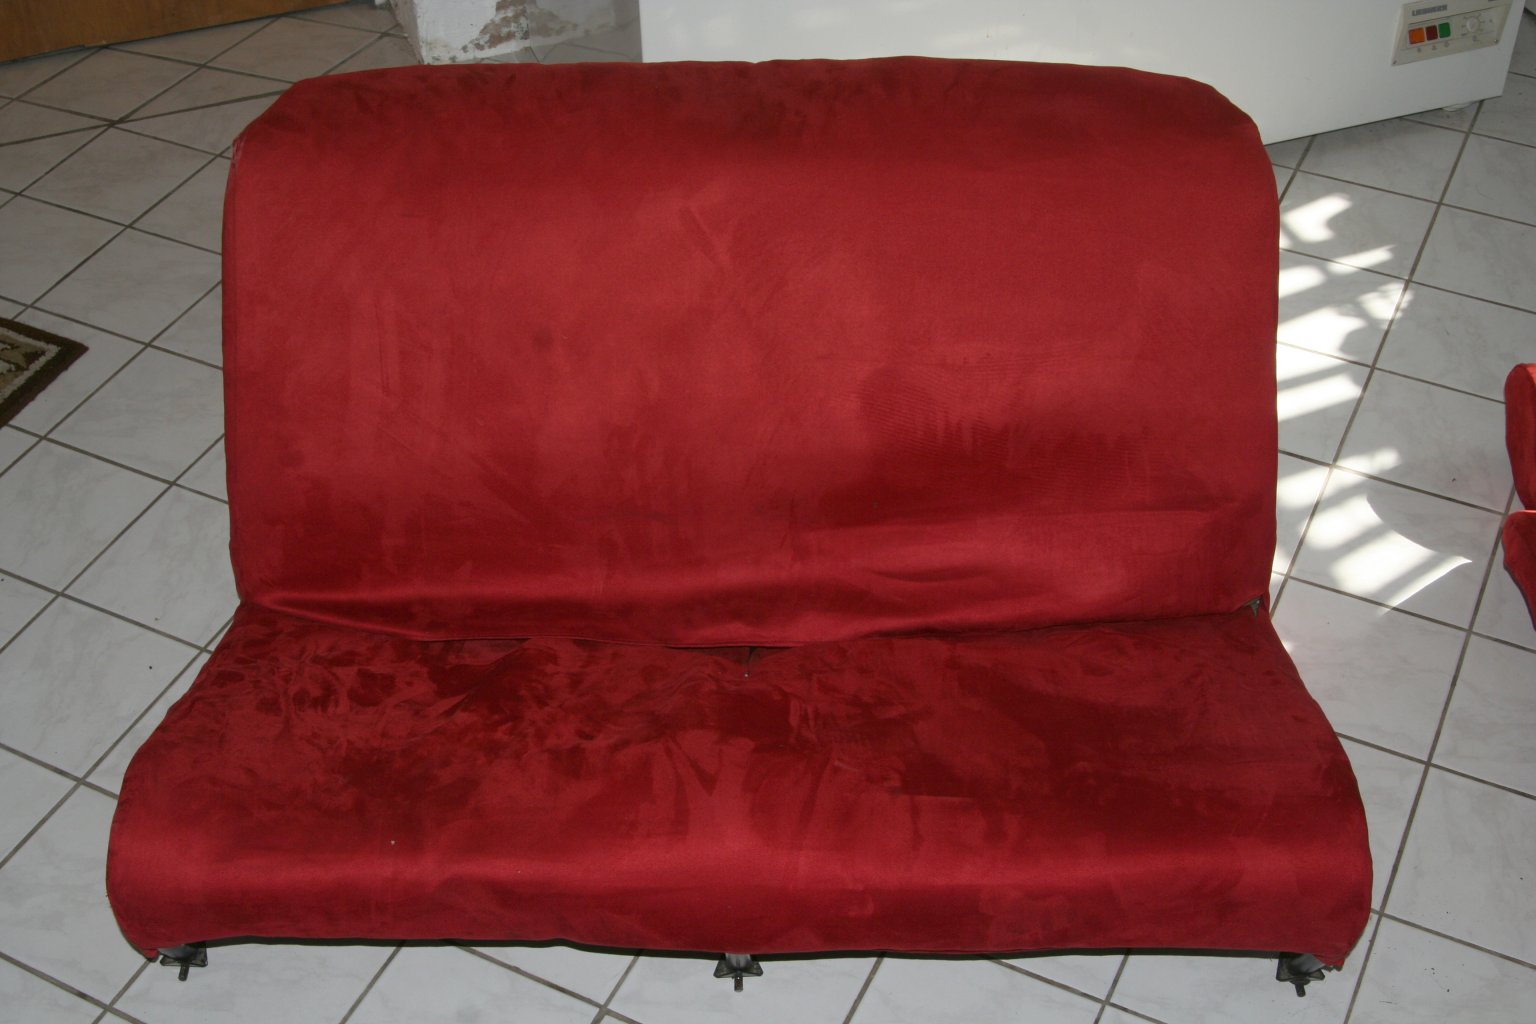 The backseat in total. 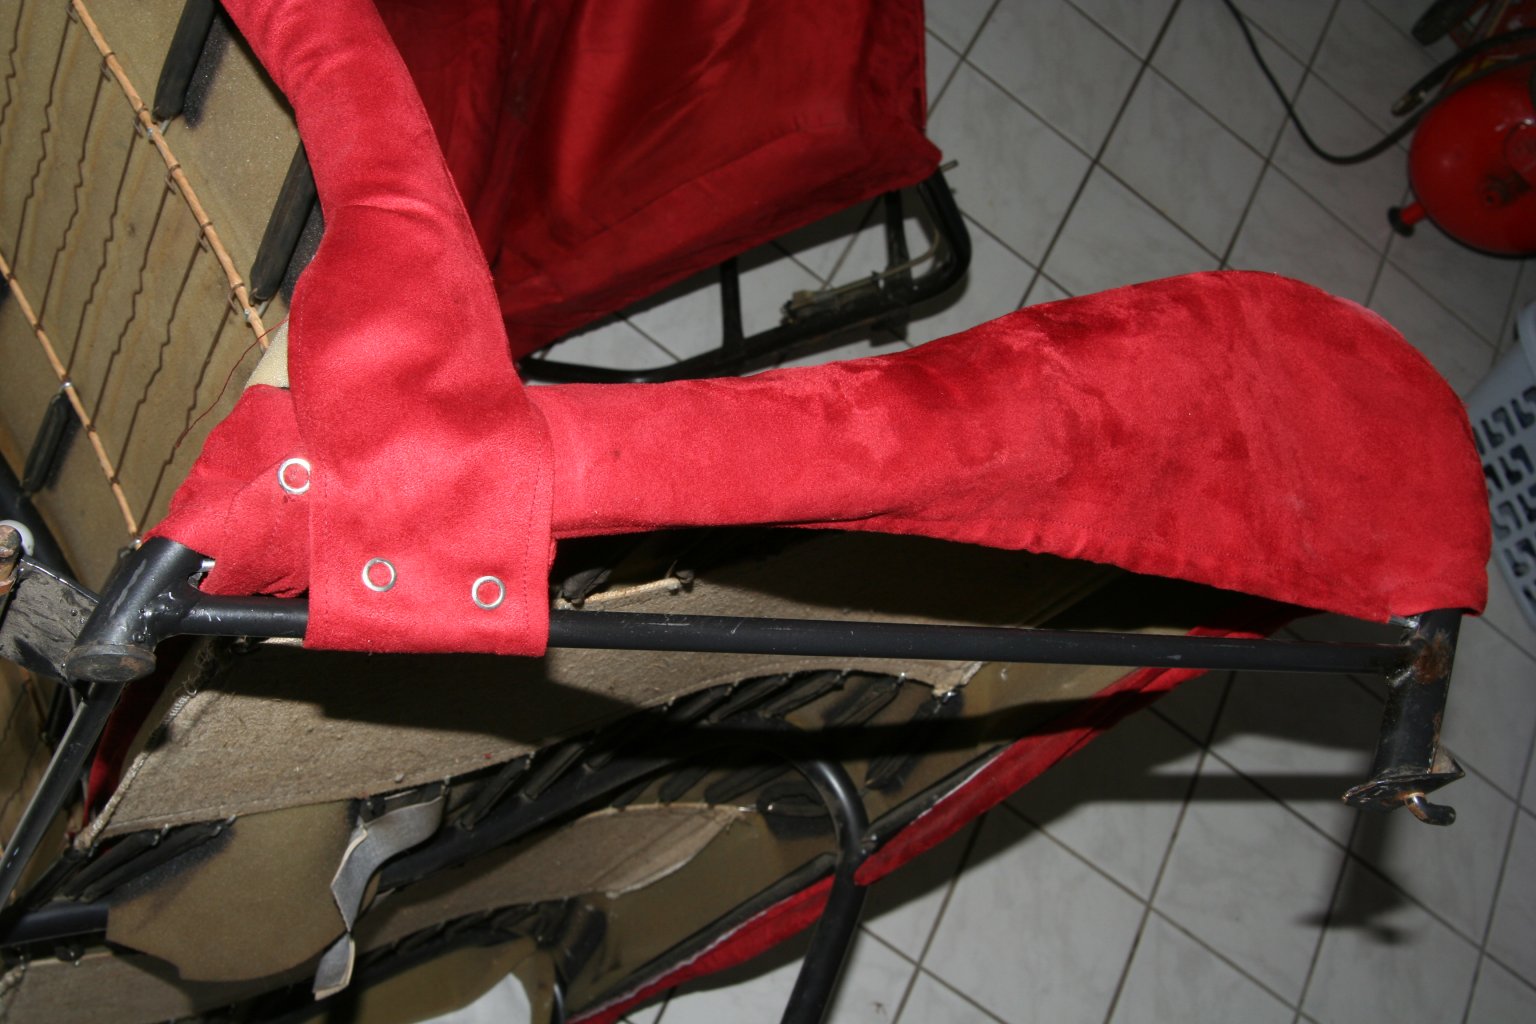 Attachment with pushbuttons.  Attachment with pushbuttons. 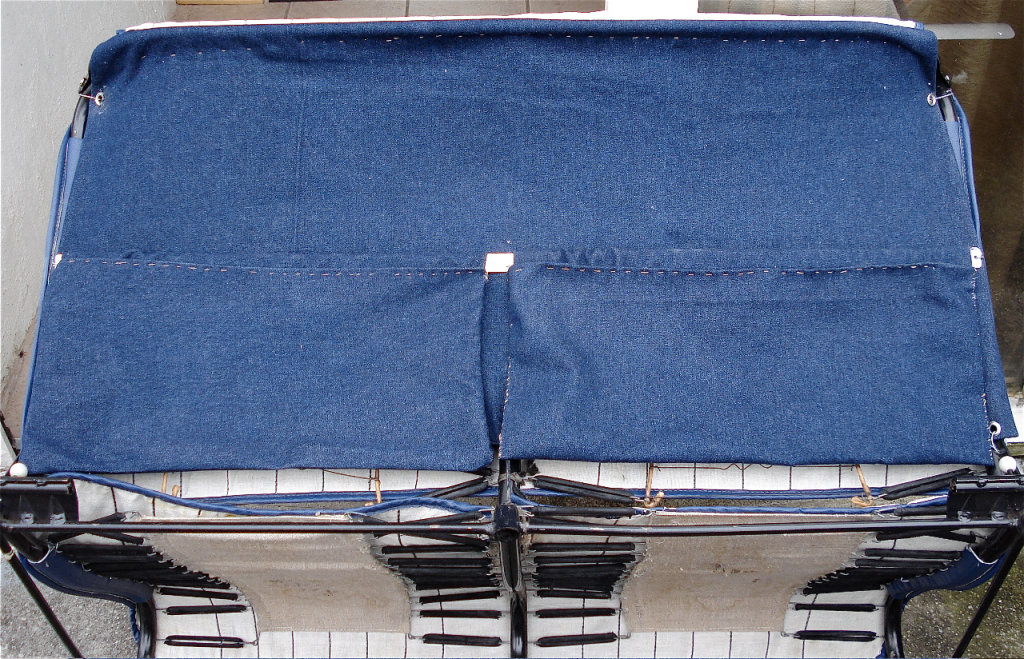 Rolf from Switzerland sent me a picture of his selfmade rearseat. Here you can see two handy pockets. A good idea as I think, because there is allways a lot off stuff spreaded around the trunk. Some days later he sent me pictures of his self-made head rests - so the 'sphere' stays between the shoulders in the event of a rear collision (which may never happen). The pictures show the construction - thank you Rolf. 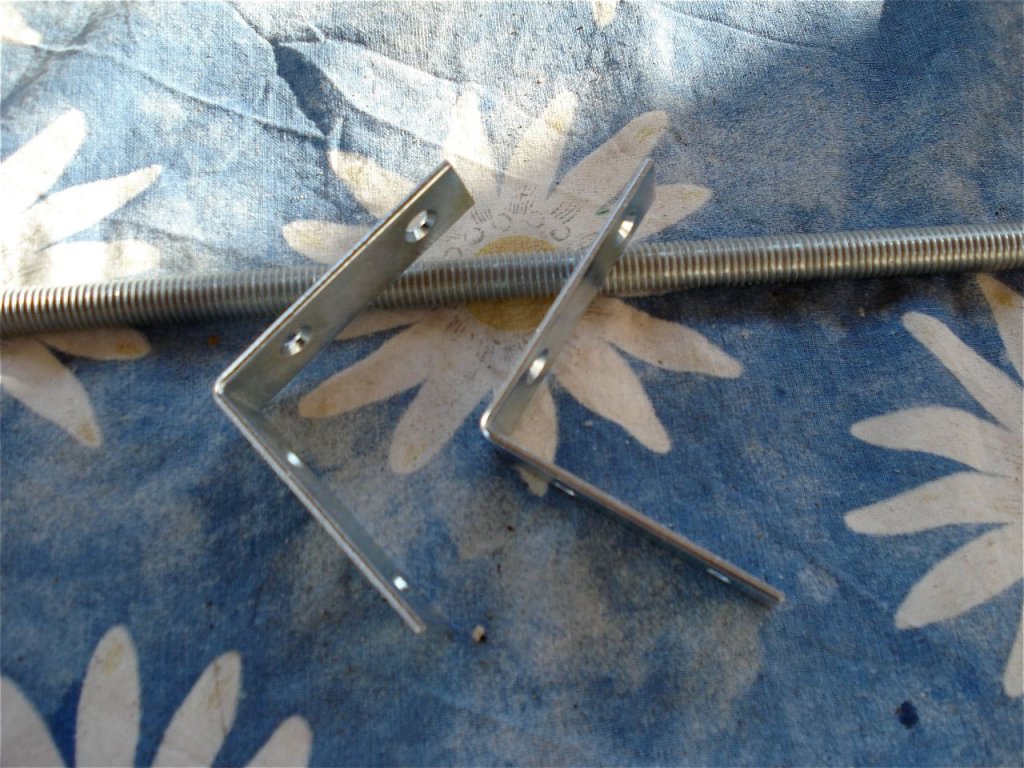  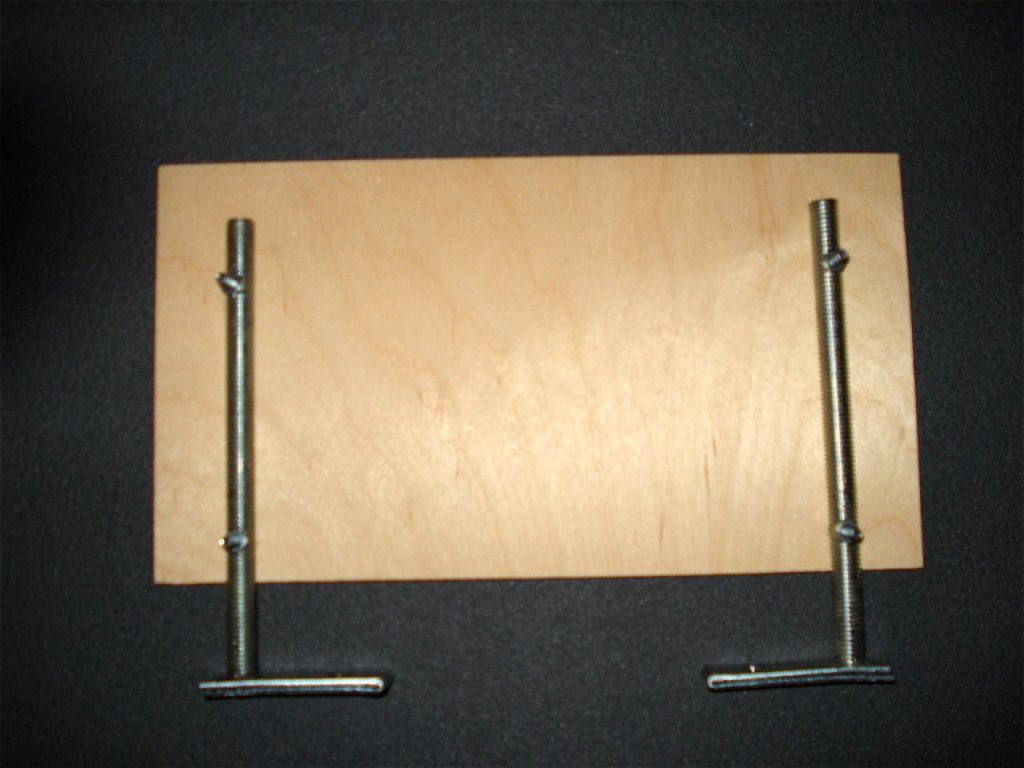      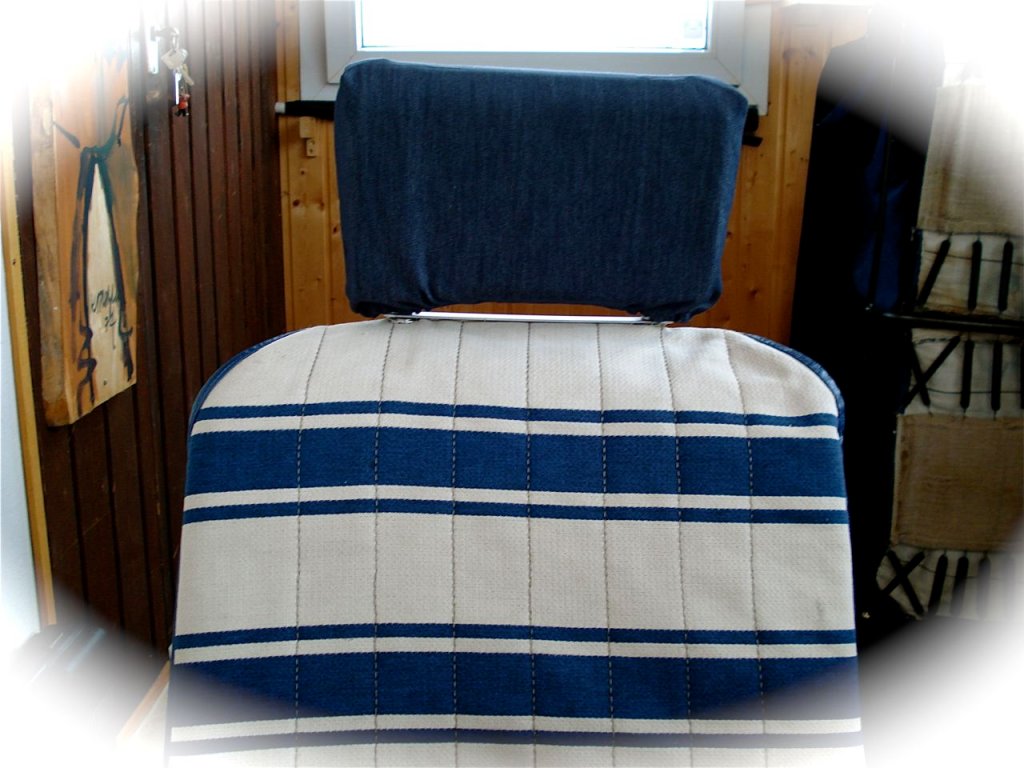 
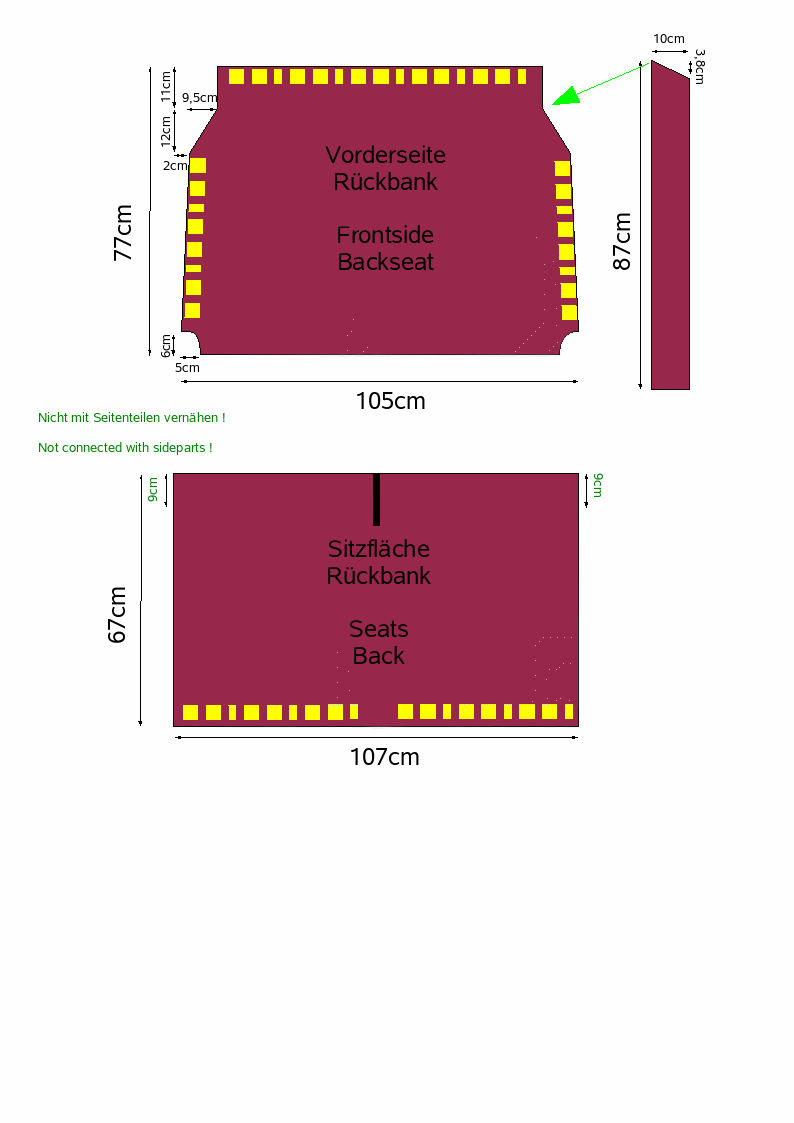
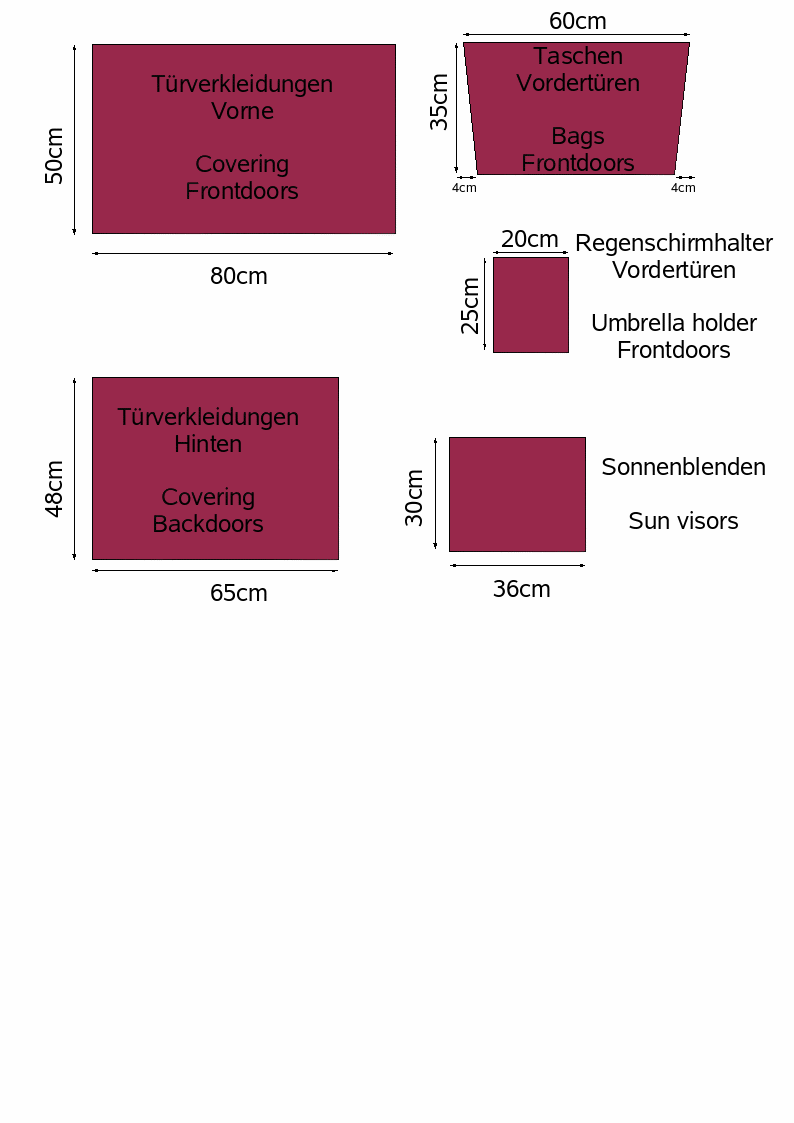
The approximately outlined patterns used for the interior. 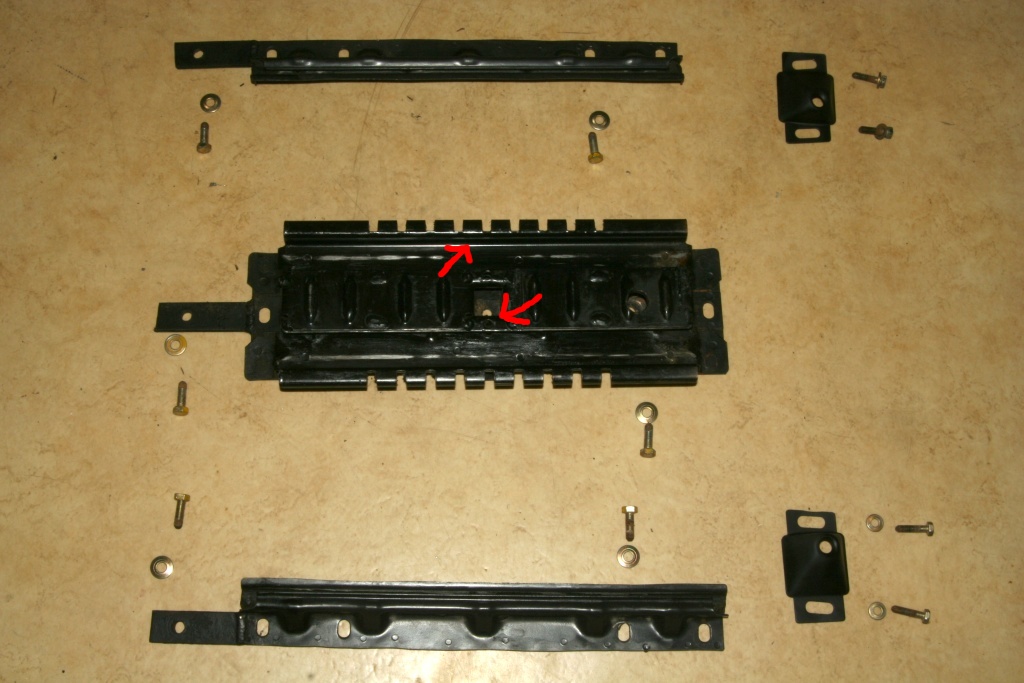 The seat rails (extensions are welded here) of the front seats and the locking of the back seat. For dismounting the seats they have to be pulled out to the back. Remove the two bolts at the middle rail (red arrows) first. 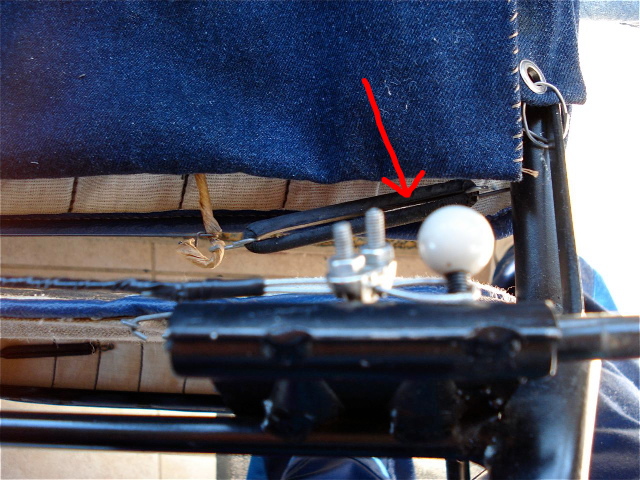 Put a loop around the knobs of the bolts of the rear seat... 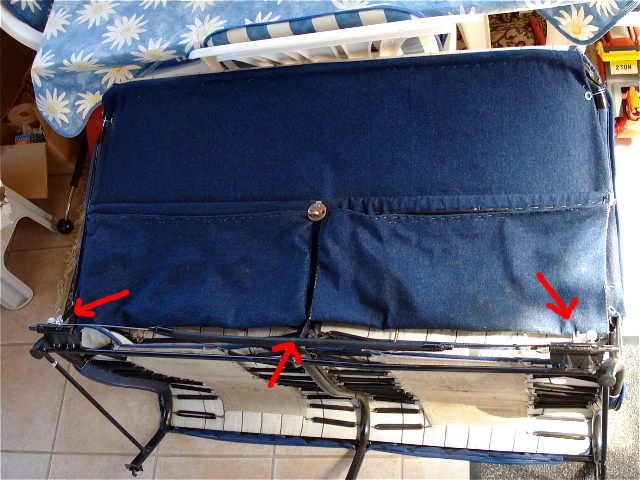 ...and you can loosen both bolts by pulling the middle of the cable. Thanks to Rolf for presenting his idea. To make it work you have to adjust the fixing points correctly and grease the bolts a little bit.  Some days later he sent me pictures of his new mechanism made out of aluminium bars - looks very solid. 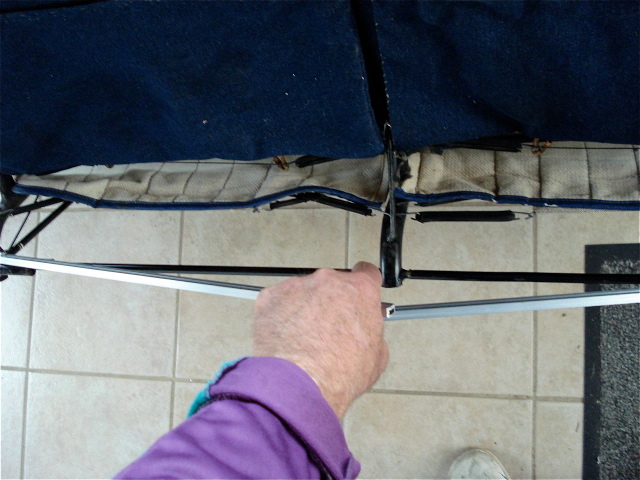 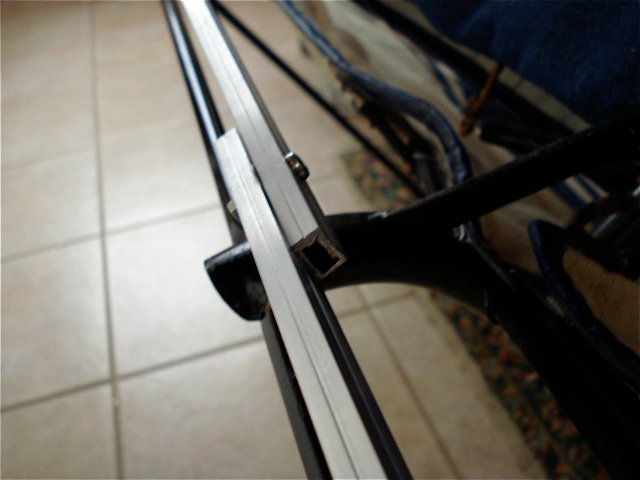 Back to roof Forward to still missing (1) |